Geely Emgrand X7. Manual part - 666


  Главная      Geely     Geely Emgrand X7 - Manual


поиск по сайту            


содержание   ..   661  662  663  664  665  666  667  ..


Geely Emgrand X7. Manual part - 666


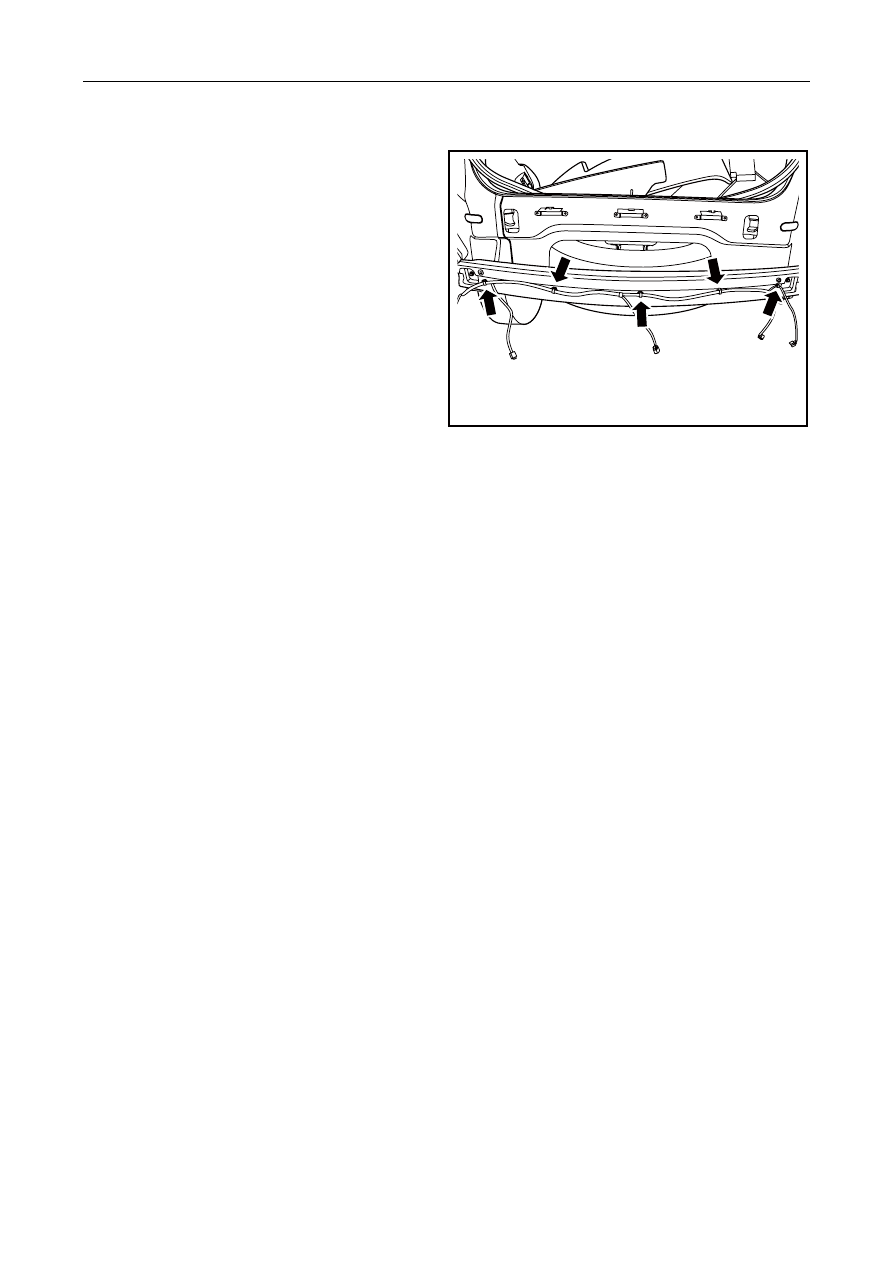
2.  Fix wire harness of rear horizontal beam. 

3.  Install the rear bumper. 


NL12-0066b


2663


12.5 Door 

12.5.1 Specification 

12.5.1.1 Fastener specifications 

Torque Range 

Fastener Name 

Model 

Metric (NM) 

English system (lb-ft) 

Fixing Bolts of Left Front Door 

Assembly 

M8X30 

33 - 38 

24.4 - 28.1 

Fixing Bolts of Right Front Door 

Assembly 

M8X30 

33 - 38 

24.4 - 28.1 

Fixing bolt of left rear door 

assembly 

M8X30 

33 - 38 

24.4 - 28.1 

Fixing Bolts of Right Rear Door 

Assembly 

M8X30 

33 - 38 

24.4 - 28.1 

Door lock catch 

M8×22 

18 - 22 

13.3 - 16.3 

Fixing Bolts of Door Lock 

M8X30 

33 - 38 

24.4 - 28.1 

Door stopper assembly 

M8×20 

22 - 26 

16.3 - 19.2 


2664


12.5.2 Dismantle and install 

12.5.2.1 Door and hinge replacement 

NL12-0088b

1

NL12-0087b

Dismantlement Procedure 

Warning! 

Warning: Refer to "Warning on Battery 
Disconnection" in "Warnings and Precautions". 

1.   Disconnect the battery negative cable. Refer to 

2.11.8.1 Battery Cable Disconnection/Connection 
Procedures.


2.    For dismantling of front fender, refer to 

12.2.3.4 

Replacement of front fender. 

3.  Loosen door electric appliance wire harness 

dustproof cover, and disconnect wire harness 
connector 1. 

4.   For dismantling of door limit stopper, refer to 

12.5.2.2 Replacement of door limit stopper. 

5.   Clean the assembly surface of the door hinge 

with cleaning cloth and mark the position of the 
hinge on the surface of the door using an oil pen 
or other marking tools. 

6.    Remove the body side fixing bolts for the upper 

and lower hinges. 

7.   Dismantle the door. 

8.    Clean the side body hinge assembly surface with 

cleaning cloth and mark the position of the hinge 
on the body surface with an oil pen or other 
marking tools. 

9.    Remove the fixing bolts for the upper and lower 

hinges on the door side. 

10.   Dismantle upper, lower hinges. 


Installation Procedure: 

1.  Install the hinge on the door and install the door 
with preloaded hinge on the body. After the fine 
tuning, tighten the door to the specified torque. 

Torque :24Nm(Metric) 17 . 8lb-ft(English system) 

Notes: 

See "Special Cautions Regarding Fastening Parts" in 
"Warnings and Cautions". 

NL12-0089b


2665


2. Install 

door. 

3.    Connect door wire harness connector, and install 

it into the vehicle body, and then install dustproof 
cover. 

4.    Install door limit stopper. 

5.  Close the door to see whether the door clearance 

is proper. If necessary, please adjust the 
clearance. 

6.  Tighten the fixing bolts of door. 

Torque: 36Nm (Metric) 26. 7lb-ft(English system) 

7.  Install the fender. 

8.  Install the front fender liner. 

9 .    Connect the battery negative cable. 


NL12-0090b


2666


содержание   ..   661  662  663  664  665  666  667  ..