содержание .. 30 31 32 33 34 35 36 37 38 ..
Geely FC. Manual part - 37
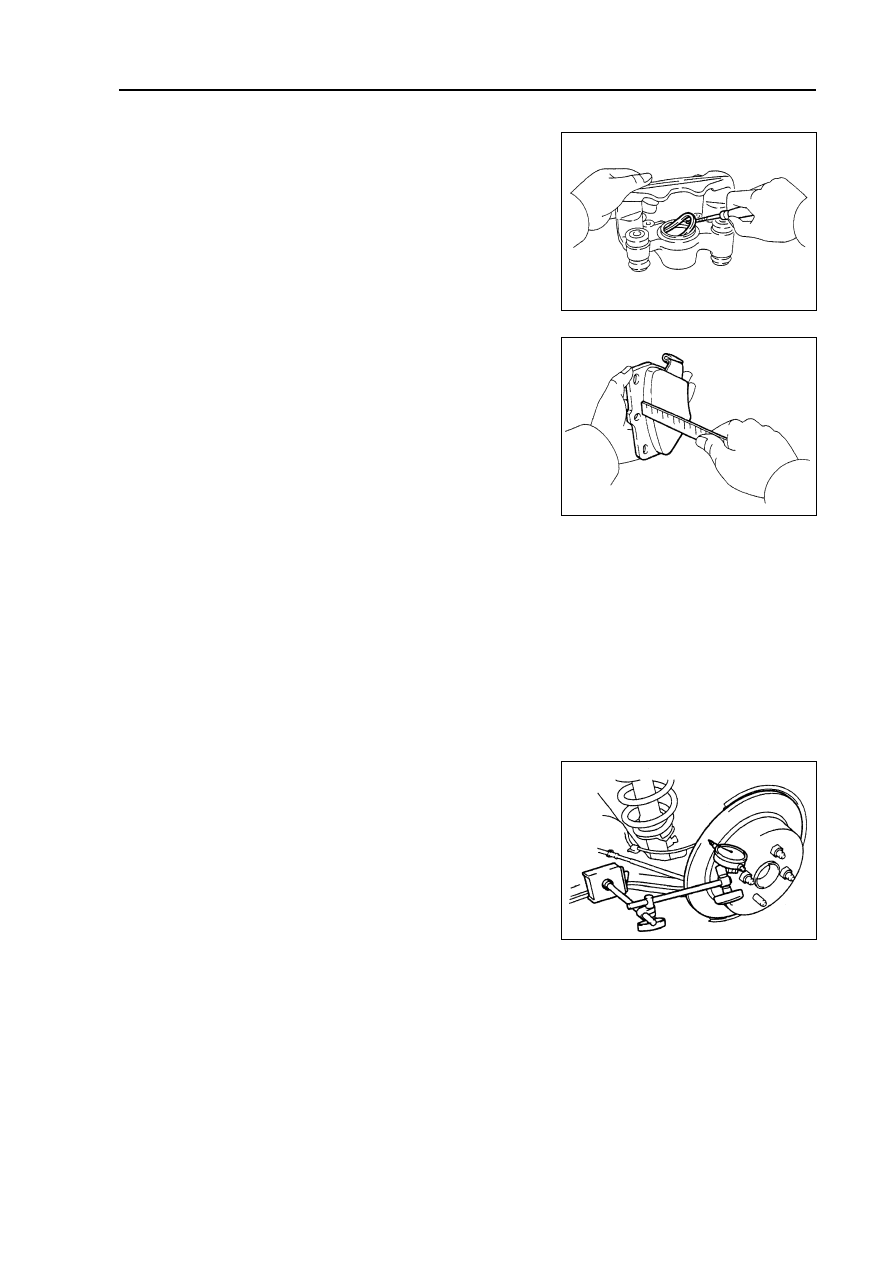
Brake--Rear brake assembly
Use screw driver to disassemble oil seal of piston from brake
branch pump.
Note: do not damage cylinder wall and slot.
10. Disassemble exhaust bolt of branch pump.
11. Check whether there is any dust or scratch on
branch pump and piston.
12. Check the thickness of brake block.
Use rule to measure the thickness of brake block.
Standard thickness: 10.0mm
Minimal thickness: 1.0mm
13. Check the thickness of brake disk.
Use centimeter of exterior diameter to measure the thickness
of disk.
Standard thickness: 9.0mm
Minimal thickness: 8.0mm
14. Disassemble rear brake disk.
(a) Make a mark on disk and shaft hub.
(b) Disassemble disk.
15. Assemble brake disk.
Hint: choose the position with minimal terminal run-out
to assemble brake disk.
16. Check the terminal run-out of disk.
(a) Lock the disk temporarily with screw cap of shaft hub.
Torque: 103-10 N
⋅⋅⋅⋅⋅m
(b) Use centimeter to measure the terminal run-out of brake
disk on the position with 10mm apart from the exterior edge
of brake disk.
Maximal run-out quantity: 0.15mm
(c) If terminal run-out of brake disk exceeds or equals to maxi-
mal value, firstly, check the axial clearance of bearing, then
check the terminal run-out of shaft hub, if they are both
normal, adjust the terminal run-out of brake disk to eligible
value or use turning motor to turn terminal surface of brake
disk.
17. Lock exhaust bolt of rear brake branch pump
temporarily.
Lock exhaust bolt to rear brake branch pump temporarily.
18. Assemble oil seal of piston.
(a) Spread lithium soap base glycol lubricating grease on new
oil seal of piston.
(b) Assemble oil seal of piston to brake branch pump.
145