содержание .. 80 81 82 83 84 85 86 ..
Geely FC. Manual part - 85
Panel/combination instrument--combination instrument
(1) Disassemble fuel meter joints or break wire, when indictor is at E, fuel indictor does not light.
(2) Jumper a 300-330
resistor from the corner of terminal1 and termianl2, turn ignition switch to ON,
indictor is at E line, the indictor light lights.
6. Inspect generator water thermometer .
(1) Disassemble joint of generator water thermometer
(2) Turn ignition switch to ON, inspect indictor position of gen-
erator water thermometer.
Indictor position: COOL
(3) Earth 2 terminal of the wiring harness side joint to inspect
indictor position of generator water thermometer.
Indictor position: HOT
1 2 3
7. Inspect untied indictor light of driver seat belt.
(1) Turn ignition switch to ON, Inspect untied indictor light of driver seat belt lights.
(2) Tie the seat belt, inspect untied indictor light seat belt lights off.
(3) Disassemble the joint of safe belt button switch, earth the terminals of wiring harness
(4) Turn ignition switch to ON, inspect untied indictor light seat belt lights on.
8. Inspect low oil pressure indictor
(1) Disassemble the joint of oil pressure switch.
(2) Turn ignition switch to ON.
(3) Earth terminals of wiring harness sides, inspect low oil pressure indictor.
Low oil pressure indictor: light
9. Inspect oil pressure switch
(1) disassemble joints of oil pressure switch,
(2) Inspect the conduction of oil pressure switch terminals and earth.
Generator extinguishes: conduction
Generator works: not conduction
10. Inspect light warning buzzer
(a) Inspect the function of light warning buzzer
Clues on: light warning buzzer works together, only key
reminding buzzer works.
(1) Front combination light switch switches to ON, extract the
key, open driver seat door, inspect light warning buzzer.
Audio buzzer: Audio for 10 seconds in the night to cut
lamp power, in the day cut the lamp instantly.
(2) When buzzer works, do any one of the followings, inspect whether buzzer stop buzzing.
z
z
z
z
z
Turn front combination switch to OFF.
z
z
z
z
z
Close driver seat door.
z
z
z
z
z
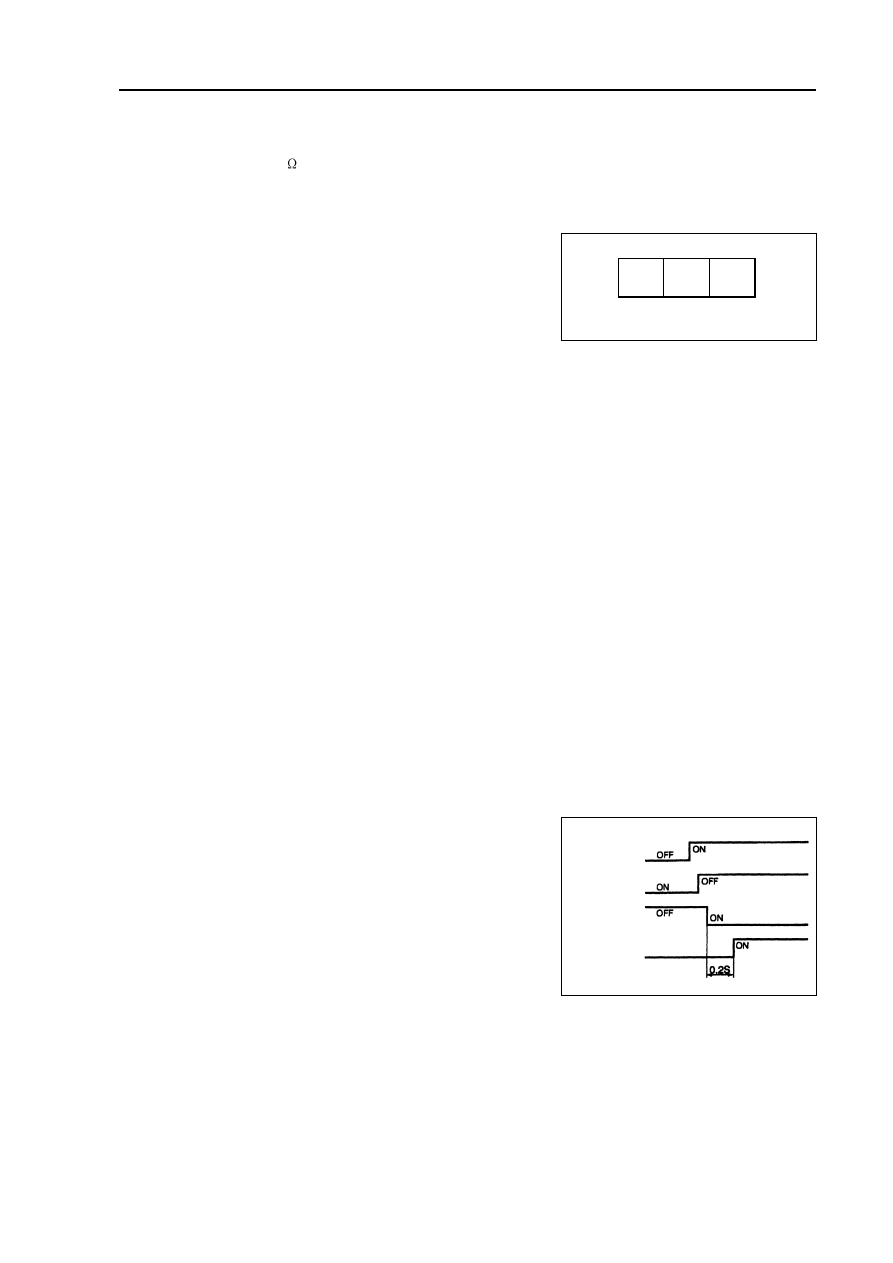
Insert the key.
Buzzer
Light switch
Key warning
switch
Pull out the key
Open driver door
337