Geely FC. Manual part - 81


  Главная      Geely     Geely FC. Workshop Manual year 2008


поиск по сайту            


содержание   ..   80  81  82  ..


Geely FC. Manual part - 81


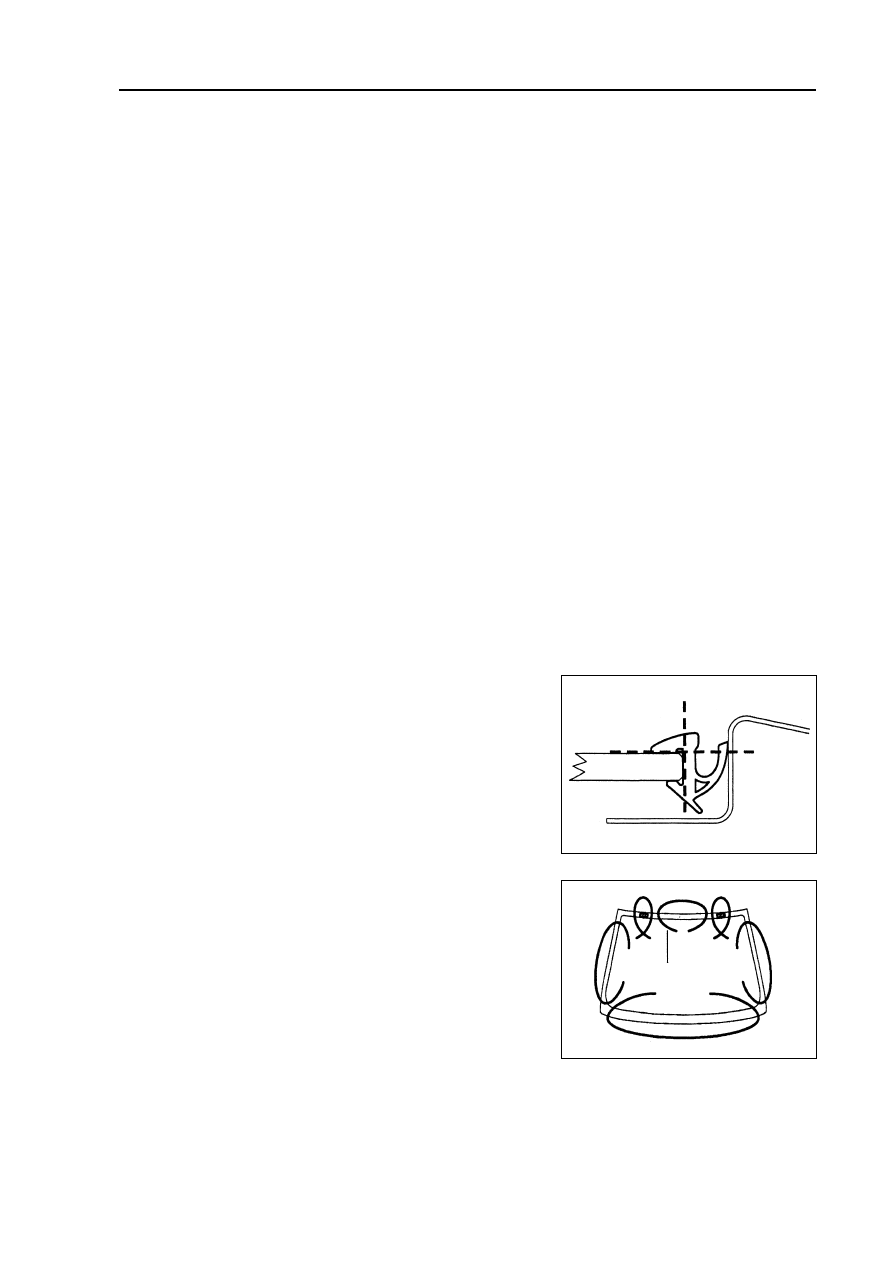
Windshield/bodywork glass/wing mirror--Front windscreen

Front windscreen

Change

Clues on: Please assemble as the disassembly opposite sequence. Assemble directions could

be got when necessary.

1. Disassemble right front pillar trim board assembly [68010017] (referring to page 390)

2. Disassemble left front pillar trim board assembly [68010014] (referring to page 390)

3. Disassemble inner rear mirror assembly [67010013] (referring to page 390)

4. Disassemble right sun shade [68010085] (referring to page 390)

5. Disassemble left sun shade [68010084] (referring to page 390)

6. Disassemble interior front headlamp assembly [67010075] (referring to page 390)

7. Disassemble passenger handle (referring to page 390)

8. Disassemble sun shade pothook [68010086] (referring to page 390)

9. Disassemble top interior trim board

Disassemble top interior trim board

10.Disassemble top left trim tape [68000128]

11. Disassemble top right trim tape [68000129]

12. Disassemble front windscreen sealed trim board [68000062]

(a) Use blade to cut trim tape as the drawing.

Note: Do not cut the bodywork.

(b) Disassemble rudimental trim type.

steel wire

 321 

13. Disassemble front windscreen assembly [68000061]

(a) Use a steel wire to drill through windows and bodywork.

(b) Tie something like wood block at both the end of steel wire.

Clues on: Stick adhesive tape on the bodywork at work

to prevent paintwork from scraping.

Clues on: When separate window, do not damage

paintwork and interior trim board. When disassemble

front windscreen,put a plastic board between steel wire

and panel to prevent scratching the panel.

(c) Pull steel wire along front windscreen around, remove

agglutinant.

(d) Disassemble front windscreen.

Note: When cut front windscreen down, leave aggluti-

nant as much as possible on the bodywork.

14.Clean front windscreen assembly [68000061]

Use white gasoline to clean front windscreen around.

15. Assemble windscreen orientation plastic button

Windshield/bodywork glass/wing mirror--Front windscreen

Assemble two orientation block on the windscreen as the

drawing.

A: 40mm

B: 8mm

16. Assemble front windscreen in board sealed tape

[68000063]

Stick sealed tape with double faced adhesive tape on both

sides.

a: 7mm

b: 22.5mm

c: 45mm

d: 5mm

17. Assemble front windscreen assembly [68000061]

(a) Put front windscreen at the right position.

(b) Inspect the contacting part of front windscreen brim whether

it is flat

(c) Mark signal between bodywork and glass.

(d) Disassemble front windscreen .

(e) Use blade to remove granulation area.

Note: leave agglutinant as much as possible on the

bodywork.

(f) Use duster cloth with cleaner to clean the agglutinant on

the incision.

Clues on: When all the agglutinant has been removed

completely, clean the bodywork.

(g) Use brush to daub M priming paint on the o contacting part

of bodywork.

Notes:

z

Dry M priming paint for three minutes.

z

Do not daub M priming paint on the agglutinant.

z

Opened M priming paint can not use for the next

 322 

Bond

Bond

Windshield/bodywork glass/wing mirror--Front windscreen

 323 

time.

(h) Use brush or sponge to daub G priming paint on the front

windscreen brim and contacting interface.

(i) When daub other areas beside regulations, use clean duster

cloth to clean before priming paint gets dry.

Notes:

z

Use G priming paint over three minutes.

z

Opened G priming paint can not use for the next

time.

(j) Cut a hole on glue canister sharp mouth

(k) Put the glue canister in the sealed glue jet gun.

(l) Daub agglutinant on the front windscreen.

A: 12mm

B: 8mm

18.Assemble front windscreen sealed trim tape

[68000062]

Assemble the new trim tape in the bodywork manually.

19. Inspect water leakage and repair

(a) Actualize water leakage after hardening.

(b) Use agglutinant to seal leak position.

Windshield/bodywork glass/wing mirror--Rear ventilation window

Rear ventilation window

Change

Clues on: Please assemble by the sequence opposite with disassembling sequence. Assemble

directions could be got when necessary.

1. Disassemble the step trim board of left rear door  [68010022] (referring to page 390)

2. Disassemble the step trim board of right rear door  [68010024] (referring to page 390)

3. Disassemble left rear door frame sealed tape [68010059]

4. Disassemble right rear door frame sealed tape [68010060]

5. Disassemble rear seat cushion

6. Disassemble rear seat back assembly (fixed) [68010076] (referring to page 354)

7. Disassemble rear seat right back assembly (fixed) [68010079] (referring to page 352)

8. Disassemble rear seat left side back assembly (separate) [68010078](referring to page

352)

9. Disassemble left rear pillar interior trim board assembly [68010026] (referring to page

390)

10. Disassemble right rear pillar interior trim board assembly [68010027] (referring to page

390)

11. Disassemble high brake light assembly [68010008]

12. Disassemble rear platform front-below trim board [68010034]

13. Disassemble rear wind window sealed trim tape [68000104]

(a) Use blade to cut the trim tape as the drawing.

steel wire

 324 

Notes: Do not damage the bodywork by blade.

(b) Disassemble rudimental trim tape.

14. Disassemble rear ventilation window assembly

[68000103]

(a) Use a steel wire to drill through windows and bodywork.

(b) Tie something like wood block at both the end of steel wire.

Clues on: Stick adhesive tape on the bodywork at work

to prevent paintwork from scraping.

Notes: When separate window, do not damage

paintwork and interior and exterior trim board.

(c) Pull steel wire along front windscreen around, removal

agglutinant.

(d) Disassemble front windscreen.

Note: When cut front windscreen down, leave aggluti-

nant as much as possible on the bodywork.

15. Clean rear ventilation window assembly [68000103]

Use white gasoline to clean rear ventilation window around.

16. Assemble windscreen orientation plastic button

[68000064]

Assemble two orientation block on the rear windscreen as the


содержание   ..   80  81  82