Volkswagen Jetta Hybrid (2013 year). Manual - part 22
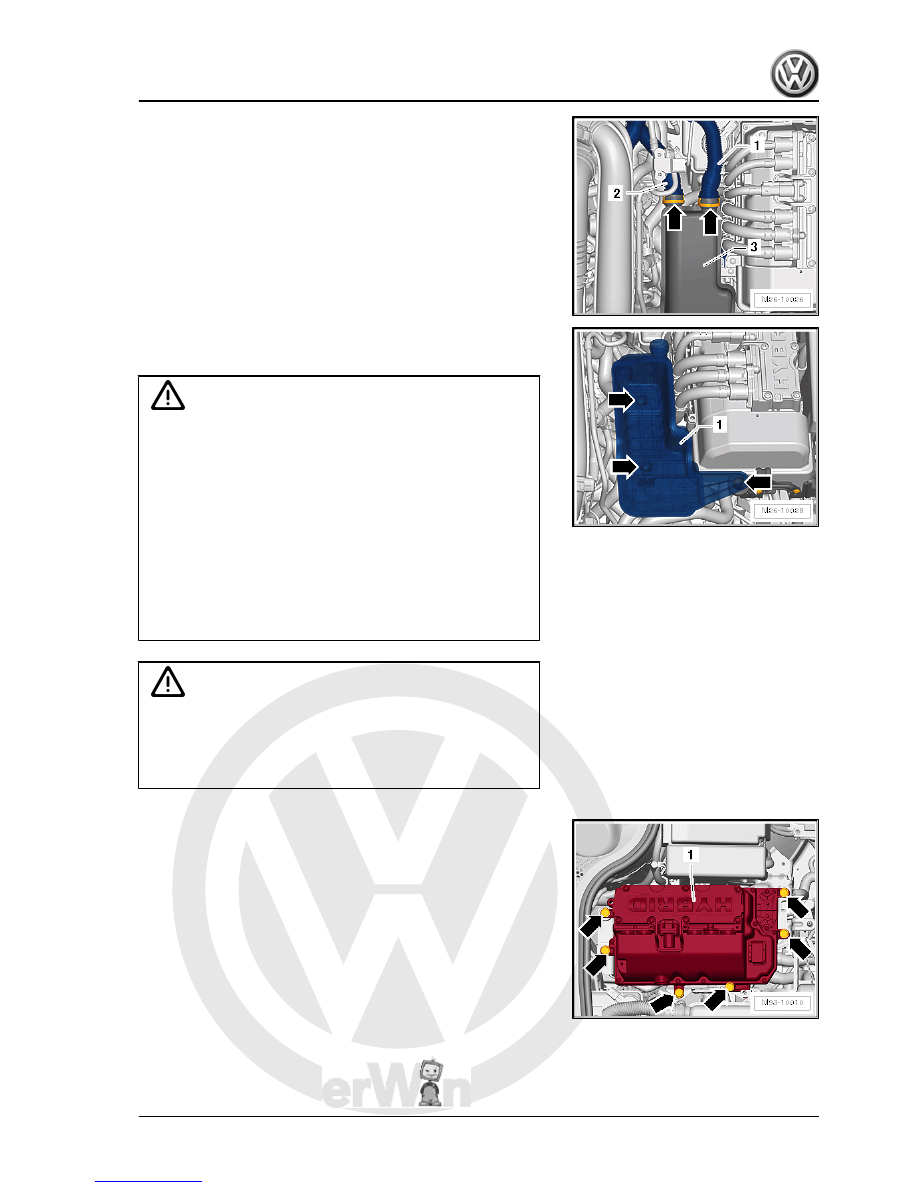
pull hoses off.
– Pull air damper -1- upwards out of rubber bushes -arrows-.
Continuation for all vehicles
WARNING
You can suffer an electric shock.
An electric shock can be fatal.
Observe general warning instructions for work on the high-
93 ; General warning instructions for work on the high-voltage
system .
♦ The system must first be de-energised by a high-voltage
technician before any work is done on the high-voltage
system and before any repair work is done on the body.
♦ All work on vehicles with a high-voltage system must only
be carried out by electrically instructed persons. The work
must be supervised by a high-voltage technician.
WARNING
High voltage on high-voltage system of hybrid vehicle. Danger
of electric shock! Following procedure also requires work on
high-voltage system. De-energise high-voltage system now ⇒
high-voltage system .
– Remove power and control electronics for electric drive -JX1-
control electronics for electric drive -JX1- .
Jetta Hybrid 2013 ➤
5. Assembly mountings
81