Subaru Legacy III (2000-2003 year). Manual - part 444
CO(H4DOSTC)-30
COOLING
RADIATOR SUB FAN AND FAN MOTOR
10.Radiator Sub Fan and Fan
Motor
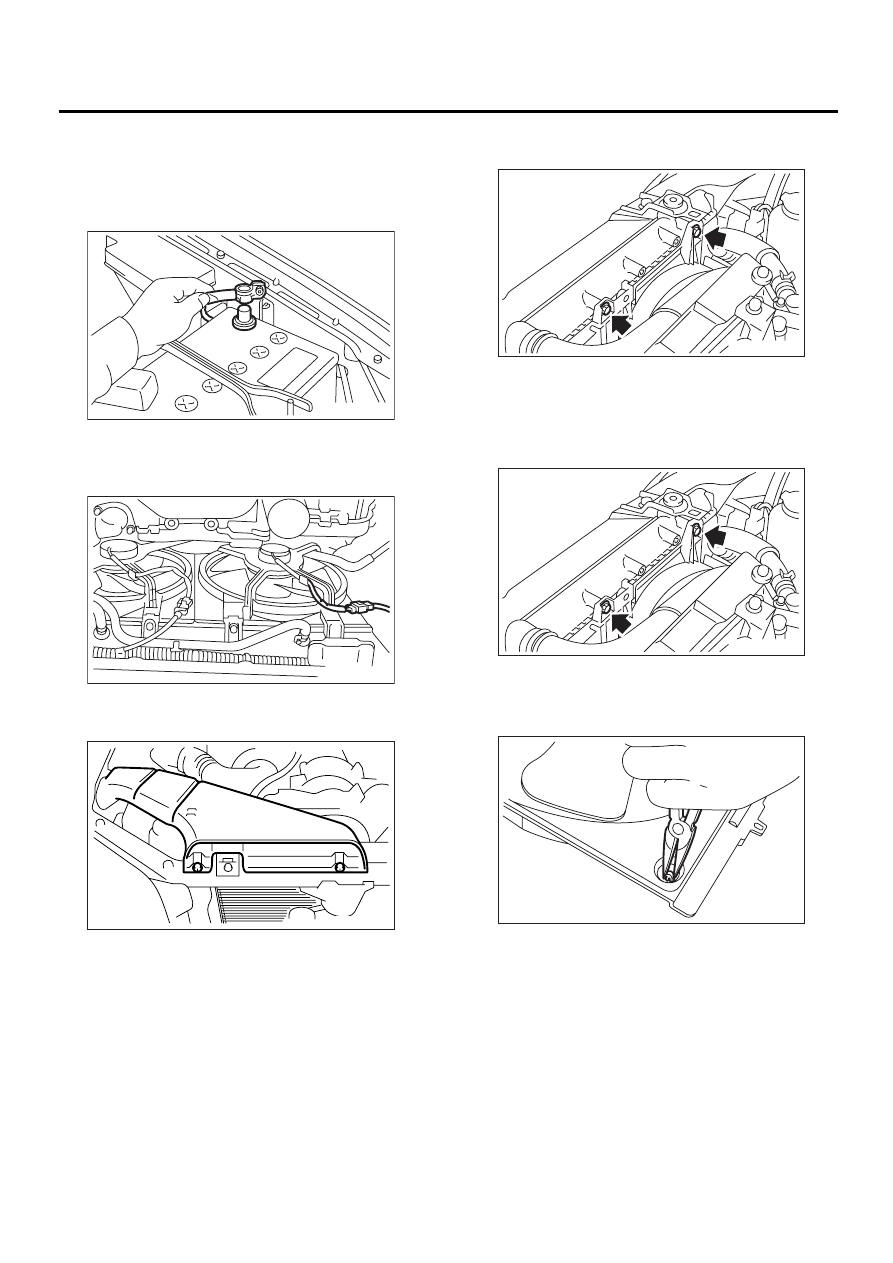
A: REMOVAL
1) Disconnect battery ground cable.
2) Lift-up the vehicle.
3) Remove under cover.
4) Disconnect connector of sub fan motor.
5) Lower the vehicle.
6) Remove air intake duct.
7) Remove bolts which hold sub fan shroud to radi-
ator.
8) Remove radiator sub fan shroud through the un-
der side of vehicle.
B: INSTALLATION
Install in the reverse order of removal.
Tightening torque:
4.9 N·m (0.50 kgf-m, 3.6 ft-lb)
C: DISASSEMBLY
1) Remove clip which holds motor harness onto
shroud.
FU-00009
CO-00100
CO-00156
CO-00101
CO-00101
CO-00046