Subaru Impreza 3 / Impreza WRX / Impreza WRX STI. Manual - part 752
EB-19
Front Door
EXTERIOR BODY PANELS
5. Front Door
A: REMOVAL
1) Disconnect the ground cable from battery.
2) Remove the front door trim. <Ref. to EI-45, RE-
3) Remove the outer mirror assembly. <Ref. to
GW-16, REMOVAL, Outer Mirror Assembly.>
4) Remove the front door speaker. <Ref. to ET-7,
5) Remove the sealing cover. <Ref. to EB-21, RE-
6) Remove the front door glass. <Ref. to GW-12,
7) Remove the front door regulator and motor.
<Ref. to GW-13, REMOVAL, Front Regulator and
8) Remove the front door latch assembly. <Ref. to
SL-32, REMOVAL, Front Door Latch and Door
9) Remove the front outer handle. <Ref. to SL-31,
10) Remove the front door weather strip.
NOTE:
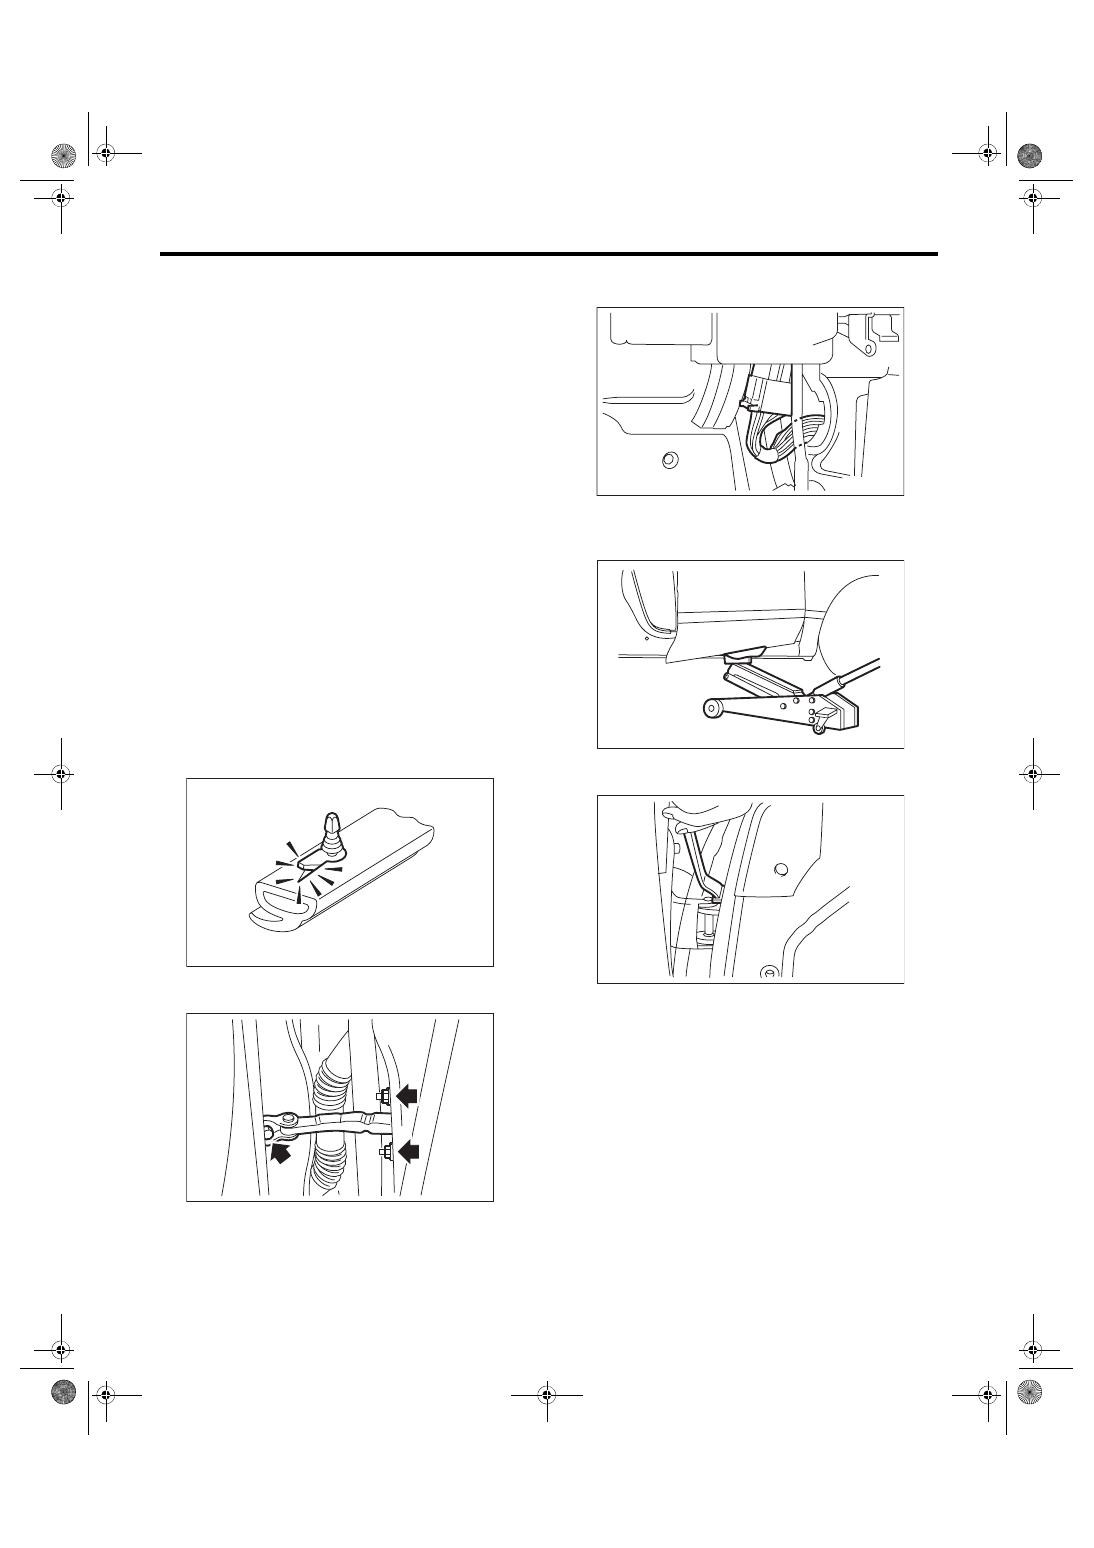
If the weather strip clip is removed with excessive
force, the weather strip may be damaged. Be sure
to use clip remover to remove.
11) Remove the bolts and nuts to remove the door
checker.
12) Remove the front pillar lower trim. <Ref. to EI-
57, REMOVAL, Lower Inner Trim.>
13) Disconnect the connector of door harness from
body harness.
14) Put a wooden block on jack and place jack un-
der the front door. Support the door with a jack to
protect it from damage.
15) Remove the door-side bolts for upper and low-
er hinges to remove front door panel.
16) Remove the door hinge from vehicle.
EB-00141
EB-00388
EB-00151
EB-00013
EB-00015