Subaru Impreza 3 / Impreza WRX / Impreza WRX STI. Manual - part 735
 

  Index      Subaru     Subaru Impreza 3 / Impreza WRX / Impreza WRX STI - service repair manual 2008-2014 year


Search            


Content   ..  733  734  735  736   ..


Subaru Impreza 3 / Impreza WRX / Impreza WRX STI. Manual - part 735


EI-27

Front Hood Grille

EXTERIOR/INTERIOR TRIM

3. Front Hood Grille

A: REMOVAL

1) Open the front hood.

2) Remove  the  front  hood  insulator.  <Ref.  to  EB-

15,  FRONT  HOOD  INSULATOR,  REMOVAL,

Front Hood.>

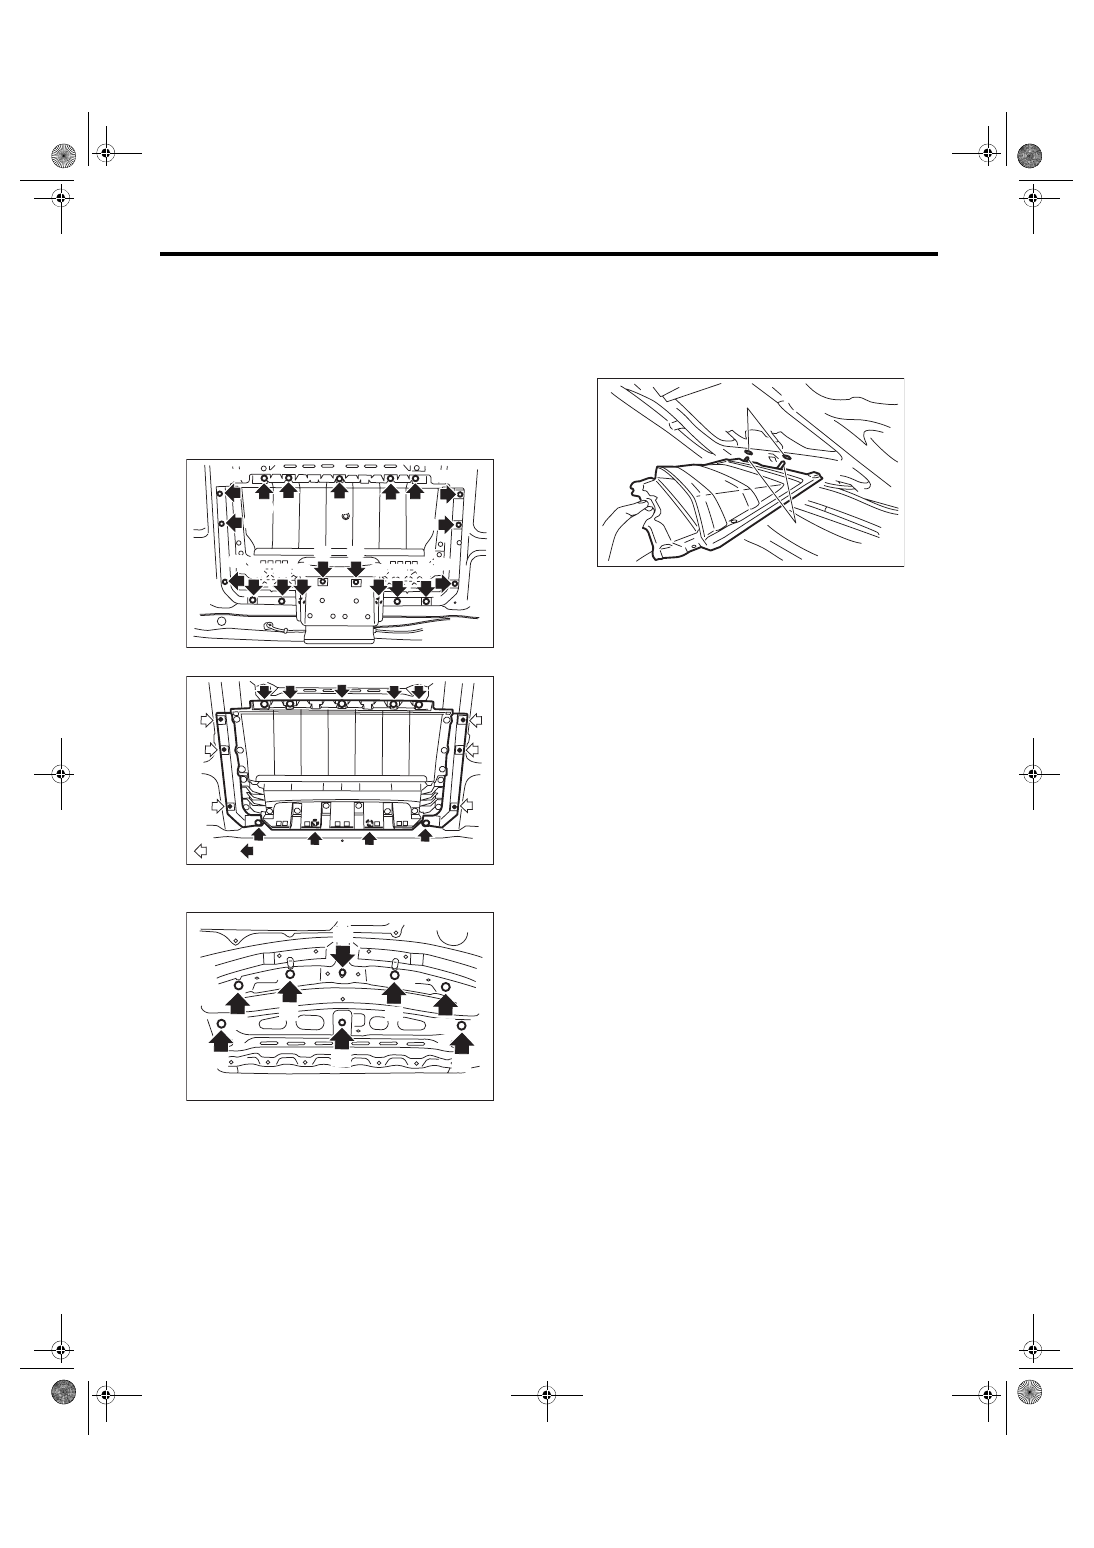
3) Remove screws (A) and clips (B), and remove

the hood duct assembly.

• Except for STI model

• STI model

4) Remove the nuts (A) and clips (B), and remove

the front hood grille.

B: INSTALLATION

Install each part in the reverse order of removal.
NOTE:

Insert the hooks (B) of the front hood duct into holes

(A) of the front hood.

Tightening torque:

Refer to “COMPONENT” of “General Descrip-

tion”. <Ref. to EI-4, FRONT HOOD GRILLE, 

COMPONENT, General Description.>

(A)

(A)

(A)

(A)

(A)

(A)

(B)

(B)

(B)

(B)

(B)

(B) (B)

(B) (B)

(B)

(B)

(B)

(B)

EI-01954

EI-01966

:(A)

:(B)

EI-01782

(A)

(A)

(A)

(A)

(A)

(A)

(B)

(B)

EI-00634

(B)

(A)

EI-28

Front Under Cover

EXTERIOR/INTERIOR TRIM

4. Front Under Cover

A: REMOVAL

1) Lift up the vehicle

2) Remove clips (A), (C) in front fender and bolts

(B), then remove the front under cover.

B: INSTALLATION

Install each part in the reverse order of removal.
Tightening torque:

18 N·m (1.84 kgf-m, 13.3 ft-lb)

EI-00735

(B)

(C)

(A)

(A)

EI-29

Fuel Tank Protector

EXTERIOR/INTERIOR TRIM

5. Fuel Tank Protector

A: REMOVAL

1) Lift up the vehicle.

2) Remove the bolts (A) and nuts (B), and then re-

move the fuel tank protector.

B: INSTALLATION

CAUTION:

Do not reuse the nut (self locking nut). Always

replace with a new part.

Install each part in the reverse order of removal.
Tightening torque:

Refer to “COMPONENT” of “General Descrip-

tion”. <Ref. to EI-3, UNDER PROTECTOR, 

COMPONENT, General Description.>

EI-00638

(B)

(B)

(A)

(A)

(B)

(B)

(A)

(A)

(A)

(A)

EI-30

Mud Guard

EXTERIOR/INTERIOR TRIM

6. Mud Guard

A: REMOVAL

1. FRONT MUD GUARD

1) Lift up the vehicle.

2) Remove the front wheels.

3) Remove the screws and clips to remove the mud

guard.

2. REAR MUD GUARD

1) Lift up the vehicle.

2) Remove the rear wheels.

3) Remove the screws and clips to remove the mud

guard.

B: INSTALLATION

Install each part in the reverse order of removal.

(1) Rear mud guard RH
(2) Rear mud guard LH

EI-04200

EI-04201

(1)

(2)


Content   ..  733  734  735  736   ..