содержание .. 15 16 17 18 ..
Scania 16 litre engine. Work Description - part 17
0110w14b.mkr
©
65
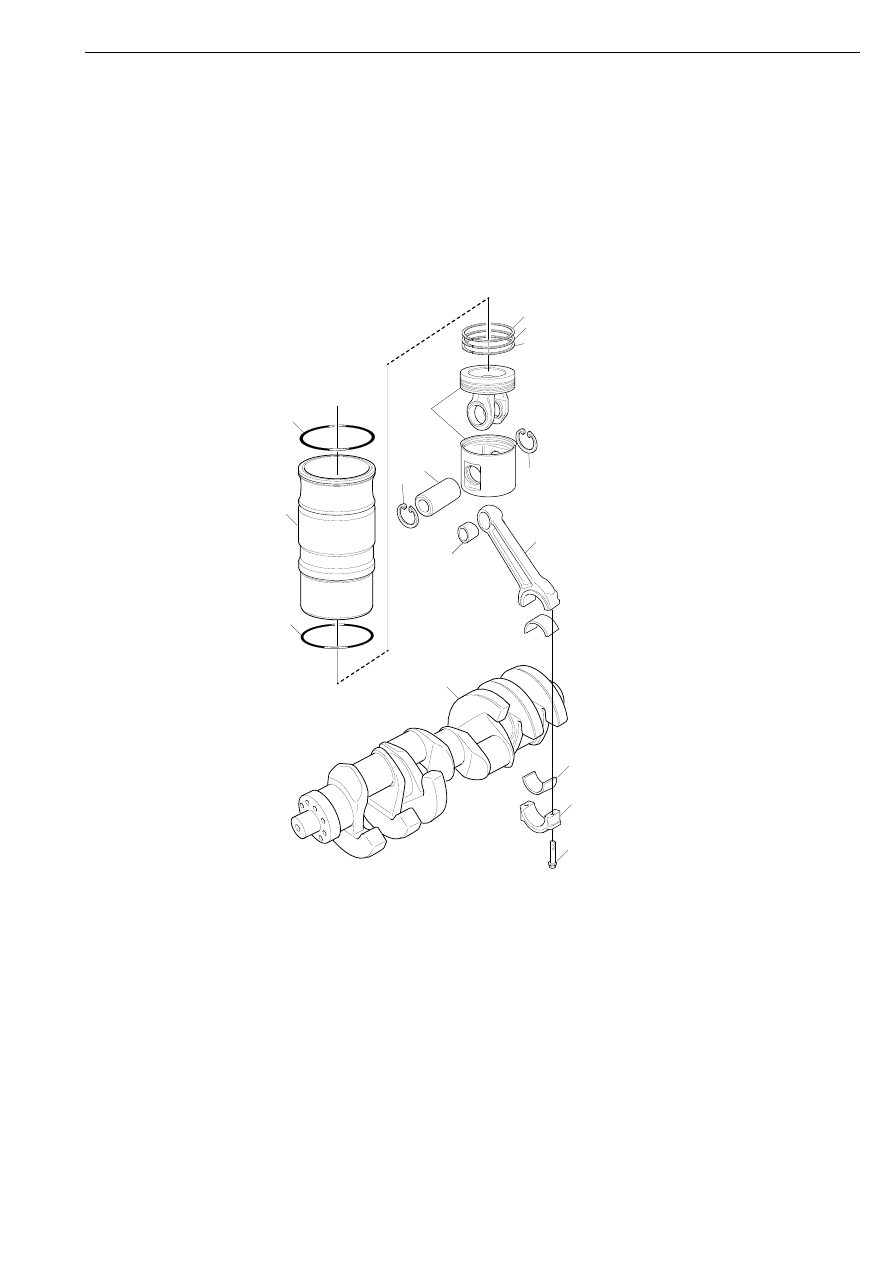
Crank mechanism
Exploded view drawing
Crank mechanism
1
2
3
4
5
6
7
8
9
10
11
12
13
14
15
5
11
5
2
65
1
Piston
2
Compression ring
3
Compression ring
4
Oil scraper ring
5
Retaining ring
6
Gudgeon pin
7
Connecting rod
8
Bearing bushing
9
Bearing shell
10 Bearing cap
11 Flange bolt
12 Crankshaft
13 O-ring
14 Cylinder liner
15 O-ring
Crank mechanism