содержание .. 14 15 16 17 ..
Scania 16 litre engine. Work Description - part 16
0105w15b.mkr
©
61
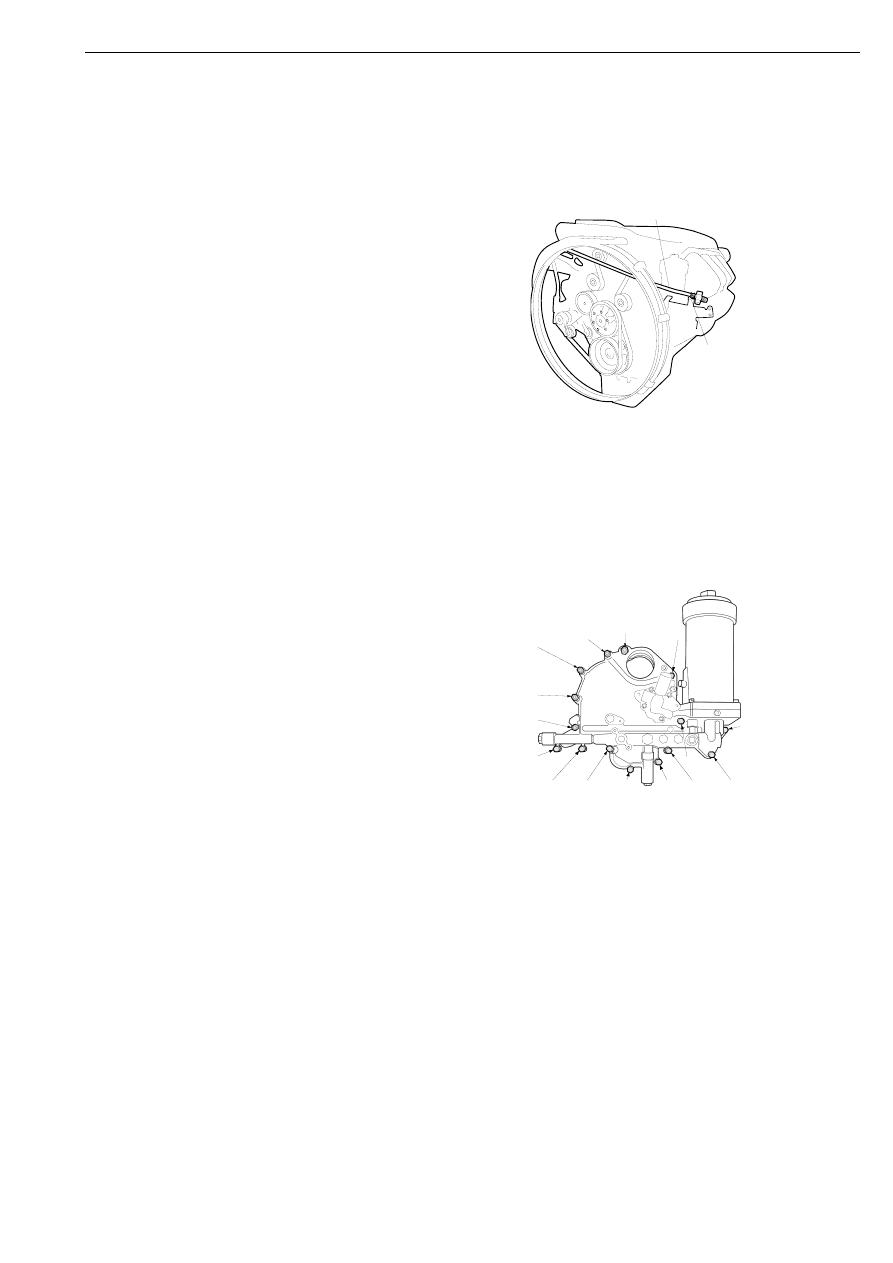
Front timing gear housing
Removing
1
Drain the cooling system. Refer to booklet
02:01-01, cooling system, work description.
2
Remove the bracket 1 and the part of the
airline 2 routed in front of the engine.
3
Remove the poly-V-belts.
4
Remove the idler roller on trucks without
AC.
5
Disconnect the fuel connections on the feed
pump and bend to one side.
6
Remove the coolant temperature sensor and
oil pressure sensor with clamp.
7
Disconnect the power steering pump and
place to one side.
8
Disconnect the fan bracket and electric
cable to the fan if the vehicle is fitted with
electrically controlled fan.
9
Push the fan and fan bracket into the fan
cowling.
10 Remove the oil filter housing.
11 Remove the timing gear housing.
11
5
699
1
2
The front timing gear housing is secured with
15 bolts
112 2
68
Front timing gear housing