Peugeot Boxer Dag (2010 year). Instruction - part 5
6
7
3
EA
SE
O
F
U
SE
A
N
D
C
O
MF
O
R
T
Practical information
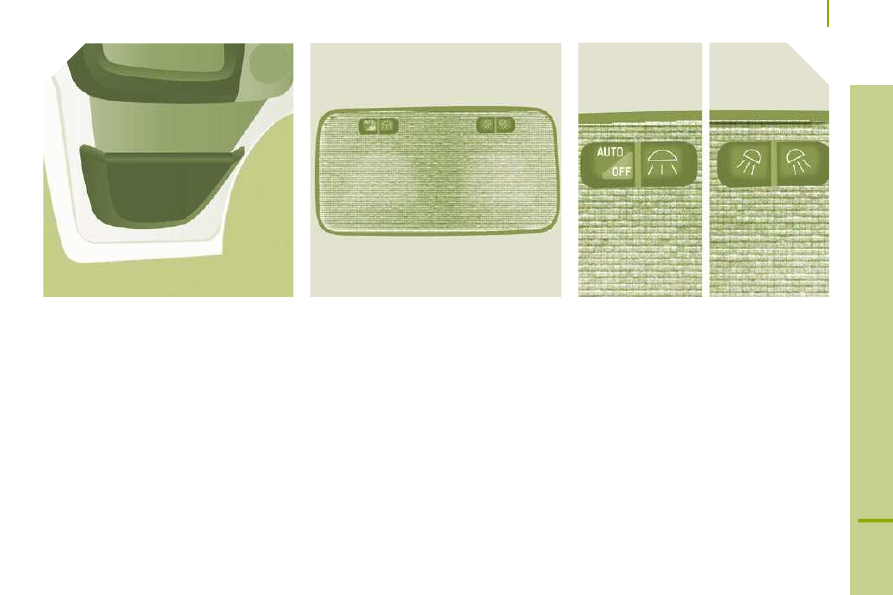
Courtesy lamp
This is a double courtesy lamp located in
the centre of the roof. It can be activated by
means of:
-
the switches located on the courtesy
lamp, with the ignition on - RUNNING
position,
-
opening or closing one of the front doors,
-
locking/unlocking the vehicle.
It switches off automatically:
-
if the switch is not pressed to the right or
to the left,
-
in all cases after 15 minutes, if the doors
remain open or when the ignition is
switched on.
Reading lamps
These are controlled by the switches.
The driver's switch controls both reading
lamps simultaneously.
The passenger switch controls either the
driver's reading lamp or the passenger's
reading lamp.
Fittings/storage compartment in the
door trays