Nissan Juke (2017 year). Instruction - part 21
JVA0024X
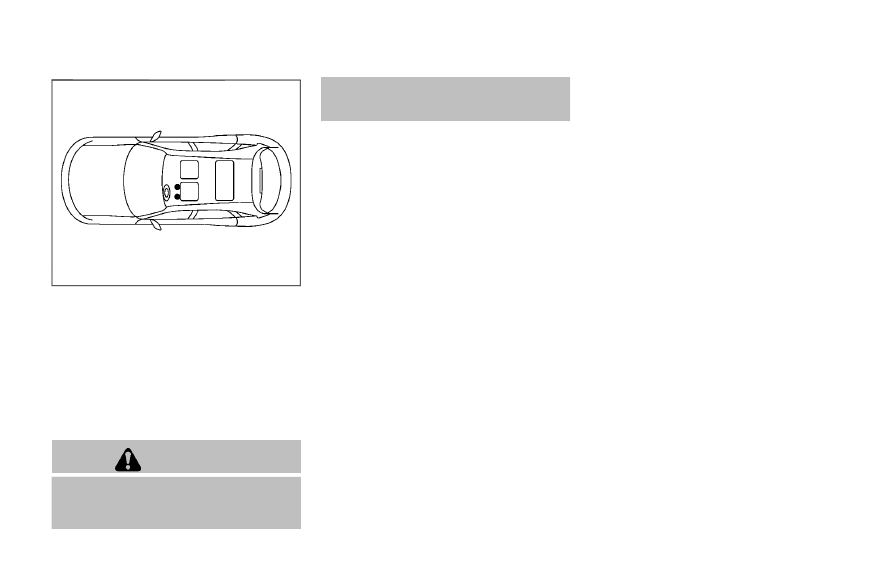
Positioning hook(s)
The illustration shows the location of the floor
mat positioning hook(s).
SEAT BELTS
The seat belts can be cleaned by wiping them
with a sponge dampened in a mild soap
solution. Allow the belts to dry completely in
the shade before using them.
See “Seat belts” (P.1-10).
WARNING
Do not allow wet seat belts to roll up in
the retractor. NEVER use bleach, dye, or
chemical solvents to clean the seat
belts, since these materials may se-
verely weaken the seat belt webbing.
MOST COMMON FACTORS CONTRI-
BUTING TO VEHICLE CORROSION
. The accumulation of moisture-retaining dirt
and debris in body panel sections, cavities,
and other areas.
. Damage to paint and other protective coat-
ings caused by gravel and stone chips or
minor traffic accidents.
ENVIRONMENTAL FACTORS INFLU-
ENCE THE RATE OF CORROSION
Moisture
Accumulation of sand, dirt and water on the
vehicle body underside can accelerate corro-
sion. Wet floor coverings will not dry completely
inside the vehicle, and should be removed for
drying to avoid floor panel corrosion.
Relative humidity
Corrosion will be accelerated in areas of high
relative humidity, especially those areas where
the temperatures stay above freezing where
atmospheric pollution exists, or where road salt
is used.
Appearance and care
7-7
CORROSION PROTECTION