Mitsubishi Outlander PHEV (2019 year). Instruction - part 14
Automatic headlamp levelling
(vehicles with LED headlamps)
E00517601652
This mechanism automatically adjusts the di-
rection of the headlamps (beam position) de-
pending on changes in the condition of the
vehicle, such as the number of occupants or
luggage weight. When the headlamps are il-
luminated with the operation mode of the
power switch in ON, the beam position of the
headlamps is automatically adjusted when the
vehicle stops.
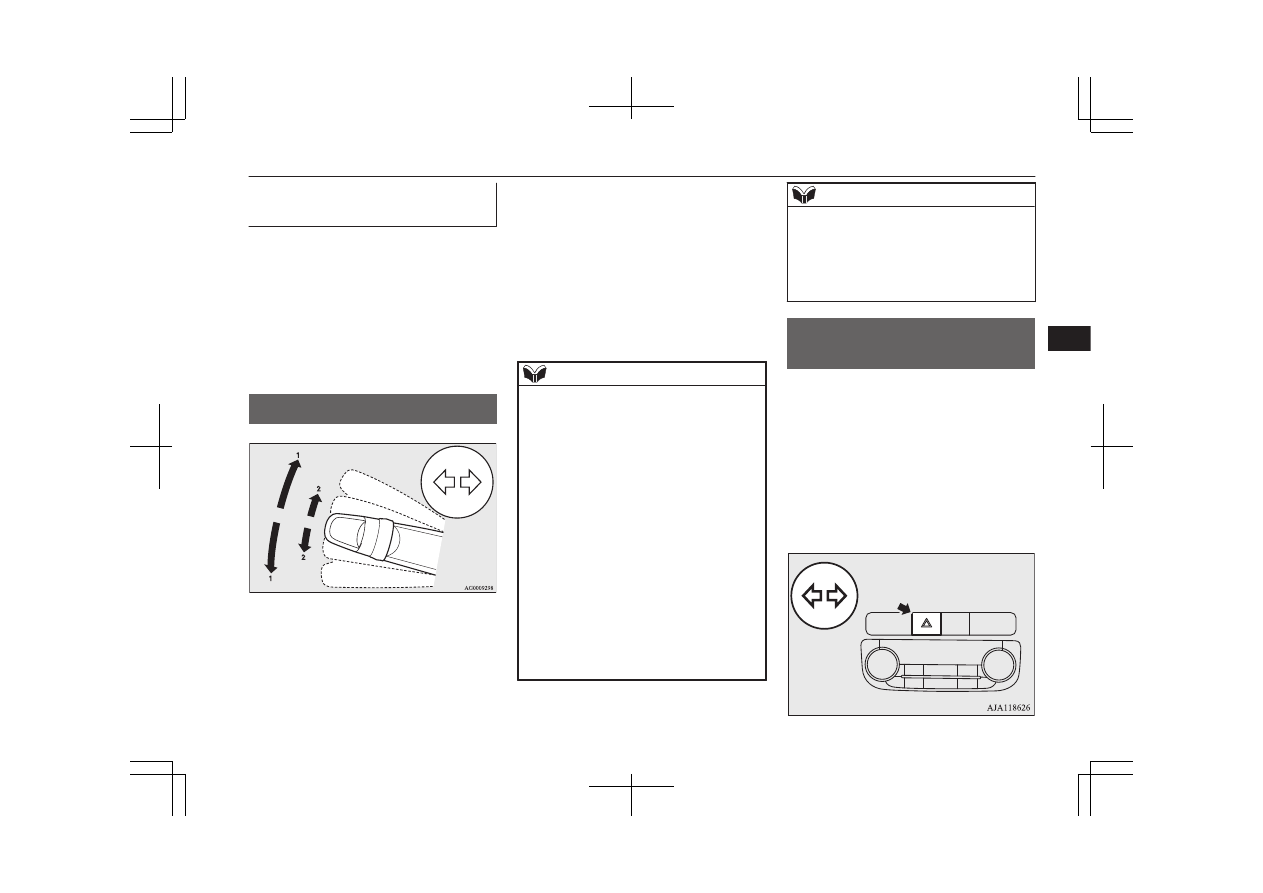
Turn-signal lever
E00506502948
1- Turn-signals
When making a normal turn, use posi-
tion (1). The lever will return automati-
cally when cornering is completed.
2- Lane-change signals
When moving the lever to (2) slightly to
change a lane, the turn-signal lamps and
indication lamp in the instrument cluster
will only flash while the lever is operat-
ed.
Also, when you move the lever to (2)
slightly then release it, the turn-signal
lamps and indication lamp in the instru-
ment cluster will flash 3 times.
NOTE
l
If the lamp flashes unusually quickly, the
bulb in a turn-signal lamp may have burned
out. We recommend you to have the vehicle
inspected.
l
It is possible to activate the following func-
tions.
•
Flashing of the turn-signal lamps when
the lever is operated with the operation
mode is in ACC.
•
Deactivate the turn-signal lamp 3-flash
function for lane changes.
•
The time required to operate the lever for
the 3-flash function can be adjusted.
For further information, we recommend you
to consult a MITSUBISHI MOTORS Au-
thorized Service Point.
On vehicles equipped with the Smartphone
Link Display Audio or the MITSUBISHI
Multi-Communication System (MMCS),
screen operations can be used to make the
NOTE
adjustment. Refer to the separate owner’s
manual for details.
l
It is possible to change the tone of a sound-
ing buzzer as the turn-signal lamps flash.
Refer to “Changing the turn-signal sound”
on page 6-22.
Hazard warning flasher
switch
E00506602457
Use the hazard warning flasher switch when
the vehicle has to be parked on the road for
any emergency.
The hazard warning flashers can always be
operated, regardless of the operation mode.
Push the switch to turn on the hazard warning
flashers, all turn-signal lamps flash continu-
ously. To turn them off, push the switch
again.
Turn-signal lever
6-67
OGGE19E1
Instruments and controls
6