Defender (1999-2002). Manual - part 99


  Index      Land Rover     Defender - service manual 1999-2002 year


Search            


Content   ..  97  98  99  100   ..


Defender (1999-2002). Manual - part 99


CHASSIS AND BODY

25

REPAIR

Refit

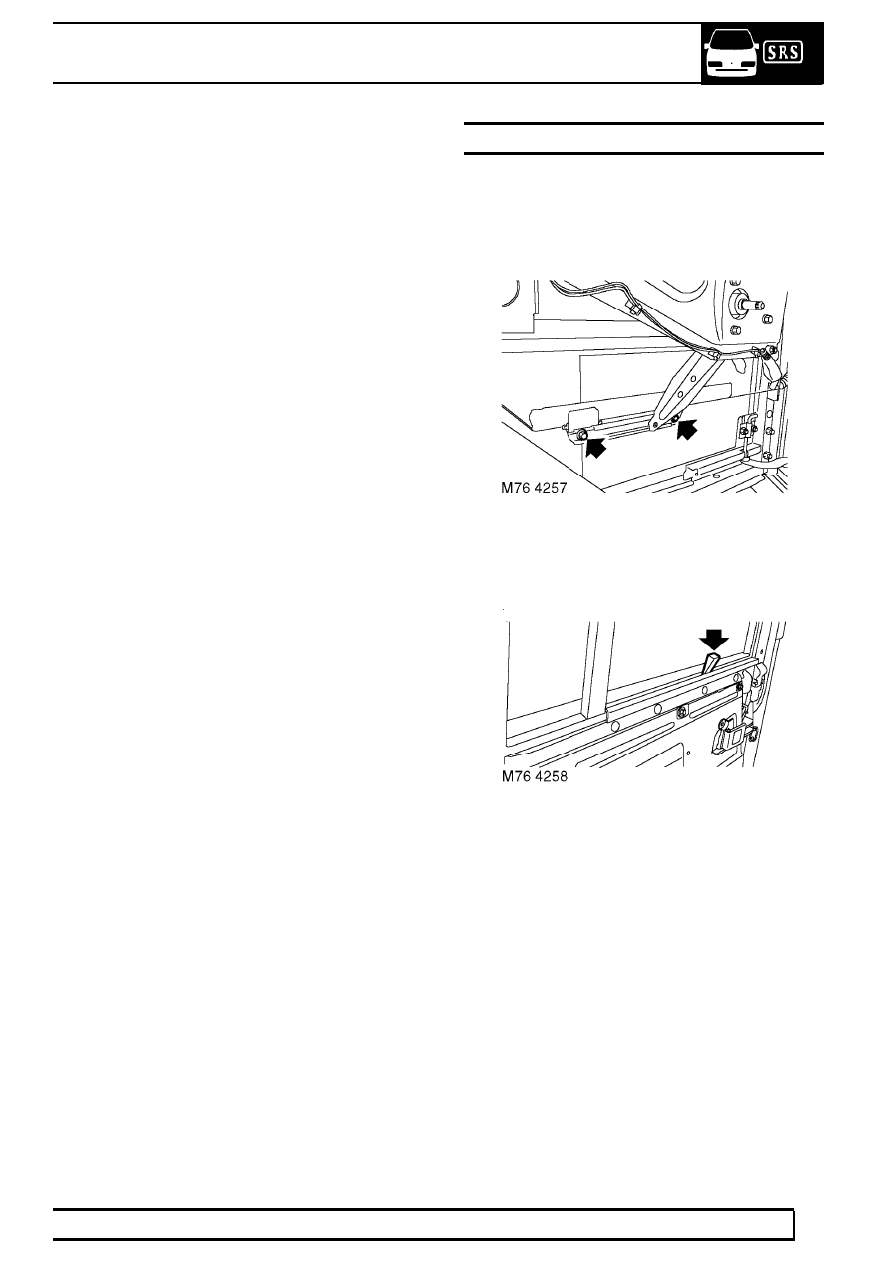
12. Position panel assembly, fit bolts and nut and

tighten to 10 Nm (7lbf.ft).

13. Connect multiplug to motor.
14. Secure harness clips and sleeve.
15. Connect interior handle link to latch and secure

with clip.

16. Connect multiplug to solenoid, locate solenoid to

mounting panel and tighten screws.

17. Fit and secure link.
18. Remove wedges, lower glass and locate to

regulator. Fit bolts and tighten to 6 Nm (4 lbf.ft).

19. Raise and lower glass to check operation.
20. Fit plastic sheet. See this Section.
21. Adjust door lock solenoid. See ELECTRICAL,

Adjustment.

PANEL - MOUNTING - REAR DOOR - FROM 02MY

Service repair no - 76.11.29

Remove

1. Remove plastic sheet. See this Section.

2. Lower glass and remove 2 bolts securing door

glass to regulator.

3. Release glass from regulator, raise and wedge

in raised position.

76

CHASSIS AND BODY

26

REPAIR

4. Release clip, detach and remove lock solenoid

link.

5. Release clip and disconnect interior handle link

from latch mechanism.

6. Remove clip and disconnect sill button link.

7. Release clips securing harness to panel.
8. Disconnect multiplug from solenoid.
9. Release harness sleeve and withdraw harness

from door.

10. Remove 5 bolts and 1 nut securing panel.
11. Remove panel assembly.

Refit

12. Position door mounting panel assembly, fit bolts

and nut and tighten to 10 Nm (7lbf.ft).

13. Connect multiplug to solenoid.
14. Secure harness clips and sleeve.
15. Connect interior handle link to latch and secure

with clip.

16. Connect link to sill button and fit clip.
17. Fit and secure solenoid link.
18. Remove wedges, lower glass and locate to

regulator. Fit bolts and tighten to 6 Nm (4 lbf.ft).

19. Raise and lower glass to check operation.
20. Fit plastic sheet. See this Section.

CHASSIS AND BODY

27

REPAIR

FACIA CONSOLE - FROM 02MY

Service repair no - 76.25.03

Remove

1. Disconnect battery earth lead. See

ELECTRICAL, Repair.

2. Remove radio. See ELECTRICAL, Repair.

3. Remove 4 screws securing instrument pack and

release pack from fascia.

4. Disconnect 2 multiplugs from warning lamp

panel.

5. Disconnect instrument pack multiplug from main

harness.

6. Remove instrument pack.

7. Remove 3 screws securing heater control and

release control from fascia.

8. Carefully prise Land Rover decal from grab

handle.

9. Remove 2 screws securing grab handle and

remove handle.

10. Remove 4 screws and remove demister vents.

76

CHASSIS AND BODY

28

REPAIR

11. Remove 5 screws securing crash pad and

remove pad.

12. Remove 5 screws and release fascia console.

13. Disconnect Lucar connection and multiplug from

cigar lighter.

14. Disconnect multiplugs from remaining switches

and remove console.

15. Remove operating knob from light switch.
16. Remove nut securing light switch and remove

switch from console.

17. Release cigar lighter body and remove from

console.

18. Remove switches from console.
19. Release tabs and remove radio mounting

bracket.

Refit

20. Fit radio bracket and secure with tabs.
21. Fit and secure cigar lighter body to console.
22. Fit light switch and secure with nut.
23. Fit operating knob to switch.
24. Fit remaining switches to console.


Content   ..  97  98  99  100   ..