Defender (1993+). Manual - part 83
BRAKING
SYSTEM
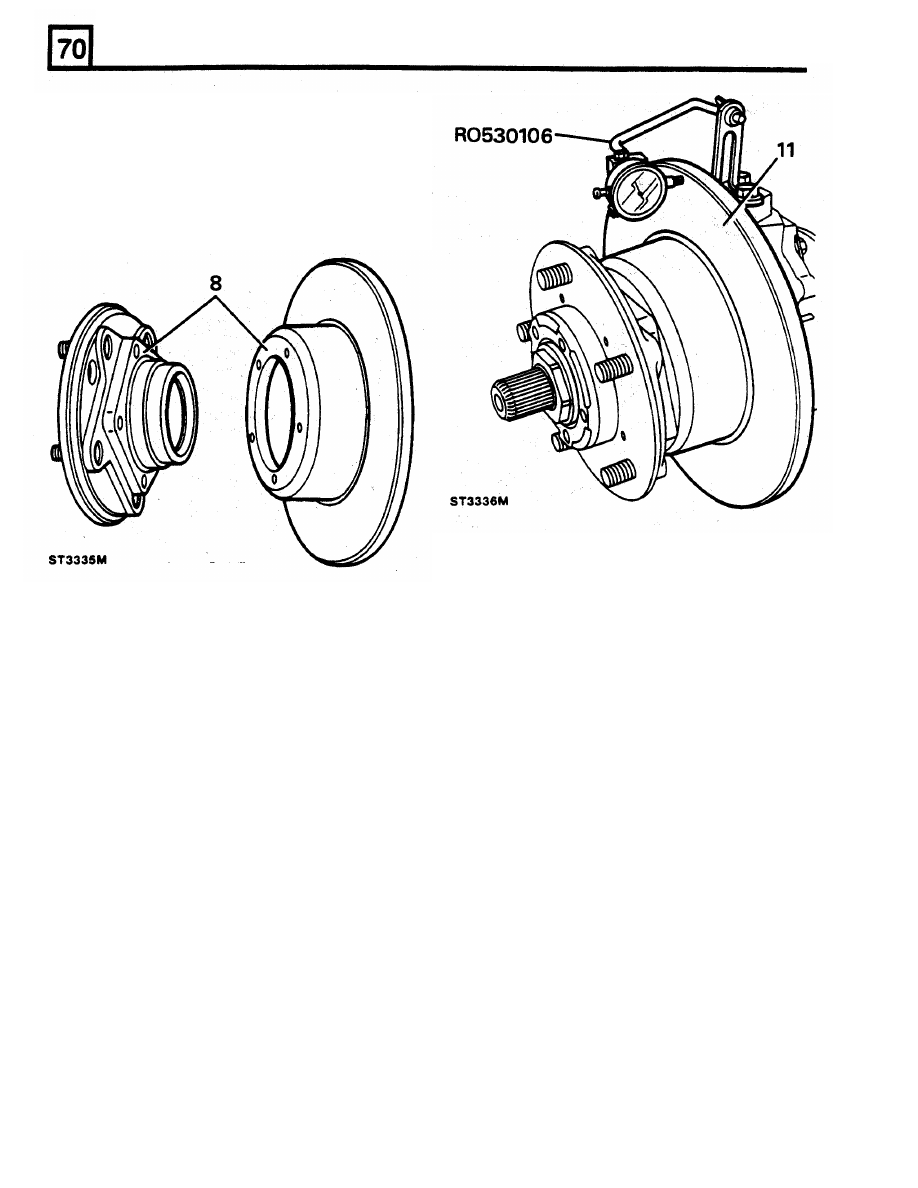
Fitting
8.
Make sure that disc and hub mating faces are
clean and free
from
burrs or any other
irregularities that could cause the disc to run
out
excessively.
9.
Assemble the disc to the hub with the five
bolts and tighten evenly to the correct torque.
12. Continue with instructions 32
to
41,
SECTION
54.
10.
Fit
the hub and disc assembly to the axle by
following instructions 24
to
31,
SECTION
54.
11. Mount the dial test indicator bracket
RO
530106 or a suitable alternative on the top
swivel and rest the stylus
of
the dial indicator
on the disc face near to the periphery. The
maximum run out must not exceed 0,151 mm.