Hyundai Santa Fe (2006 year). Manual - part 125
 

  Index      Hyundai     Hyundai Santa Fe - service repair manual 2006 year


Search            


Content   ..  123  124  125  126   ..


Hyundai Santa Fe (2006 year). Manual - part 125


INTERIOR

BD -83

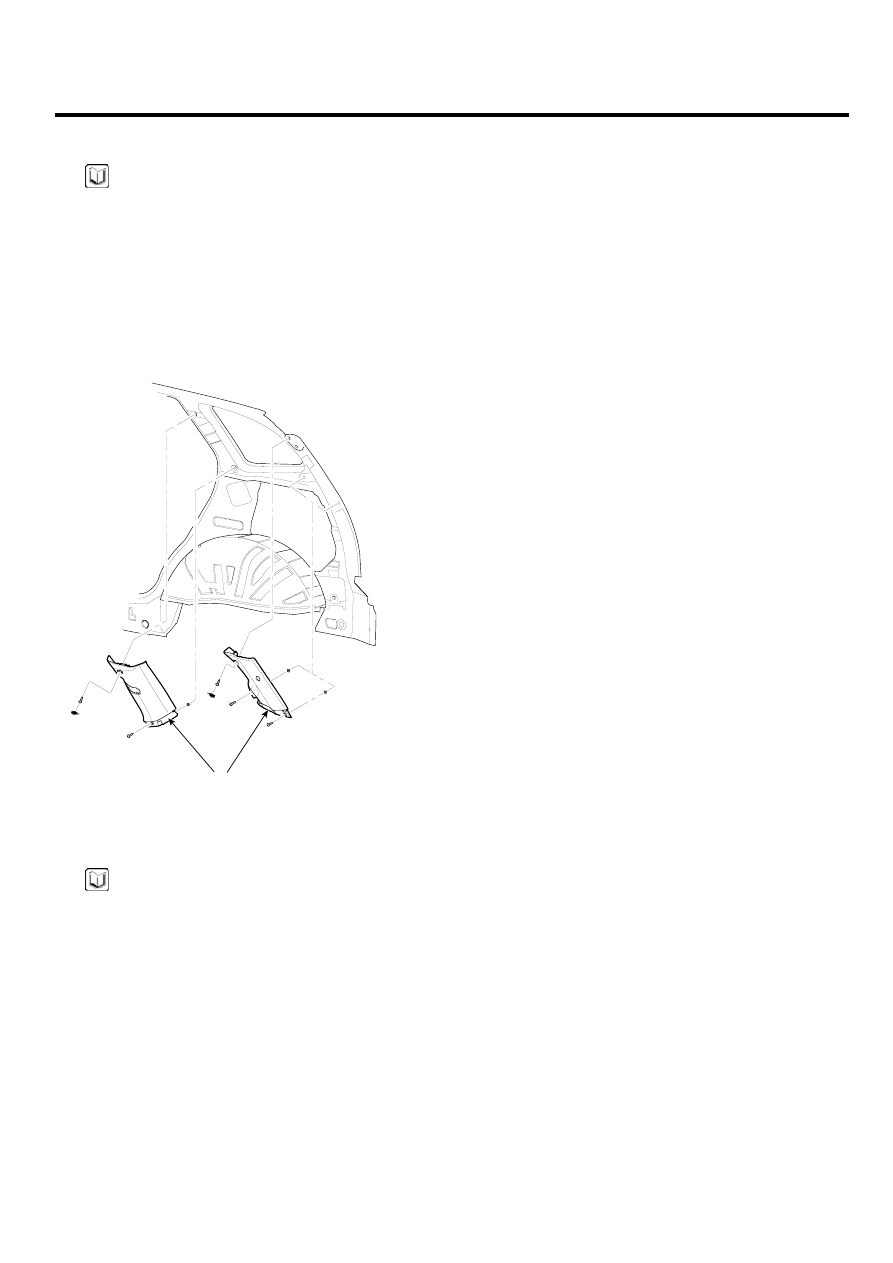
REAR PILLAR TRIM REPLACEMENT

NOTE

-

Put on gloves to protect your hands.

-

When prying with a flat-tipped screwdriver, wrap
it with protective tape to prevent damaged.

-

Take care not to bend or scratch the trim and
panels.

1.

Remove the luggage side trim. (See page BD- 84)

2.

Remove the rear pillar trim (A).

A

SCMBD6103D

3.

Installation is the reverse of removal.

NOTE

-

Replace any damaged clips.

BD -84

BODY (INTERIOR AND EXTERIOR)

LUGGAGE SIDE TRIM REPLACEMEN

NOTE

-

Put on gloves to protect your hands.

-

When prying with a flat-tipped screwdriver, wrap
it with protective tape to prevent damaged.

-

Take care not to bend or scratch the trim and
panels.

1.

Remove the rear seat. (See page BD- 102)

2.

Remove the rear seat belt lower anchor. (See page
BD- 119)

3.

After loosening the mounting screws, then remove the
luggage side trim.

4.

Installation is the reverse of removal.

9

2

1

8

10

7

6

5

3

4

1. Luggage side trim (LH)
2. Luggage side trim (RH)
3. Luggage flower box trim
4. Jack
5. First AIP kit

6. Trianlge ssy car warning
7. Fire extinguisher
8. Transverse
9. Luggage net
10. Striker cover

: Screw Locations

SCMBD6174L

INTERIOR

BD -85

WINDSHIELD GLASS

COMPONENTS

EB4D977E

1

2

1. Windshield upper molding 
2. Windshield glass

SCMBD6176L

BD -86

BODY (INTERIOR AND EXTERIOR)

REPLACEMENT

EEB750D4

REMOVAL

NOTE

-

Put on gloves to protect your hands.

-

Use seat covers to avoid damaging any surfaces.

1.

Remove the following items.
-

Outside rear view mirror. (See page BD- 54)

-

Front pillar trim, both sides. (See page BD- 81)

-

Windshield wiper arms and cowl cover. (See
page BE-“ Windshield wiper” )

-

Sunvisore and holders, both sides, overhead
console, Grab handles, both sides. (See page
BD- 76)

2.

Remove the molding (A) from the edge of the wind-
shield (B). If necessary, cut the molding with a utility
knife.

A

A

B

SCMBD6516L

3.

Pull down the front portion of the headliner. Take
care not to bend the headliner excessively, or you may
crease or break it.

4.

Cut out the sealant using the sealant cutting tool (A)
(09861-31100).

A

A

ASIE070C

5.

Remove the windshield (A) carefully using the glass
holder (B)(09861-31100).

B

A

ASIE070D


Content   ..  123  124  125  126   ..