Hyundai Santa Fe (2006 year). Manual - part 122
INTERIOR
BD -71
AIR VENT REPLANCMENT
DRIVER’S
1.
Remove the crash pad side cover. (See page BD- 72)
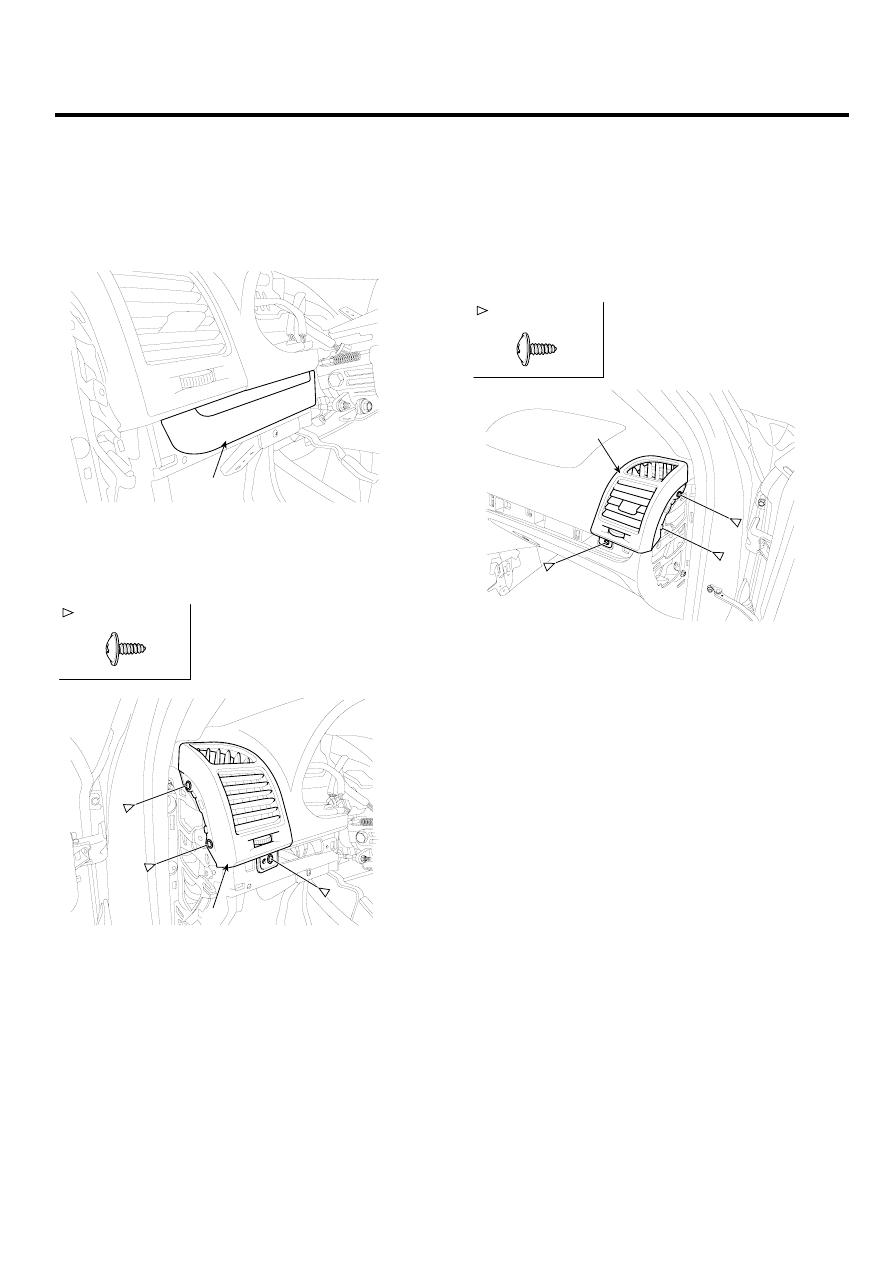
2.
Remove the center garnish (A).
A
SCMBD6087D
3.
After loosening the mounting screw, then remove the
air vent (A).
A
: Screw Locations, 3
SCMBD6088L
4.
Installation is the reverse of removal.
PASSENGER’S
1.
Remove the crash pad side cover. (See page BD- 72)
2.
Remove the crash pad center lower garnish. (See
page BD- 66)
3.
After loosening the mounting screw, then remove the
air vent (A).
A
: Screw Locations, 3
SCMBD6089L
4.
Installation is the reverse of removal.