Ford Galaxy / Ford S-MAX. Manual - part 85
 

  Index      Ford     Ford Galaxy / Ford S-MAX - service repair manual 2006 year


Search            


Content   ..  83  84  85  86   ..


Ford Galaxy / Ford S-MAX. Manual - part 85


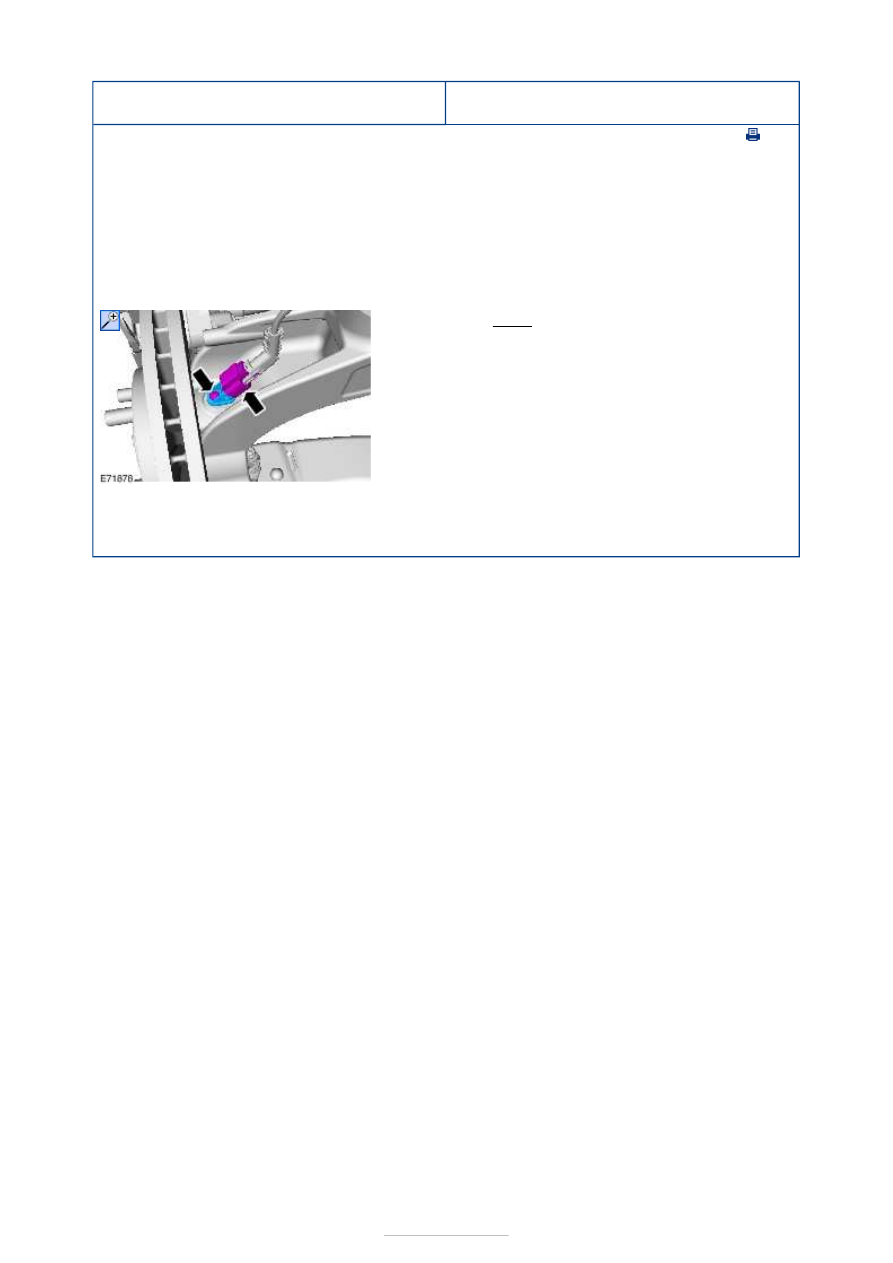
Anti-Lock Control - Front Wheel Speed 
Sensor

S-MAX/Galaxy 2006.5 (02/2006-)


Print


Removal and Installation 

Removal 

NOTE: Removal steps in this procedure may contain installation details. 

Installation 

1. Remove the wheel and tire. 

Refer to: 

Wheel and Tire

 (204-04 Wheels and 

Tires, Removal and Installation). 

2. Torque: 5 Nm 

1. To install, reverse the removal procedure. 


Anti-Lock Control - Rear Wheel Speed 
Sensor

S-MAX/Galaxy 2006.5 (02/2006-)


Print


Removal and Installation 

Removal 

Installation 

1. Clean the sensor, electrical connector and the 

area around the sensor. 

2.

CAUTION: Make sure that all openings 

are sealed. 

5. Using a lint-free cloth, clean the sensor O-

ring groove and the sensor bolt housing. 

1.

CAUTION: Take extra care not to 

damage the seal. 
NOTE: Make sure that the sensor housing is 
clean and free of foreign material. 

2.

CAUTION: Take extra care not to 

damage the seal. 
NOTE: Make sure that the mating faces are 
clean and free of foreign material. 

Position the sensor. 

3.

WARNING: Only use moderate force 

when installing the sensor. 

4.   

1. Torque: 5 Nm 


Anti-Lock Control - Hydraulic Control Unit 
(HCU)

S-MAX/Galaxy 2006.5 (02/2006

Removal and Installation 

Removal 

CAUTION: Refer to: Brake System Health and Safety Precautions (100-00 General 

Information, Description and Operation). 

1.  

2.   

1. Connect one end of a suitable piece of clear 

plastic pipe to the brake caliper bleed nipple and 
place the other end into a suitable container. 

2. Loosen the bleed nipple. 
3. Depress the brake pedal until all the brake fluid is 

drained from the brake fluid reservoir. 

4. Tighten the bleed nipple. 
5. Repeat the draining procedure on the opposite 

side brake caliper. 

3.  

4.   

3. Detach 

the A
pillar 
exterior 
trim 
lower 
retaining 
clips.

5.  


Content   ..  83  84  85  86   ..