Ford Galaxy / Ford S-MAX. Manual - part 51
 

  Index      Ford     Ford Galaxy / Ford S-MAX - service repair manual 2006 year


Search            


Content   ..  49  50  51  52   ..


Ford Galaxy / Ford S-MAX. Manual - part 51


Wheels and Tires - Wheel and Tire

S-MAX/Galaxy 2006.5 (02/2006-)


Print


Removal and Installation 

Removal 

CAUTIONS: 

Do not use heat to loosen a seized wheel nut. 

Do not use power tools on locking wheel nuts. 

Installation 

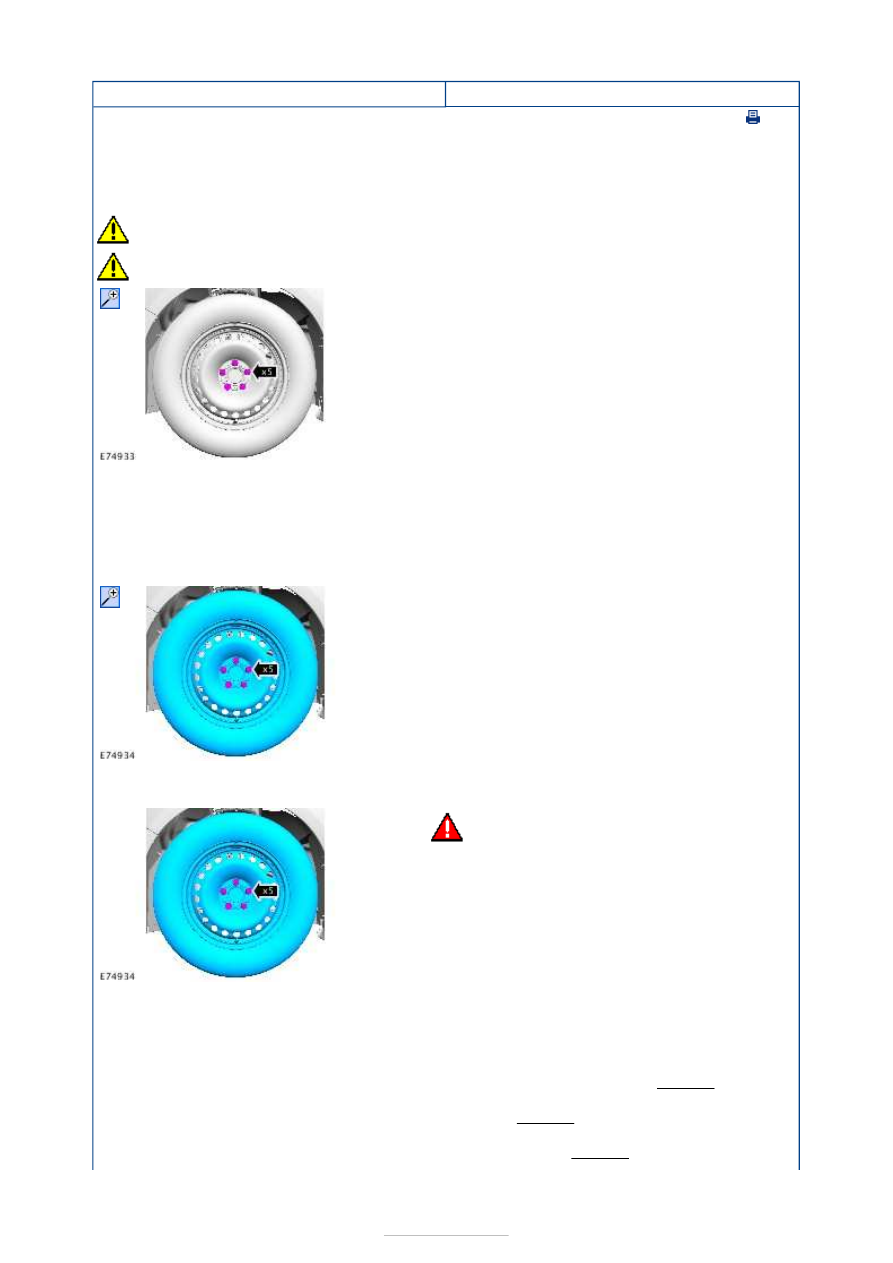
1. Loosen the wheel nuts. 

2. Raise and support the vehicle.  

Refer to: 

Jacking

 (100-02 Jacking and Lifting, 

Description and Operation). 
Refer to: 

Lifting

 (100-02 Jacking and Lifting, 

Description and Operation). 

3.  

1.

WARNING: Make sure that the mating 

faces are clean and free of corrosion and 
foreign material 
NOTE: Only tighten the nuts finger tight at 
this stage. 

2. Lower the vehicle. 

3. Tighten the wheel nuts in the sequence shown. 

Torque: 

Steel wheel nut M12 silver 140 Nm 
2-piece alloy wheel nut M12 with conical 
washer 140 Nm 
2-piece alloy wheel locking nut M12 with 
conical washer 110 Nm 


1-piece alloy wheel locking nut M12 140 Nm 
All nuts M14 including locking nuts 170 Nm 


Wheels and Tires - Tire Low Pressure 

Sensor

S-MAX/Galaxy 2006.5 (02/2006-)


Print


Removal and Installation 

Removal 

Installation 

1. Remove the wheel and tire.  

Refer to: 

Wheel and Tire

 (204-04 Wheels and 

Tires, Removal and Installation). 

2. Remove the tire from the wheel, release the tire 

bead from the rim 180 degrees from the valve. 

3.  

4.  

1.

NOTE: Make sure that the seal is correctly 
located. 

Install a new washer and seal, making sure the 
valve remains pressed fully onto its seat. 

2.

WARNINGS: 

Make sure that any corrosion or dirt is 

removed from the mating faces. 

Make sure that a new nut is installed. 

CAUTION: Use lint free cloth. 

1.

NOTE: Only tighten the nut finger tight 
at this stage. 

Install the tire low pressure sensor and 
support the sensor body in position. 


2. Support the back of the valve stem in 

order to prevent rotation and damage to 
the tire low pressure sensor body. 

3.

CAUTION: Only use moderate 

force when installing the sensor. 

Gently push the nut towards the center of 
the wheel. Tighten the nut. 

Torque: 

8.0 Nm 

3. Install the tire and balance the wheel. 

4. Install the wheel and tire.  

Refer to: 

Wheel and Tire

 (204-04 Wheels and 

Tires, Removal and Installation). 


Content   ..  49  50  51  52   ..