Dodge Ram Truck 1500-2500-3500. Manual - part 251
 

  Index      Dodge     Dodge Ram Truck 1500-2500-3500 - service repair manual 2005 year


Search            


Content   ..  249  250  251  252   ..


Dodge Ram Truck 1500-2500-3500. Manual - part 251


POWER AMP SHUTDOWN - BASE RADIO (CONTINUED)

5.

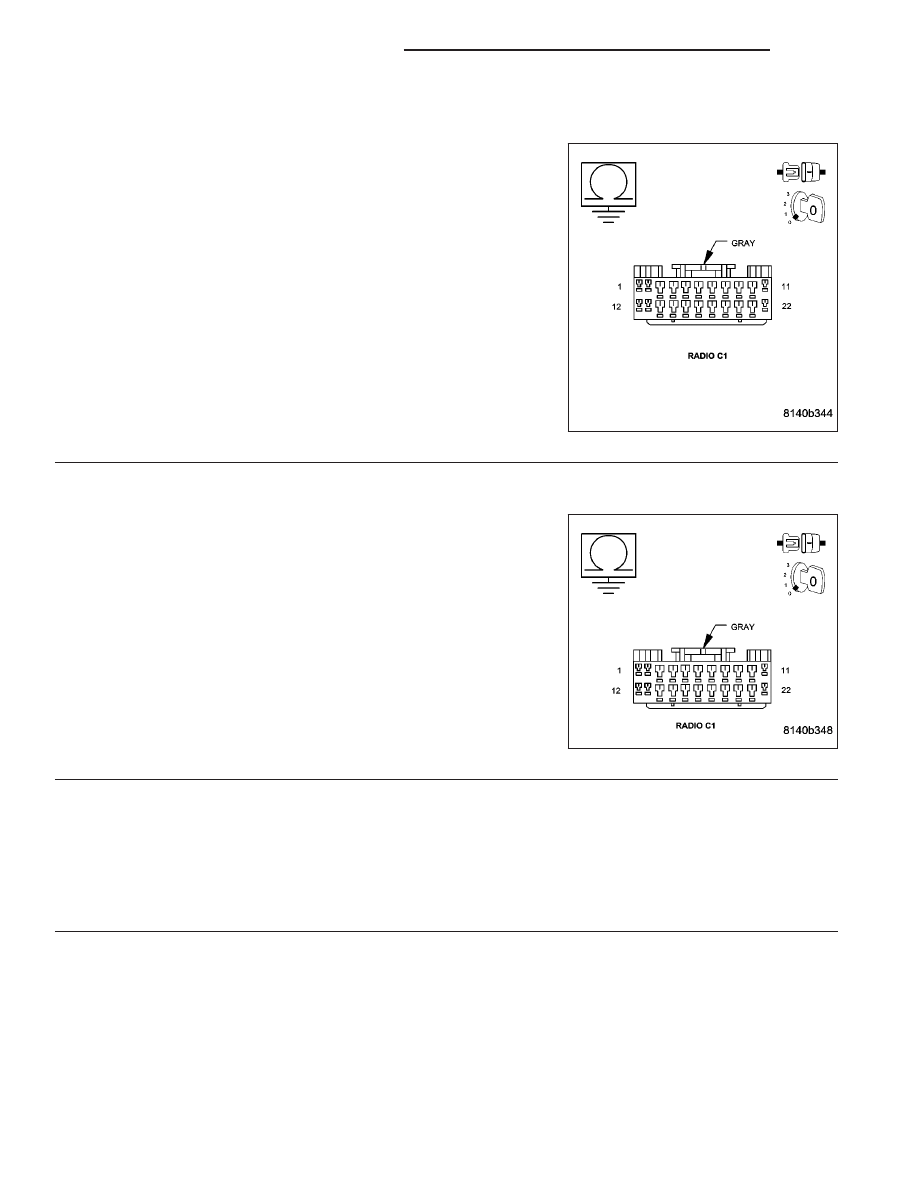
(-) CIRCUIT SHORTED TO GROUND

Turn the ignition off.

Disconnect each front and rear speaker harness connector.

Disconnect the Radio harness connector.

Measure the resistance between ground and each speaker (-) circuit.

Is the resistance below 1000.0 (1K) ohms?

Yes

>> Repair the speaker (-) circuit for a short to ground.

Perform BODY VERIFICATION TEST - VER 1.

No

>> Go To 6

6.

SPEAKER (+) & (-) CIRCUITS SHORTED TOGETHER

Turn the ignition off.

Disconnect each front and rear speaker harness connector.

Disconnect the Radio harness connector.

Measure the resistance between each speaker (+) circuit and each
speaker (-) circuit.

Is the resistance below 1000.0 (1K) ohms for any of the mea-
surements?

Yes

>> Repair the speaker circuits shorted together.

Perform BODY VERIFICATION TEST - VER 1.

No

>> Go To 7

7.

SPEAKER SECTION OF RADIO

If there are no possible causes remaining, view repair.

Repair

Replace the Radio.

Perform BODY VERIFICATION TEST - VER 1.

8A - 6

AUDIO - ELECTRICAL DIAGNOSTICS

DR/DH

POWER AMP SHUTDOWN - PREMIUM

For the Audio system circuit diagram (Refer to 8 - ELECTRICAL/AUDIO - SCHEMATICS AND DIAGRAMS).

For a complete wiring diagram Refer to Section 8W.

When Monitored:
Ignition in RUN and IOD fuse installed.

Set Condition:
The radio has sensed a short on the output for more than 10 seconds.

Possible Causes

AMPLIFIER

(+) CIRCUIT SHORTED TO GROUND

(-) CIRCUIT SHORTED TO GROUND

SPEAKER (+) & (-) CIRCUITS SHORTED TOGETHER

1.

DETERMINE FAULT

Turn the ignition on.

Turn the Radio on.

With the DRBIII

T

, erase the audio DTC’s.

Cycle the ignition switch from off to on and wait 10
seconds.

With the DRBIII

T

, read the audio DTC’s.

Does the DRBIII

T

display POWER AMP SHUT-

DOWN?

Yes

>> Go To 2

No

>> Refer to the wiring diagrams located in

the service information to help isolate a
possible intermittent short.

Perform BODY VERIFICATION TEST -
VER 1.

2.

SPEAKER SECTION OF POWER AMPLIFIER

Turn the ignition off.

Disconnect the Power Amplifier harness connector.

Turn the ignition on.

Turn the radio on.

With the DRBIII

T

, erase the audio DTCs.

Cycle the ignition switch from off to on and wait 10 seconds.

With the DRBIII

T

, read DTC’s.

Does the DRBIII

T

display POWER AMP SHUTDOWN?

Yes

>> Go To 3

No

>> Replace the Power Amplifier in accordance with the service information.

Perform BODY VERIFICATION TEST - VER 1.

DR/DH

AUDIO - ELECTRICAL DIAGNOSTICS

8A - 7

POWER AMP SHUTDOWN - PREMIUM (CONTINUED)

3.

(+) CIRCUIT SHORTED TO GROUND

Turn the ignition off.

Disconnect the Power Amplifier harness connector.

Disconnect the Radio harness connector.

Measure the resistance between ground and any speaker (+) circuit.

Is the resistance below 1000.0 (1K) ohms?

Yes

>> Repair the speaker (+) circuit for a short to ground.

Perform BODY VERIFICATION TEST - VER 1.

No

>> Go To 4

4.

(-) CIRCUIT SHORTED TO GROUND

Turn the ignition off.

Disconnect the Power Amplifier harness connector.

Disconnect the Radio harness connector.

Measure the resistance between ground and any speaker (-) circuit.

Is the resistance below 1000.0 (1K) ohms?

Yes

>> Repair the speaker (-) circuit for a short to ground.

Perform BODY VERIFICATION TEST - VER 1.

No

>> Go To 5

8A - 8

AUDIO - ELECTRICAL DIAGNOSTICS

DR/DH

POWER AMP SHUTDOWN - PREMIUM (CONTINUED)

5.

SPEAKER (+) & (-) CIRCUITS SHORTED TOGETHER

Turn the ignition off.

Disconnect the Power Amplifier harness connector.

Disconnect the Radio harness connector.

Measure the resistance between each speaker (+) circuit and each
speaker (-) circuit.

Is the resistance below 1000.0 (1K) ohms for any of the mea-
surements?

Yes

>> Repair the speaker circuits shorted together.

Perform BODY VERIFICATION TEST - VER 1.

No

>> Go To 6

6.

SPEAKER SECTION OF RADIO

If there are no possible causes remaining, view repair.

Repair

Replace the Radio.

Perform BODY VERIFICATION TEST - VER 1.

DR/DH

AUDIO - ELECTRICAL DIAGNOSTICS

8A - 9


Content   ..  249  250  251  252   ..