Citroen Jumpy Multispace (2014 year). Instruction - part 9
Checks
CHECKS
6
JUMPY-ATLANTE-VP_EN_CHAP06_VERIFICATIONS_ED01-2014
CHECKS
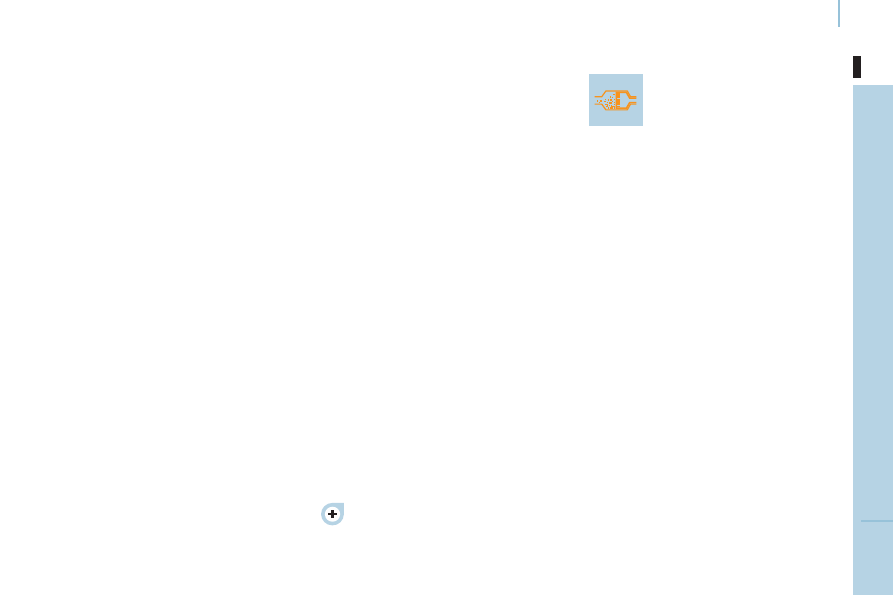
Battery
At the start of winter, have your battery
checked by a CITROËN dealer or a qualified
workshop.
Brake pads
Brake pad wear depends on the style of
driving, in particular for vehicles which are
used in town, over short distances. It may
be necessary to check the thickness of the
pads, even between services.
Unless there is a leak in the system, a drop
in the brake fluid level indicates that the
brake pads are worn.
Brake disc / drum wear
For any information on checking the brake
disc / drum wear, contact a CITROËN dealer
or a qualified workshop.
Parking brake
Where the parking brake travel is too great
or there is a reduction in the performance
of the system, the parking brake should be
adjusted, even between services.
Have the system checked by a CITROËN
dealer or a qualified workshop.
Oil filter
Change the filter regularly, in accordance
with the servicing schedule.
Carbon filter and passenger
compartment filter
The carbon filter permits continuous and
effective filtering of dust.
If the passenger compartment filter becomes
clogged, this may reduce the performance
of the air conditioning system and generate
unpleasant odours.
We recommend the use of a combined
passenger compartment filter. By means of
its second special active filter, it contributes
to the purification of the air breathed by
the occupants and the cleanness of the
passenger compartment (reduction of
allergic symptoms, unpleasant odours and
greasy deposits).
Refer to the servicing and warranty booklet
to find out the replacement interval for these
components.
Depending on the environment (dusty
atmosphere...) and the use of the vehicle
(urban driving...), change them twice as
often if necessary.
Particle emission filter (Diesel)
This filter actively contributes
to the preservation of air quality
by trapping unburnt polluting
particles. It is controlled
completely and automatically by the engine
management system.
This warning lamp comes on if there is a risk
of blockage of the filter.
This alert signals the start of saturation of
the particle emissions filter (exceptionally
prolonged driving in urban conditions:
reduced speed, traffic jams…).
If this alert persists, contact a CITROËN
dealer or a qualified workshop.
On acceleration after the vehicle has been
running for a prolonged period at very low
speed or at idle, you may, in exceptional
circumstances, notice the emission of water
vapour at the exhaust. This water vapour
does not have any adverse effect on vehicle
handling or the environment.
To regenerate the filter, it is recommended
that as soon as driving conditions permit,
you drive at a speed of at least 36 mph
(60 km/h) for at least 5 minutes (until the
warning lamp goes off and/or the message
disappears).
Refer to "Under the bonnet" in section 6.