Citroen Jumpy Multispace (2014 year). Instruction - part 3
31
Instruments and controls
READ
Y T
O GO
2
JUMPY-ATLANTE-VP_EN_CHAP02_PRET A PARTIR_ED01-2014
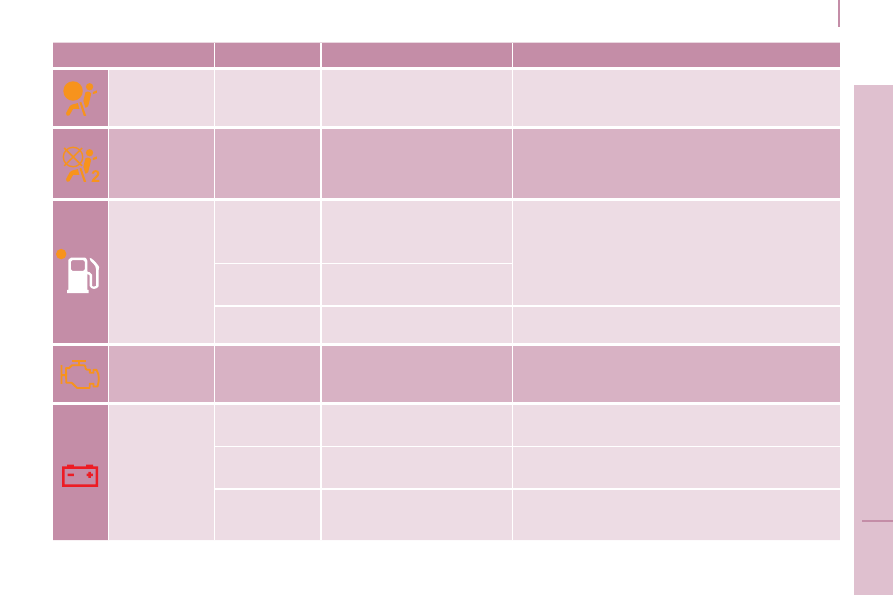
Warning lamp
is
indicates
Solution-action
Front / lateral /
curtain airbag
flashing or
remains on.
failure of an airbag.
Have the system checked by a CITROËN dealer
or a qualified workshop without delay. Chapter 4,
"Airbags" section.
Front
passenger
airbag
deactivated
on.
intentional deactivation of this
airbag in the presence of a
rearwards facing child seat.
Chapter 4, "Airbags-children on board" section.
Low fuel level
on with gauge
needle in the red
zone.
that when it first comes on
approximately 8 litres of fuel
remain.
It is essential to fill the tank to avoid running out of fuel.
Never continue to drive until you run out of fuel, this
could damage the emissions control and injection
systems.
Tank capacity: approximately 80 litres.
remains on each time the
ignition is switched on.
not enough fuel added.
flashing.
fuel supply cut off following a
serious impact.
Restore the supply. Chapter 6, "Fuel" section.
EOBD emission
control system
flashing or
remains on.
malfunction of the system.
Have the system checked by a CITROËN dealer or a
qualified workshop as soon as possible.
Battery charge
on.
fault in the charging circuit.
Check the battery terminals, … Chapter 7,
"Battery" section.
flashing.
placing of the active functions
on standby (economy mode).
Chapter 7, "Battery" section.
remaining on,
in spite of the
checks.
faulty circuit, injection or
ignition malfunction.
Contact a CITROËN dealer or a qualified workshop.