Chery S11 / Chery QQ. Manual - part 258
 

  Index      Chery     Chery S11 / Chery QQ - service repair manual


Search            


Content   ..  256  257  258  259   ..


Chery S11 / Chery QQ. Manual - part 258


Chery    QQ    Maintenance Manual                        Transmission System


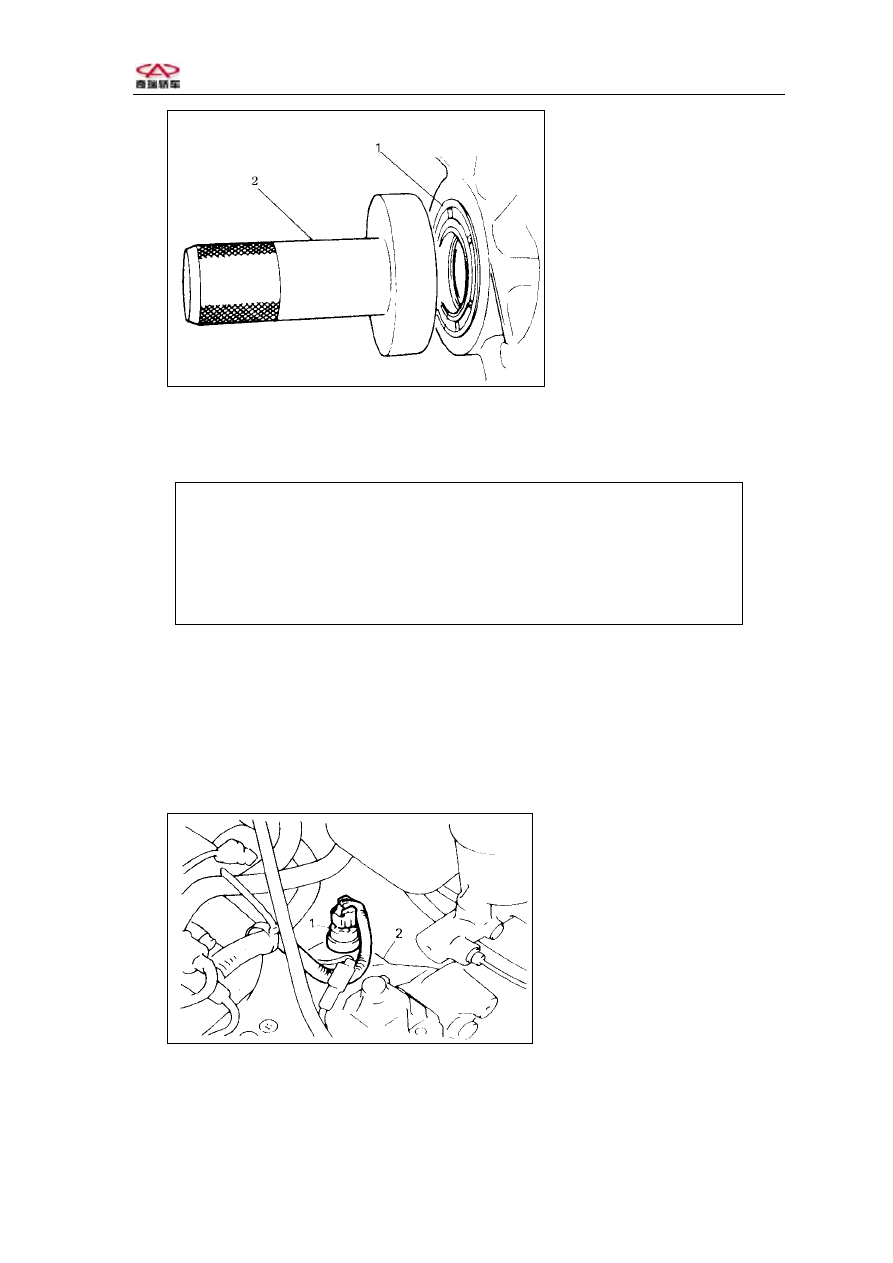
1- Differential oil seal   

2- Special tool   

                                  Fig.2-5 
8,Check if the surface of the oil    seal      is smooth and spread some lubricant on it. 
9,Insert the  drive  shaft into the  differential . 
 

 CAUTION 

 Do not scratch the labium of the oil seal when installing the drive 

shaft. 

 Be sure the drive shaft has reached the right position and thesnap 

ring has been put into the snap ring slot. 

 Do not hammer the boot of the drive shaft. 


III,VSS 

Dismantle: 
1,Disconnect the cathode of the battery. 
2,Draw back the    speedometer cable Boot , pull out the    Speedometer gear    Snap 

ring , and then remove the    speedometer    cable from the gear    , disconnect the    vss   
connect . 


1- Speedmeter sensor 

2- Transaxle   


                              Fig.2-6 


3. Remove the bolt, pull out the driven gear assembly with hands. 
4,Use 2.8-3.0mm(0.11in) slotted spring pin disassembly tool to beat the slotted 

-44-  


Chery    QQ    Maintenance Manual                        Transmission System


spring pin out, and then draw out the driven gear, remove the VSS. 


1- Speedmeter sensor 

2- O-ring 

3- Speed meter driven gear 

                              Fig.2-7 
5.Use the clamp to fix the plane part of the driven gear box, use professional tools 

bearing disassembly tool and puller slide hammer to remove the oil seal.   

Installation: 
1.  Spread lubricant on the new oil seal, keep the spring downwards and put the oil 

seal into the box. Use valve guide bushing remover to install.   

2.  Check the driven gear has been abnormally frayed or distorted. After spreading 

lubricant on the driven gear put the fine driven gear into the driven gearbox. 

3.Use wood to support driven gear box, install the slotted spring    pin, check if the 

gear turns smoothly. 

4.  Check if there are some lacuna on the O-seal and gearbox. Spread some oil on 

the O-seal, and then install the    driven gear box assembly in the    transaxle    . 

5.  Connect the speedometer cable, put the gearbox Snap ring and boot on the 

original position. 


CAUTION: 

·  Do not press the oil    seal excessively, otherwise the oil    seal    will be 

distorted.   

·Do not collide the    driven gear    and the driven gear box. 

·When installing the driven gear box assembly into the Transaxle, use small 

screwdriver to turn the driven gear till the driven gear joggle.   

·When installing the  driven gear  box into the  transaxle, the  gear box is 

now allowed to be collided. 
 

N·m kg·m 1b—ft 

Screw the gear box 

bolt tightly. 

4-7 0.4-0.7 

3.0-5.0 


-45-  


Chery    QQ    Maintenance Manual                        Transmission System


-46-  


Fig.2-8 


1,Driven gear    2,

Slotted  spring  pin 

        3,Driven  gear    box    4,Special tool   5,

Special tool  6,O –seal ring    7,Gear  box  snap ring     8, Oil  seal  

9,Special tool 


• 

Chery    QQ    Maintenance Manual                        Transmission System 

6. Check if the oil level is right. 

Disassembly: 

1. Disconnect the cathode of the battery. 
2. Disconnect the VSS connect. 


1-  VSS 

 2-Transaxle  

                              Fig.2-9 
3. Remove the VSS 


1-VSS 

2- O--ring   

3-Speedometer driven

gear  

Fig.2-10 
 

Installation: 

1. Check if there is any crack and disfigurement on the surface of the    o-ring   

and    VSS case, spread lubricant on the o-ring and Speedometer    driven gear , install 
them on the transaxle assembly. 

Screw tightly the torque : 8--12N·m. 


1- VSS   

2- O-ring   

3- Speedometer driven gear 

Fig.2-11 


47


Content   ..  256  257  258  259   ..