Chery A18. Manual - part 45
 

  Index      Chery     Chery A18 - service repair manual


Search            


Content   ..  43  44  45  46   ..


Chery A18. Manual - part 45


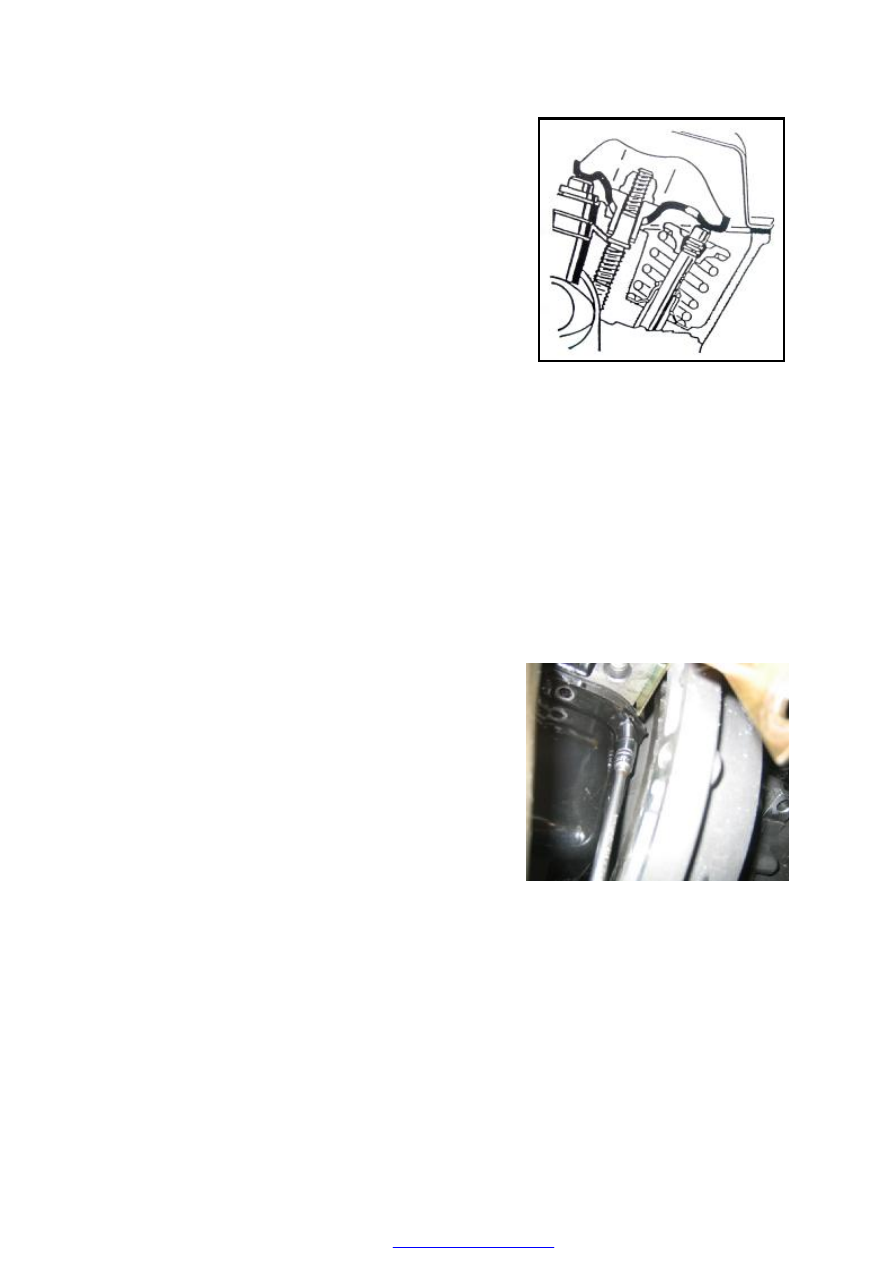
——Hydraulic jib gets oil through the oil passage 

through which the oil tank at the camshaft 
supplies oil to the cylinder cap. 

——The interface between valve rocker and hydraulic 

jib is lubricated by oil through the oil hole in 
hydraulic jib. 

——Rocker seat is lubricated by oil through cylinder 

cap oil passage. The interface between valve 
small end and rocker is lubricated through 
splashes. 


OIL PAN


Disassembly: 

——To unscrew the oil-tapping bolt and empty the 

pan. 

——To unscrew 18 M6X20 bolts. 

——To take out the oil pan gasket. 

——To  check  if  both  reinforcing  pads  are  clamped 

tightly on the back of the oil pan flange

.


Assembly: 

——To spread Letai 598 seal glue or GY409 

anaerobic glue on the connecting areas between 
cylinder oil pan flange and oil pump body and 
rear oil seal support.   


——To put the new rubber gasket on the cylinder 

body, placing both ends of the gasket into the rear 
oil seal support and oil pump rut.   

——To install oil pan, placing both ends of the gasket 

into oil pan rut. 

——To screw up the bolts (the bolts shown in the up 

left figure first) manually. 

——To screw up the bolts to 5.0 – 8.0N.m in order as 

shown in the left figure. 


A    From crankcase to oil pump body 

B    From crankcase to rear oil seal support 


OIL FILLING 

— — To  fill  the  engine  with  3.1 ± 0.15L  of  oil 

(SAE10W/30SF  grade, or  SAE5W/30SJ  grade at 
temperature lower than -18℃) 

——The  oil  surface  shall  be  between  “max”  and 

“min” on the dipstick. 


OIL STRAINER ASSEMBLY 

Disassembly: 

——To unscrew the locknut of the oil strainer support 

and take out the nut and gasket.   

——To unscrew and take out the support bolt. 

——To unscrew oil strainer flange bolts (two) and 

take out two gasket bolts with spring. 


——To  install  the  new  oil  strainer  gasket  to  the  oil 

pump  flange,  setup  the  oil  strainer  assembly  and 
screw up two bolts with gaskets.  —To screw the 
oil  strainer  support  to  the  cylinder  using  M8 
bolts,  put the  support onto the  stud on the  left of 
the  second  main  bearing  cap,  place  back  the  flat 
washer and screw up the nuts manually. 

— — To  screw  up  the  oil  strainer  flange  bolt  to 

8-12N.m. 

——To screw up the support bolt to 17-23N.m. 

——To screw up the locknut to 17-23N.m 


M6X16: M6x16 Bolt 
Fastening Torque Of 
8.0-12.0N.M 


Oil Strainer Assembly


Nut 

Flat 

Fastening Torque Of 8.0-12.0N.M 
Washer Bolts with Spring (Two) 


OIL PUMP AND FRONT OIL SEAL 

Disassembly: 

——To  unscrew  and  take  out  six  M6X30  hexagon 

flange bolts. 

——To take out oil pump and front oil seal assembly. 


——To  use  a  screwdriver  or  chisel  to  take  out  the 

crankshaft  front oil  seal  and  pay  attention  not to 
touch or damage the front oil seal. 


——To  take  out  7  M6  bolts  (as  indicated  by  the 

arrows in the figure). 


——To demount the oil pump cover plate. 


Content   ..  43  44  45  46   ..