Chery A series. Manual - part 90
 

  Index      Chery     Chery A series - service repair manual


Search            copyright infringement  


Content   ..  88  89  90  91   ..


Chery A series. Manual - part 90


INTERIOR ACCESSORIESA11 INTERIOR TRIM) 

REMOVAL & INSTALLATION OF INSTRUMENT PANEL 


REMOVAL: 


------Disconnect the negative cable of battery 

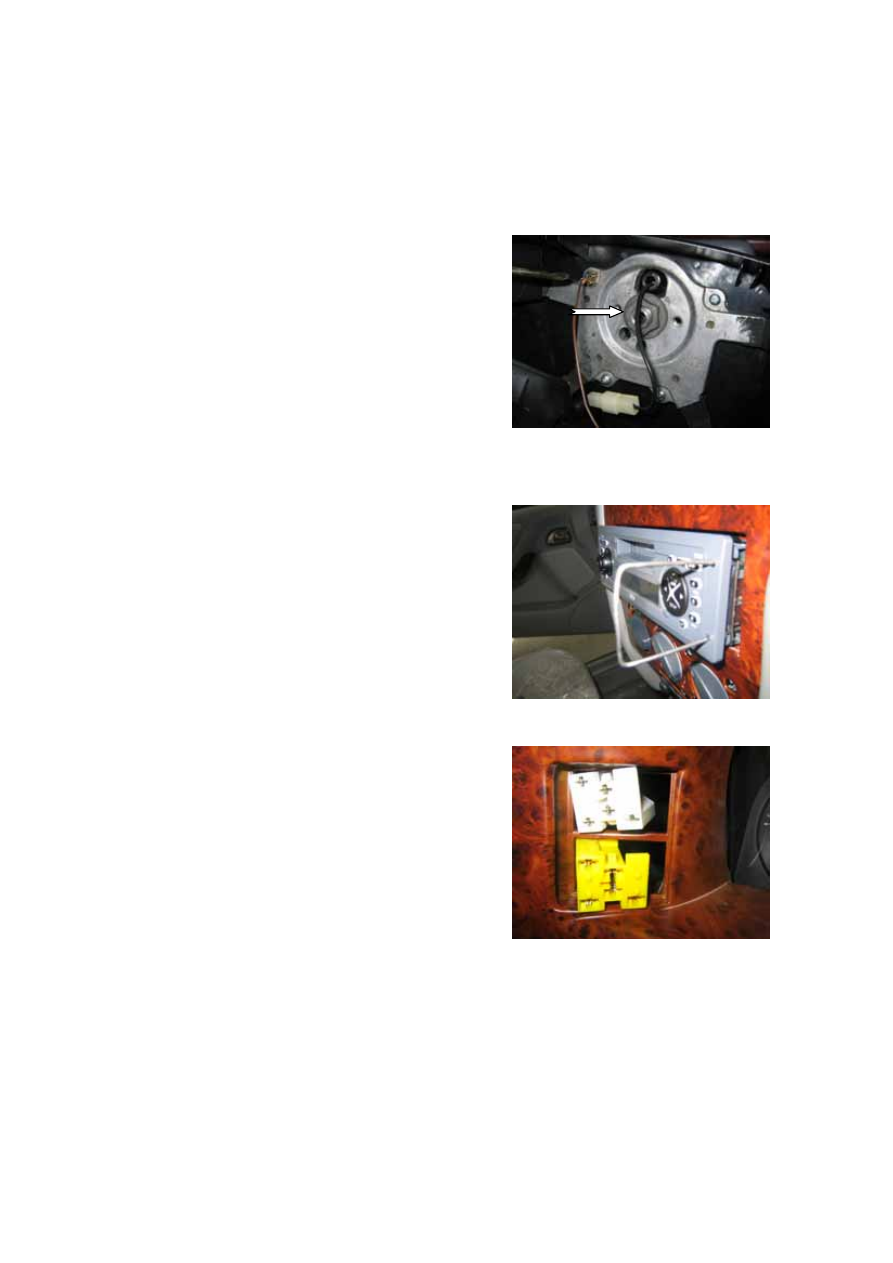
and pry open the trim panel of steering 
wheel. Loosen the locking nut of steering 
wheel and take the wheel off. 

------Remove the screw under steering column 

cover and disconnect the combination 
switch wiring harness connector. Take the 
switch off. 


------Insert a special tool as shown in the right 

figure into the four holes of radio to pull 
the radio out.   

------Disconnect the wiring harness connector 

behind the radio. 


------Pry out the four light switches from 

instrument panel with screwdriver and 
disconnect the connectors. 


S-11

----Pry out the vents from instrument panel 

with screwdriver and remove the six 
screws of instrument panel.   

----Open up the glove box and remove the 

four screws on the top and two sides of 
glove box. Pull outward the upper part 
of the box to take out the glove box.   


-----Pull outward the instrument panel to take 
it out.   


------Pull out the five connectors of power 

window switch and disconnect them. 


S-12

------Take the ash tray out and remove the clip 

on the top of the ash tray. Remove the 
two screws behind central console and 
instrument panel. 


------Pull out the clip of shift lever dust boot 

and central console. Turn in counter 
clockwise way the shift lever to remove 
it. Remove the screw connecting the 
central console and lever bracket. 


------Pull upward the back of central console 

to disconnect the clip and raise the central 
console up from the front to disengage it. 


------Take off the A/C panel. 


S-13

------Remove the four screws on the two sides 

of instrument panel. Remove the two 
bolts at where instrument panel and 
firewall meet from near wiper motor. 
Remove the two bolts connecting the 
instrument panel center and the bracket. 


------Remove the central electrical box and 

pull out the connector connecting the box 
and the instrument.   


INSTALLATION 
------Install in the reverse order of removal. 


REMOVAL & INSTALLATION OF FRONT SEAT BELT 
REMOVAL 
-----Remove the doorsill scuff plate, and 

partially remove the weatherproof rubber 
strip of the door opening.


-----Remove the cap and loosen the fixing 

bolt that secures the seat belt to the 
B-pillar.  


S-14


Content   ..  88  89  90  91   ..