Acura RSX Honda Integra. Manual - part 371


  Index      Acura     Acura RSX Honda Integra - service repair manual 2002-2006 year


Search            


Content   ..  369  370  371  372   ..


Acura RSX Honda Integra. Manual - part 371


*02

20-20

Glass

Component Location Index (cont’d)
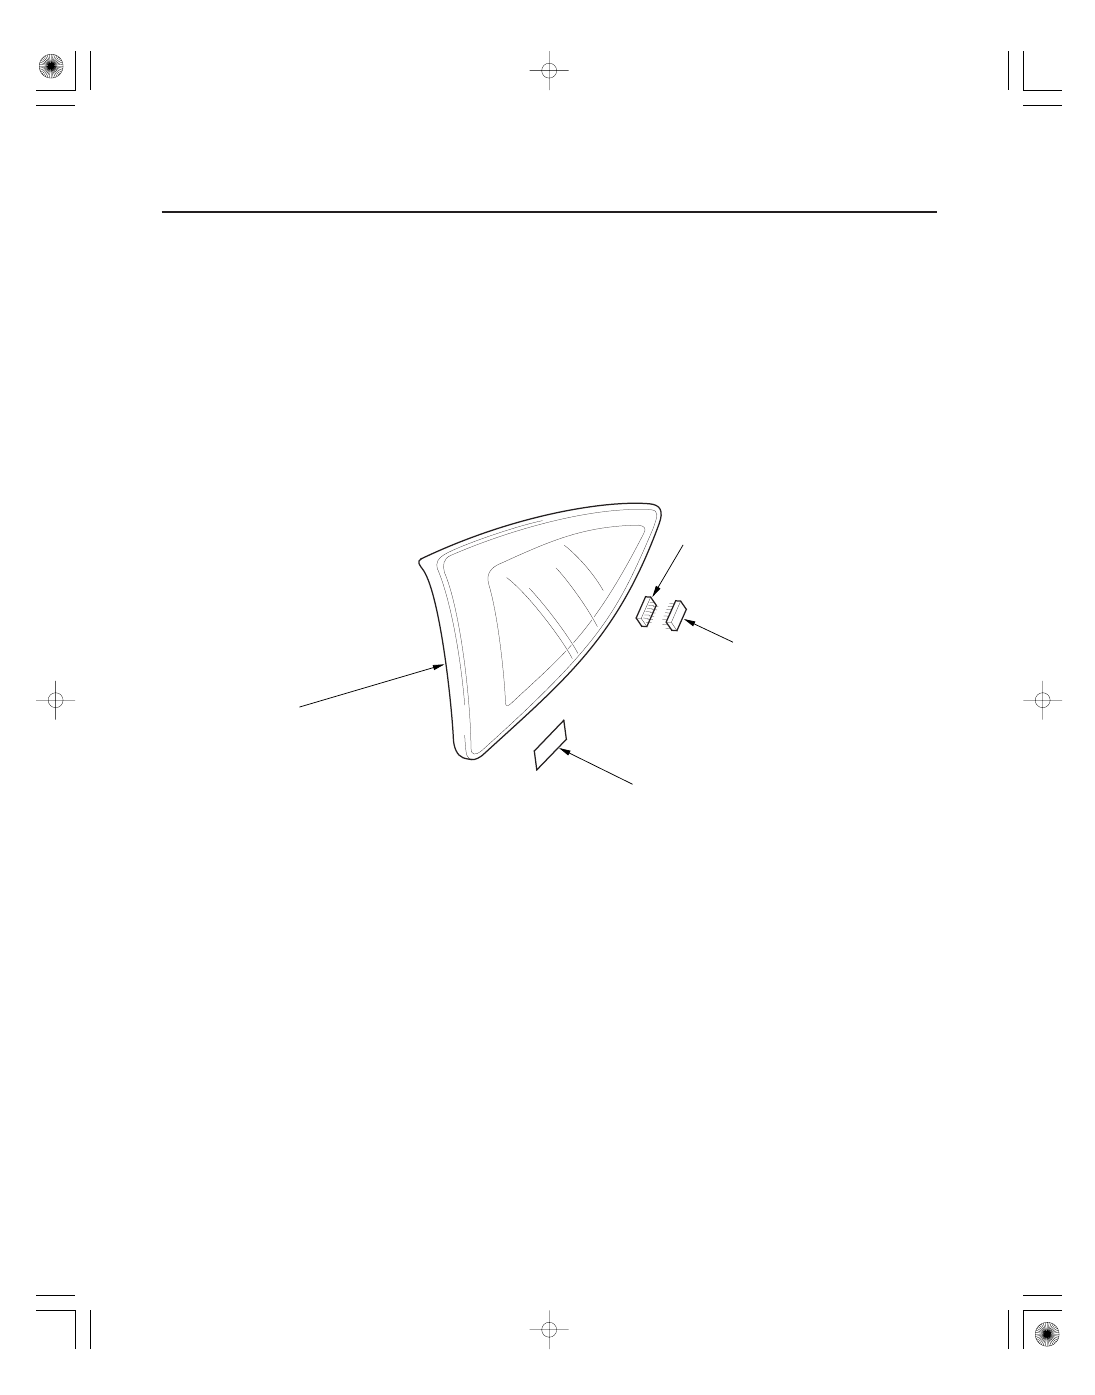
LEV EMBLEM
(Left side)

QUARTER GLASS

FASTENER, 1
(Self-adhesive-type, glass side)

FASTENER, 1
(Self-adhesive-type, body side)

Replacement, page 20-109

Replacement, page 20-33

05/06/27 18:22:21 61S6M040_200_0021

01

01

S6M6A00J54400065501KBAT00

Special Tools Required

20-21

Windshield Replacement

B

A

C

D

D

B

A

B

A

B

B

A

KTC trim tool set SOJATP2014

NOTE:

• Put on gloves to protect your hands.
• Use the appropriate tool from the KTC trim tool set to

avoid damage when prying components.

• Wear eye protection when removing the glass with

piano wire.

• Use seat covers to avoid damaging the seats.

1. Pull up the side trim (A) to release the clips (B, C)

from the retainers (D), then remove the trim from
each side of the windshield.

2. Remove these items:

• Windshield wiper arms (see page 22-158)
• Cowl covers (see page 20-105)

3. Remove the molding (A) from the upper edge of the

windshield (B). If necessary, cut the molding with a
utility knife.

4. If the old windshield will be reinstalled, make

alignment marks across the glass and body with a
grease pencil.

5. Pull down the front portion of the headliner

(see page 20-55). Take care not to bend the
headliner excessively, as you may crease or break
it.

6. Apply protective tape along the edge of the

dashboard and body. Using an awl, make a hole
through the rubber dam and adhesive from inside
the vehicle at the corner portion of the windshield.
Push a piece of piano wire through the hole, and
wrap each end around a piece of wood.

(cont’d)

05/06/27 18:22:22 61S6M040_200_0022

11

02

Cutting portions

20-22

Glass

Windshield Replacement (cont’d)

A

B

C

A

B

C

A

A

A

A

7. With a helper on the outside, pull the piano wire (A)

back and forth in a sawing motion. Hold the piano
wire as close to the windshield (B) as possible to
prevent damage to the body and dashboard.
Carefully cut through the rubber dam and adhesive
(C) around the entire windshield.

8. Carefully remove the windshield.

9. With a knife, scrape the old adhesive smooth to a

thickness of about 2 mm (0.08 in.) on the bonding
surface around the entire windshield opening
flange:

• Do not scrape down to the painted surface of the

body; damaged paint will interfere with proper
bonding.

• Remove the rubber dam, clips, and fasteners

from the body.

10. Clean the body bonding surface with a sponge

dampened in alcohol. After cleaning, keep oil,
grease, and water from getting on the clean surface.

11. If the old windshield will be reinstalled, use a putty

knife to scrape off all of the old adhesive, the
fasteners, the clips, and the rubber dam from the
windshield. Clean the inside face and the edge of
the windshield with alcohol where new adhesive
will be applied. Make sure the bonding surface is
kept free of water, oil, and grease.

05/06/27 18:22:22 61S6M040_200_0023

03

02

05

Side and lower rubber dams adhesive tape:

Thickness 0.16 mm (0.0063 in.)
Width 4 mm (0.16 in.)

Fasteners adhesive tape:

Thickness 0.4 mm (0.016 in.)
Width 7.5 mm (0.3 in.)

Adhesive tape:

Thickness 0.8 mm (0.031 in.)
Width 4 mm (0.16 in.)

Adhesive tape:

Thickness 0.4 mm (0.016 in.)
Width 5 mm (0.2 in.)

20-23

13.5 mm
(0.531 in.)

C

14.5 mm
(0.571 in.)

E

A

E

13 mm
(0.51 in.)

E

13 mm
(0.51 in.)

13 mm
(0.51 in.)

B

E

D

1.5 mm (0.06 in.)

A

A

B

C

C

A

Fastener Locations

: Fastener, 2

12. Attach the side rubber dams (A), the lower rubber

dam (B), and the fasteners (C) with adhesive tape to
the inside face of the windshield (D) as shown:

• Be sure the rubber dams and fasteners line up

with the alignment marks (E).

• Be careful not to touch the windshield where

adhesive will be applied.

13. Attach the molding (A) with adhesive tape (B) to the

corner edge of the windshield (C). Be careful not to
touch the windshield where adhesive will be
applied.

14. Attach the fasteners to the body with adhesive tape.

(cont’d)

05/06/27 18:22:22 61S6M040_200_0024


Content   ..  369  370  371  372   ..