9/Series CNC Lathe. Operation and Programming Manual - page 6
Chapter 5
Editing Programs On Line
The programs in this directory are protected. This means:
they are processed the same as unprotected programs
the blocks of protected programs are not displayed during program
execution unless you have access to the {CHANGE DIR} softkey (in place
of the protected program blocks, the last user non-protected
programming block is displayed)
you can cycle stop during program execution (but you cannot single
block through a program)
5.10.1
Protected program encryption and decryption allow you to encrypt a
Protected Program Encryption
protected program so that it is unreadable when it is uploaded. Protected
and Decryption
programs in encrypted form can only be uploaded or downloaded by using
the Upload and Download utilities of ODS or the Mini DNC package.
Use the {NCRYPT MODE} softkey to enable the protected program
encryption option. If the control displays the {NCRYPT MODE} softkey in
reverse video, the encryption option is enabled. When the encryption
option is enabled, protected programs are encrypted when they are
uploaded to ODS or the Mini DNC package. When downloading
encrypted protected programs to the control, they are decrypted and loaded
into the protected program directory.
Protected programs are encrypted or decrypted through a translation
process that reads in a program and translates the characters one at a time
to another character. Character translation is based on a character
encryption/decryption table that you must set-up before programs can be
encrypted or decrypted.
Important: If the encryption/decryption table is modified after a protected
program is uploaded to ODS or the Mini DNC package, the program can
no longer be decrypted when it is downloaded to the control.
5-45
Chapter 5
Editing Programs On Line
To set-up the character encryption/decryption table:
1.
Select the protected part program directory.
2.
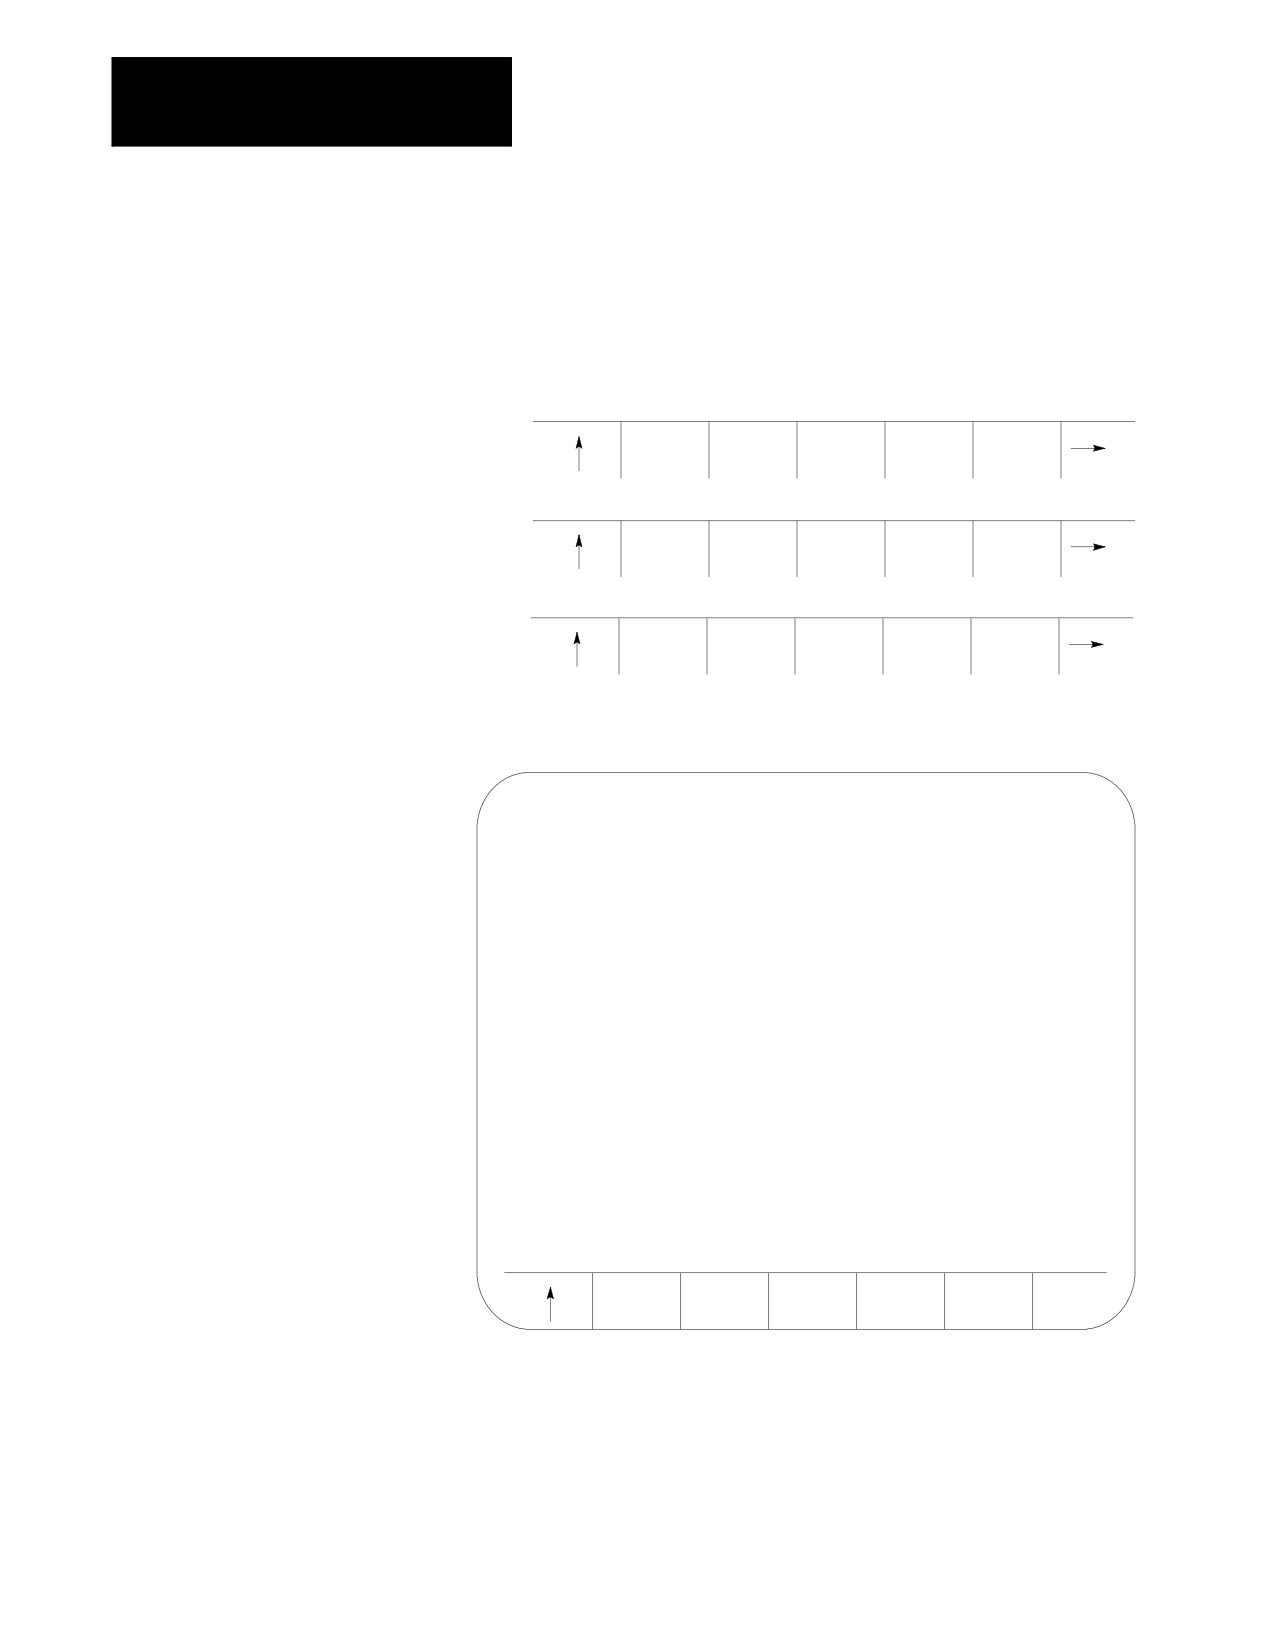
Press the {SET-UP NCRYPT} softkey.
(softkey level 2)
ACTIVE
EDIT
RESTRT
DISPLY
COPY
PRGRAM
PRGRAM
PRGRAM
PRGRAM
PRGRAM
VERIFY
PRGRAM
DELETE
RENAME
INPUT
PRGRAM
COMENT
PRGRAM
PRGRAM
DEVICE
REFORM
CHANGE
NCRYPT
SET-UP
MEMORY
DIR
MODE
NCRYPT
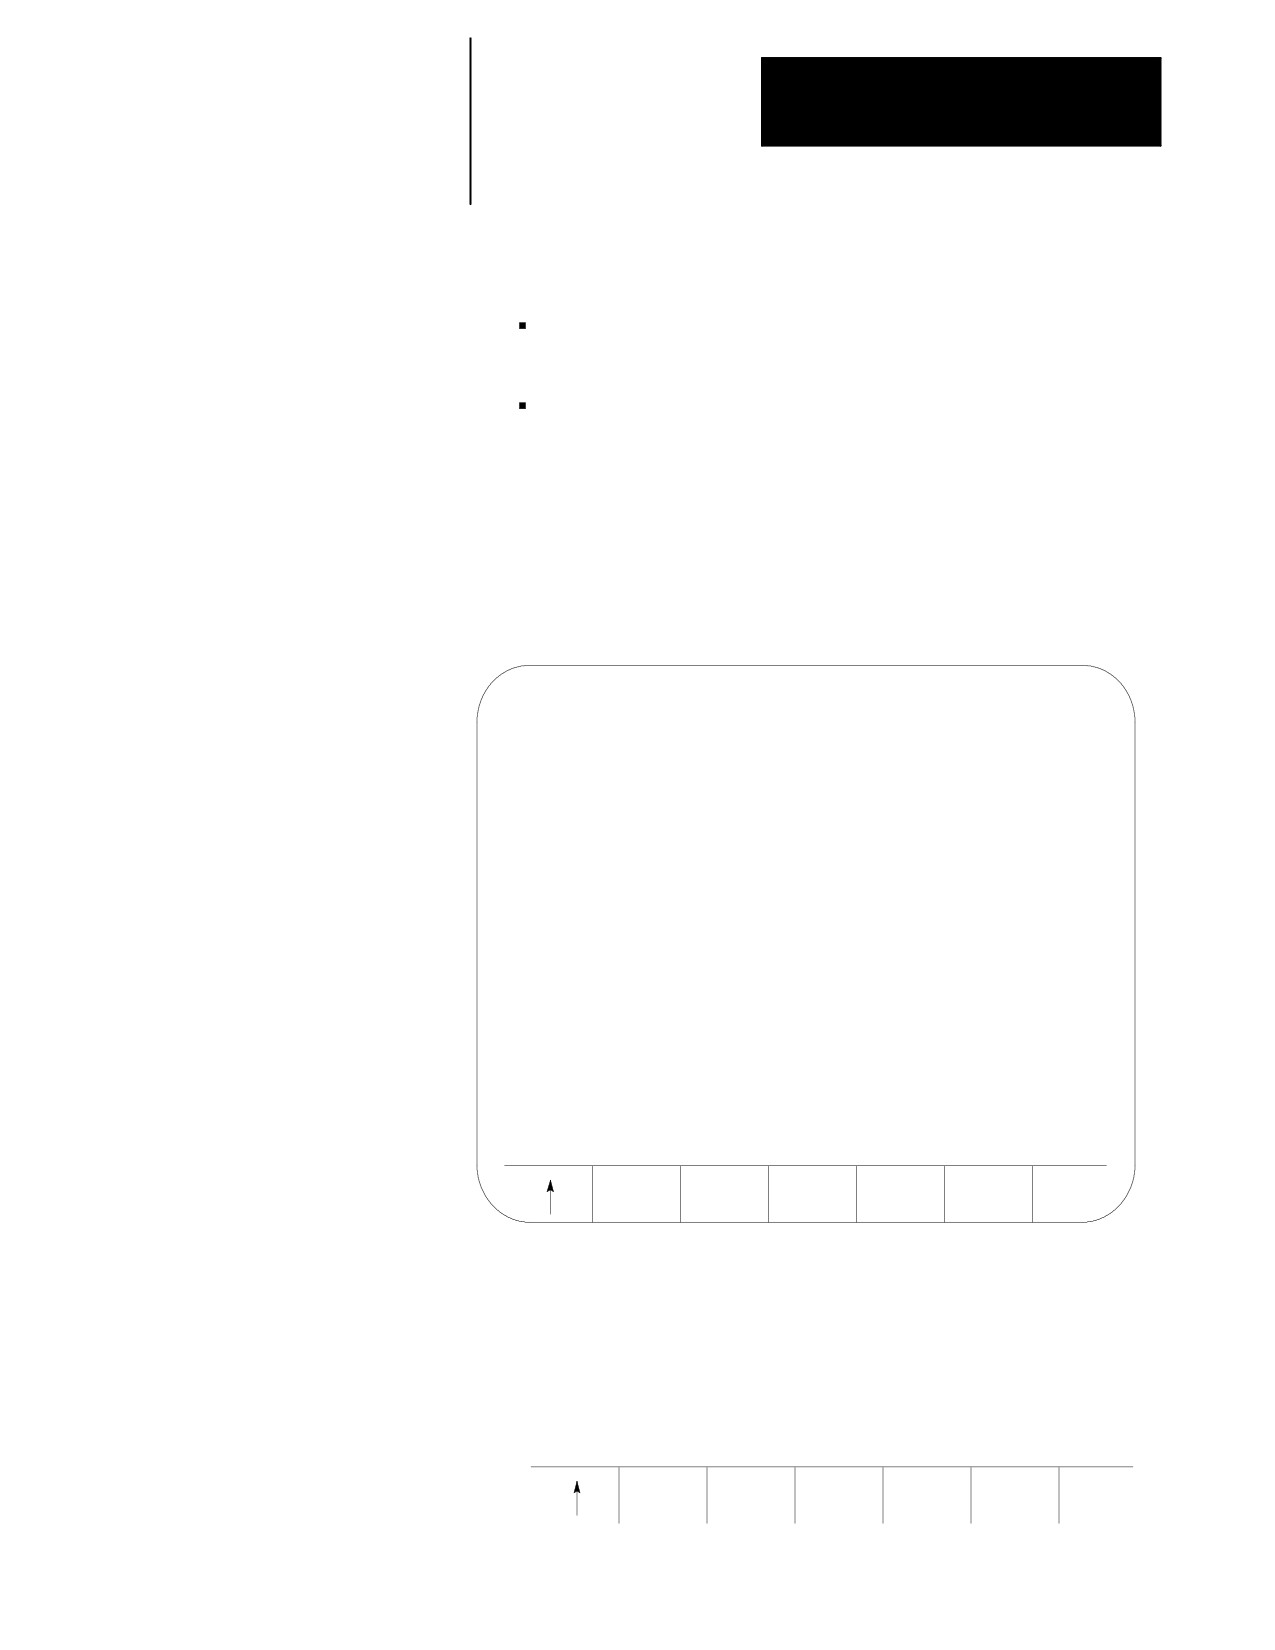
The control displays the set-up encryption screen:
ENTER A CHARACTER:
=
. =
9 =
D =
O =
Z =
=
/ =
: =
E =
P =
[ =
# =
0 =
; =
F =
Q =
]=
% =
1 =
< =
G =
R =
& =
2 =
= =
H =
S =
( =
3 =
> =
I =
T =
) =
4 =
? =
J =
U =
* =
5 =
@ =
K =
V =
+ =
6 =
A =
L =
W =
’ =
7 =
B =
M =
X =
- =
8 =
C =
N =
Y =
UPDATE
STORE
REVRSE
& EXIT
BACKUP
FILL
You must fill in the encryption/decryption table. During the
encryption/decryption process, the control uses this table to guide the
character substitution that provides an encrypted or decrypted part
program. You can fill in this table by using the operator panel keys
or the {REVRSE FILL} softkey.
5-46
Chapter 5
Editing Programs On Line
To fill in the encryption/decryption table by using the operator panel
keys:
use the arrow keys to move the cursor to the place where you want
to assign an encryption/decryption character
enter a character and press the [TRANSMIT] key
You must enter a unique character for each character on the set-up
encryption screen.
To fill in the encryption/decryption table by using the
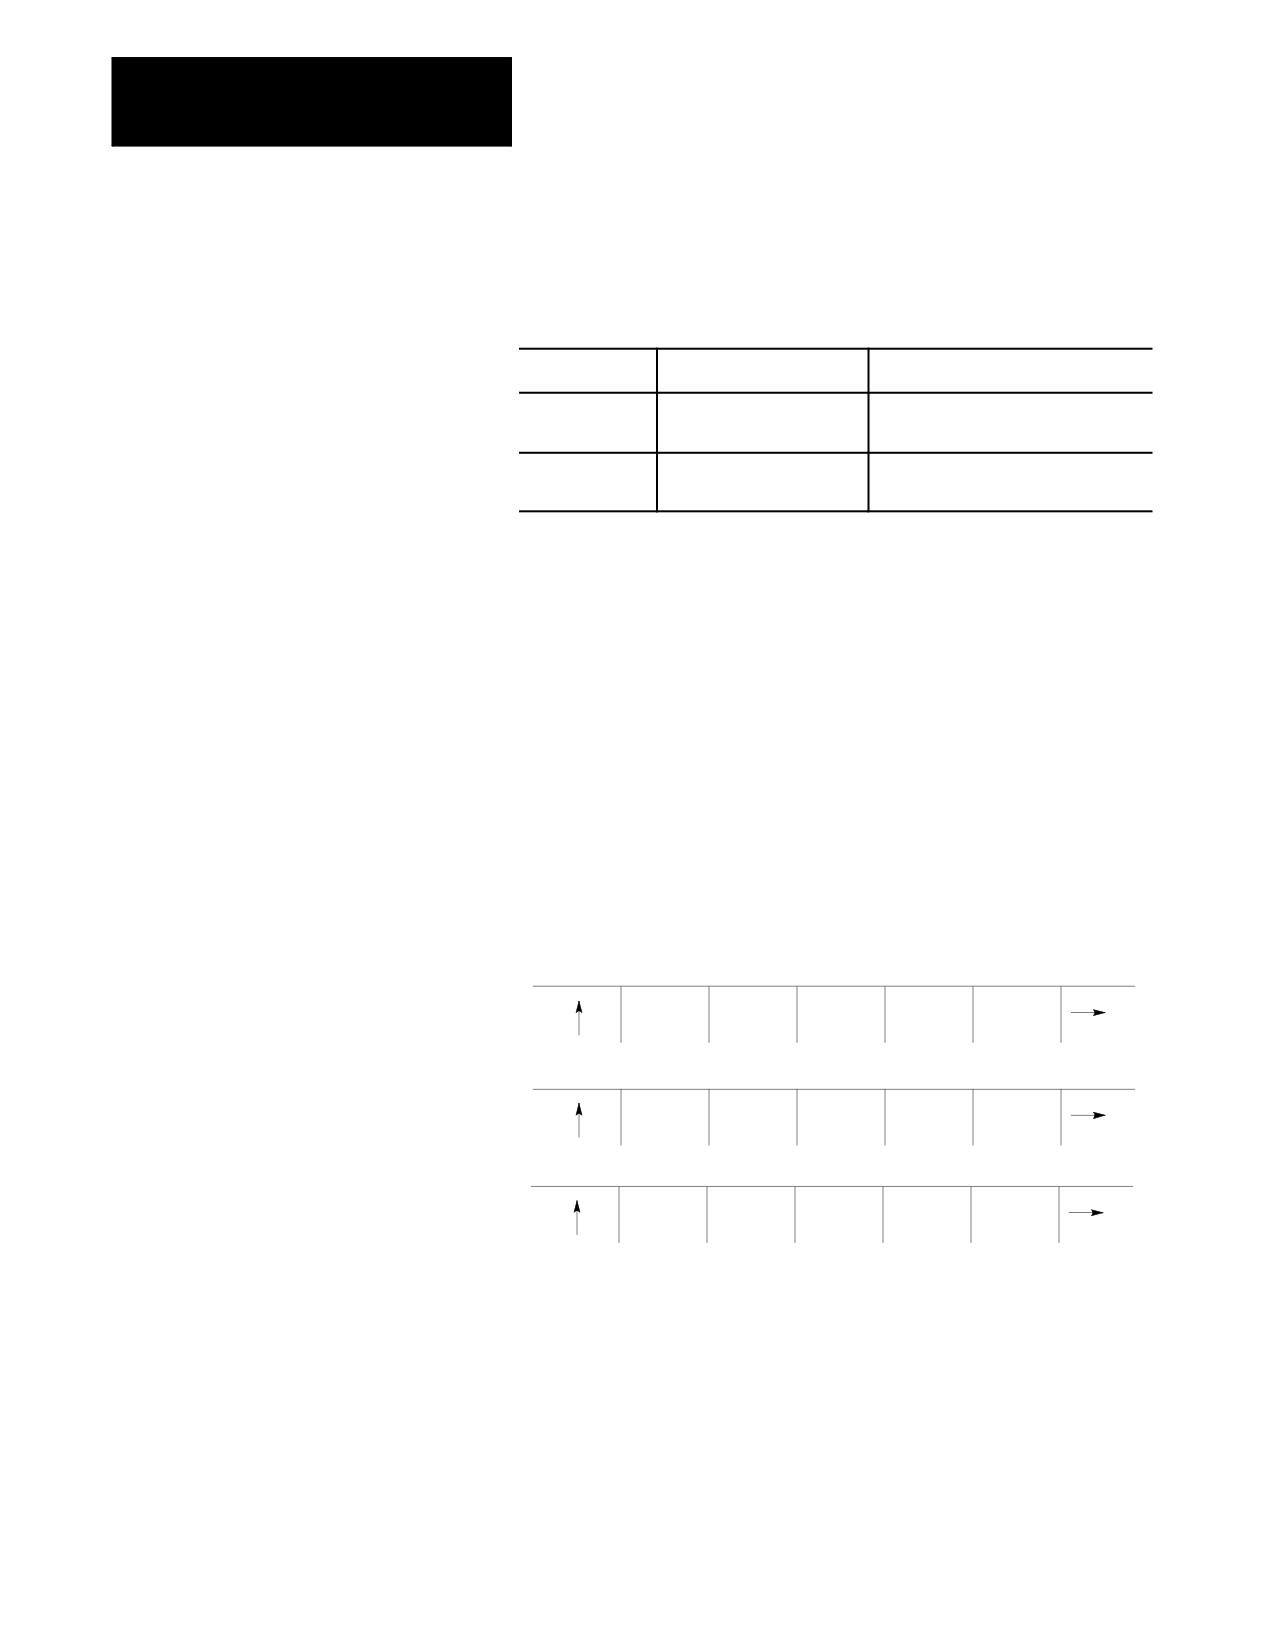
{REVRSE FILL} softkey, press the {REVRSE FILL} softkey. Pressing
this softkey automatically fills the spaces of the
encryption/decryption table in a reverse order as shown below:
ENTER A CHARACTER:
= ]
. = Q
9 = F
D = ;
O = 0
Z = #
” = [
/ = P
: = E
E = :
P = /
[ = ”
# = Z
0 = O
; = D
F = 9
Q = .
] =
% = Y
1 = N
< = C
G = 8
R = -
& = X
2 = M
= = B
H = 7
S = ’
( = W
3 = L
> = A
I = 6
T = +
) = V
4 = K
? = @
J = 5
U = *
* = U
5 = J
@ = ?
K = 4
V = )
+ = T
6 = I
A = >
L = 3
W = (
’ = S
7 = H
B = =
M = 2
X = &
- = R
8 = G
C = <
N = 1
Y = %
UPDATE
STORE
REVRSE
& EXIT
BACKUP
FILL
3.
Enter the encryption/decryption characters one at a time, press the
{REVRSE FILL} softkey, or modify the reverse filled screen.
4.
Press the {UPDATE & EXIT} softkey to update and exit the
encryption/decryption table.
(softkey level 3)
UPDATE
STORE
REVRSE
& EXIT
BACKUP
FILL
5-47
Chapter 5
Editing Programs On Line
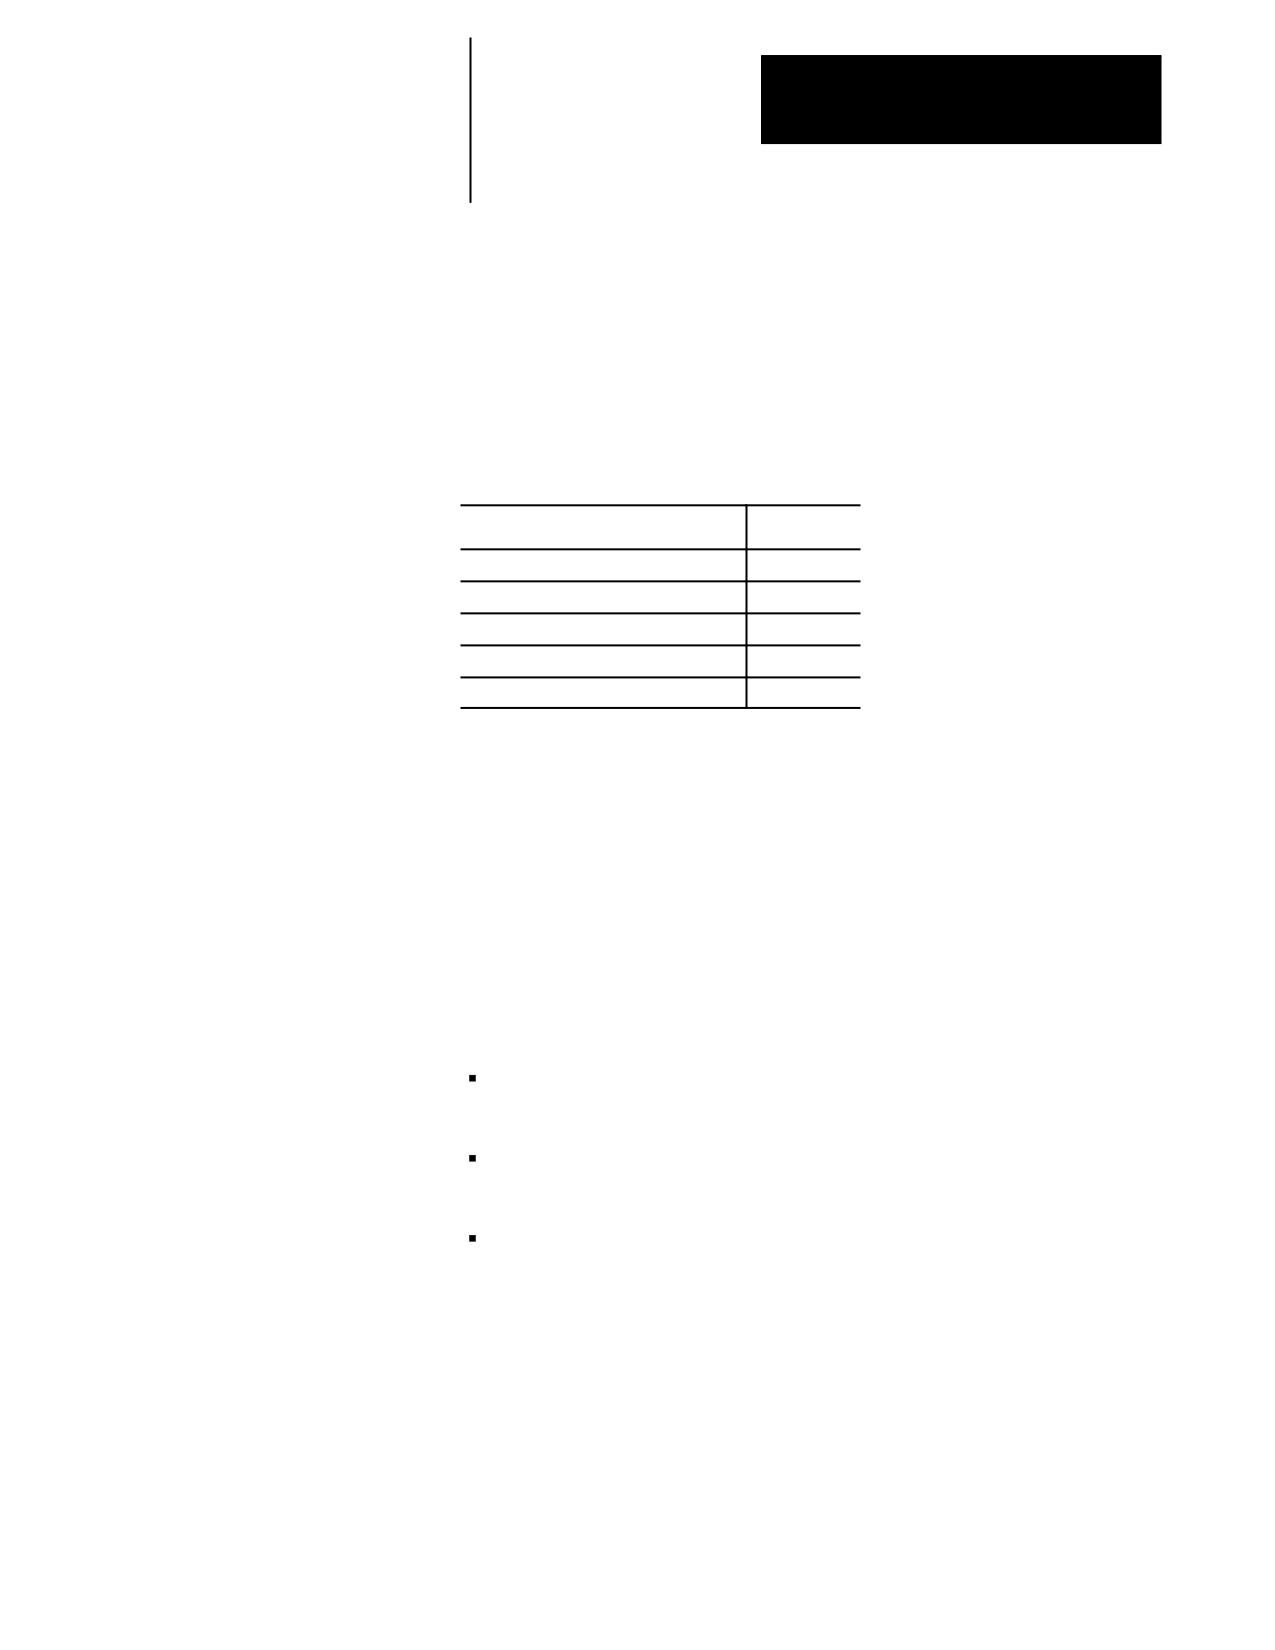
When you press the {UPDATE & EXIT} softkey, the control does a
compile/check of the encryption/decryption table to determine that
no duplicate characters exist and that no characters were left blank.
If a character is:
the control displays:
and moves the cursor:
entered twice
“CHARACTERS CAN ONLY
to the first occurrence of that character
BE ENTERED ONCE”
in the encryption/decryption table
left blank
“NO LOCATIONS CAN BE
to the first blank location in the
LEFT EMPTY”
encryption/decryption table
Once the encryption/decryption table is created and you press the
{NCRYPT MODE} softkey, protected programs are encrypted when they are
uploaded to ODS or the Mini DNC package. When downloading
encrypted protected programs to the control, they are decrypted and loaded
into the protected program directory.
5.10.2
To prevent the encryption/decryption table from being lost during system
Storing Encryption/Decryption
power failures and battery-backup failures, store it in the control’s backup
Table to Backup Memory
memory by using these steps:
1.
Select the protected part program directory.
2.
Press the {SET-UP NCRYPT} softkey.
(softkey level 2)
ACTIVE
EDIT
RESTRT
DISPLY
COPY
PRGRAM
PRGRAM
PRGRAM
PRGRAM
PRGRAM
VERIFY
PRGRAM
DELETE
RENAME
INPUT
PRGRAM
COMENT
PRGRAM
PRGRAM
DEVICE
REFORM
CHANGE
NCRYPT
SET-UP
MEMORY
DIR
MODE
NCRYPT
5-48
Chapter 5
Editing Programs On Line
3.
Press the {STORE BACKUP} softkey. The control displays the message
“STORING TO BACKUP -- PLEASE WAIT” on the CRT until the
control has finished storing the encryption/decryption table in its
backup memory.
(softkey level 3)
UPDATE
STORE
REVRSE
& EXIT
BACKUP
FILL
END OF CHAPTER
5-49
Chapter
6
Editing Part Programs Off Line (ODS)
6.0
This chapter describes how to use the Offline Development System (ODS)
to edit part programs. Major sections include:
Chapter Overview
Topic:
On page:
Selecting the part program application
6-2
Editing off line
6-3
Interfacing with the control
6-6
Downloading from ODS
6-6
Uploading to ODS
6-13
Use the Offline Development System (ODS) to write or edit part programs.
Once you complete these part programs, downloaded them from the
workstation to the control. Programs that already exist on the control can
be uploaded to the workstation for editing or backup. You can edit
programs on ODS by using the screen or text editor that is configured in
ODS. You can purchase enhancements to this feature in a Mini-DNC
package from Allen-Bradley. If you have purchased the Mini-DNC
package, see its accompanying documentation.
We make these assumptions:
ODS has been installed on an IBM PC XT/AT or compatible computer
that we refer to as the workstation
a compatible screen or text editor has been configured using the Text
Editor Setup option of the F5-Configuration menu
the programmer understands the basics of the ODS system and how it
operates
For additional information, see the ODS manual, publication MCD-5.1.
Important: Be aware that some features described here may not be
available with your ODS. Some may require the purchase of the
Mini-DNC package to be functional.
6-1
Chapter 6
Editing Part Programs Off Line
6.1
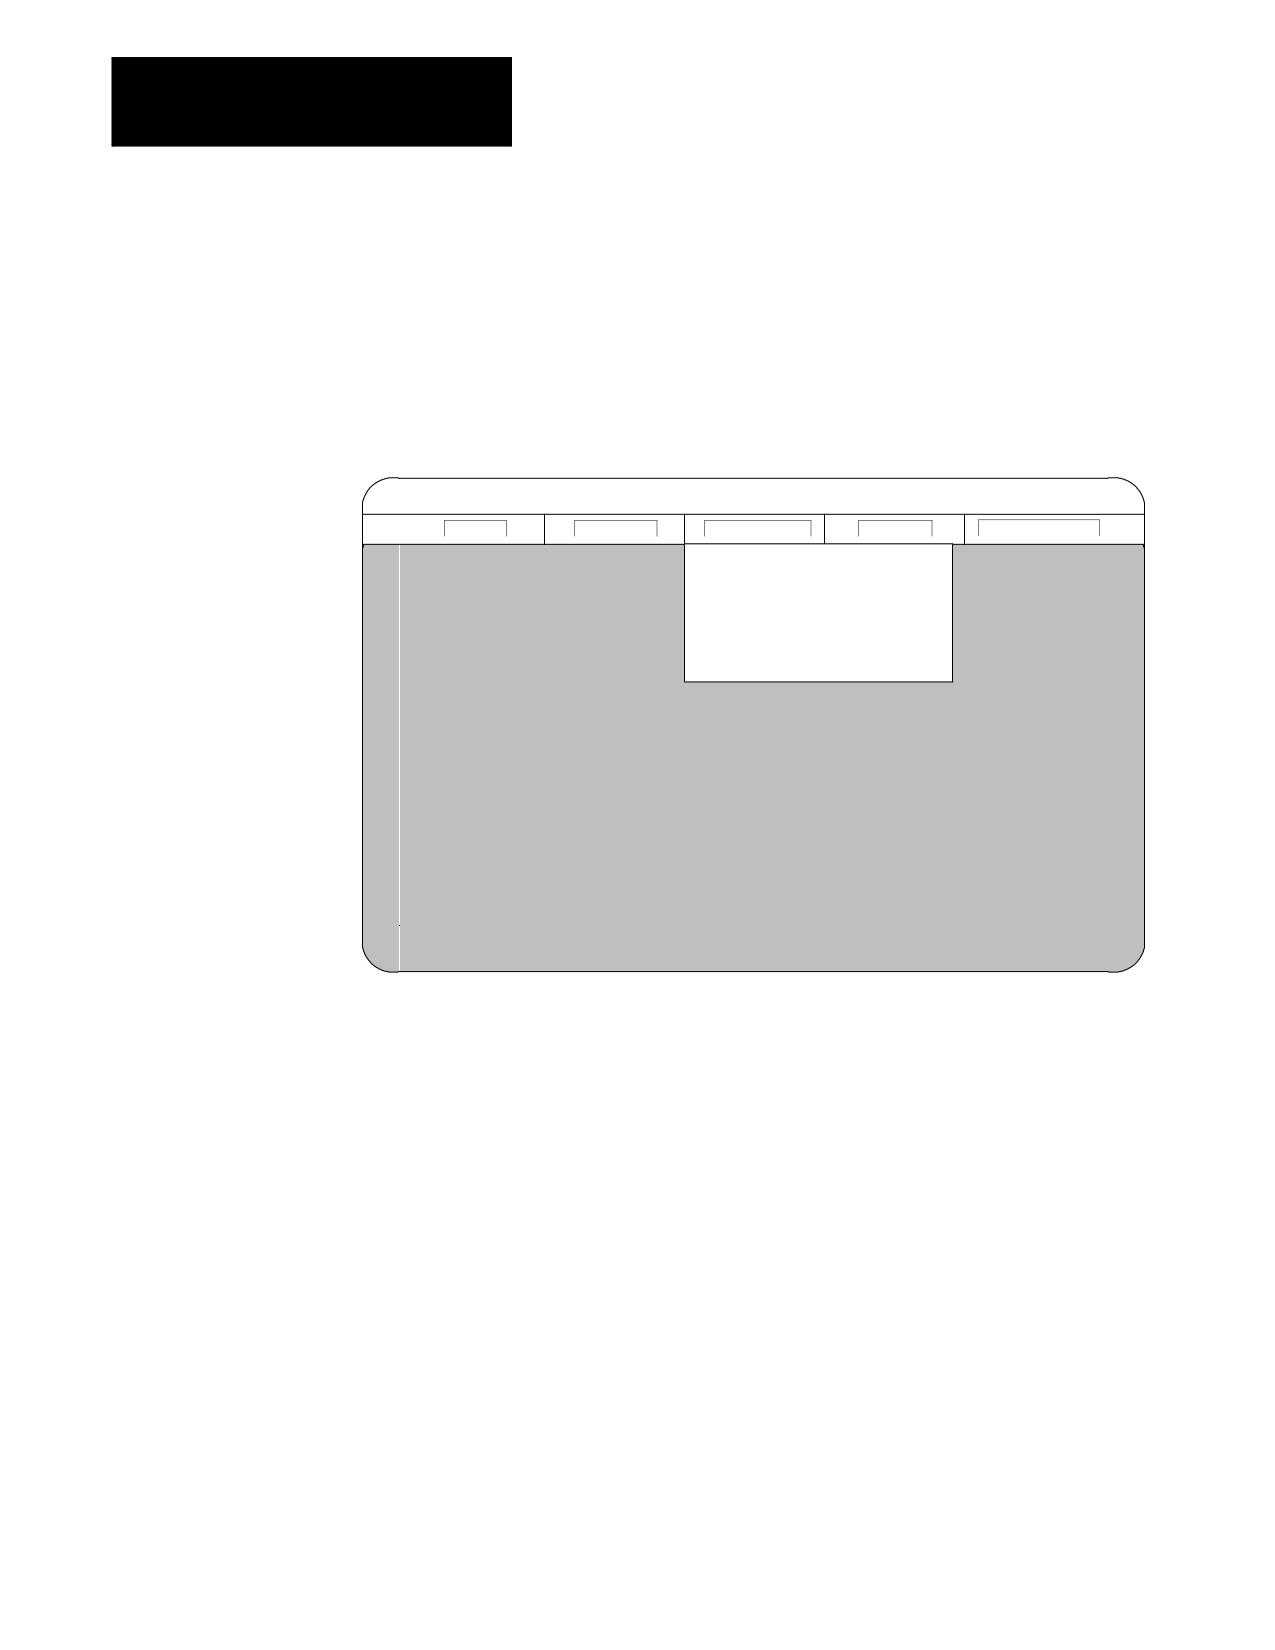
Selecting the Part Program application provides access to the part program
utilities of ODS. To select the Part Program application:
Selecting the Part Program
Application
1.
Return to the main menu line of ODS.
2.
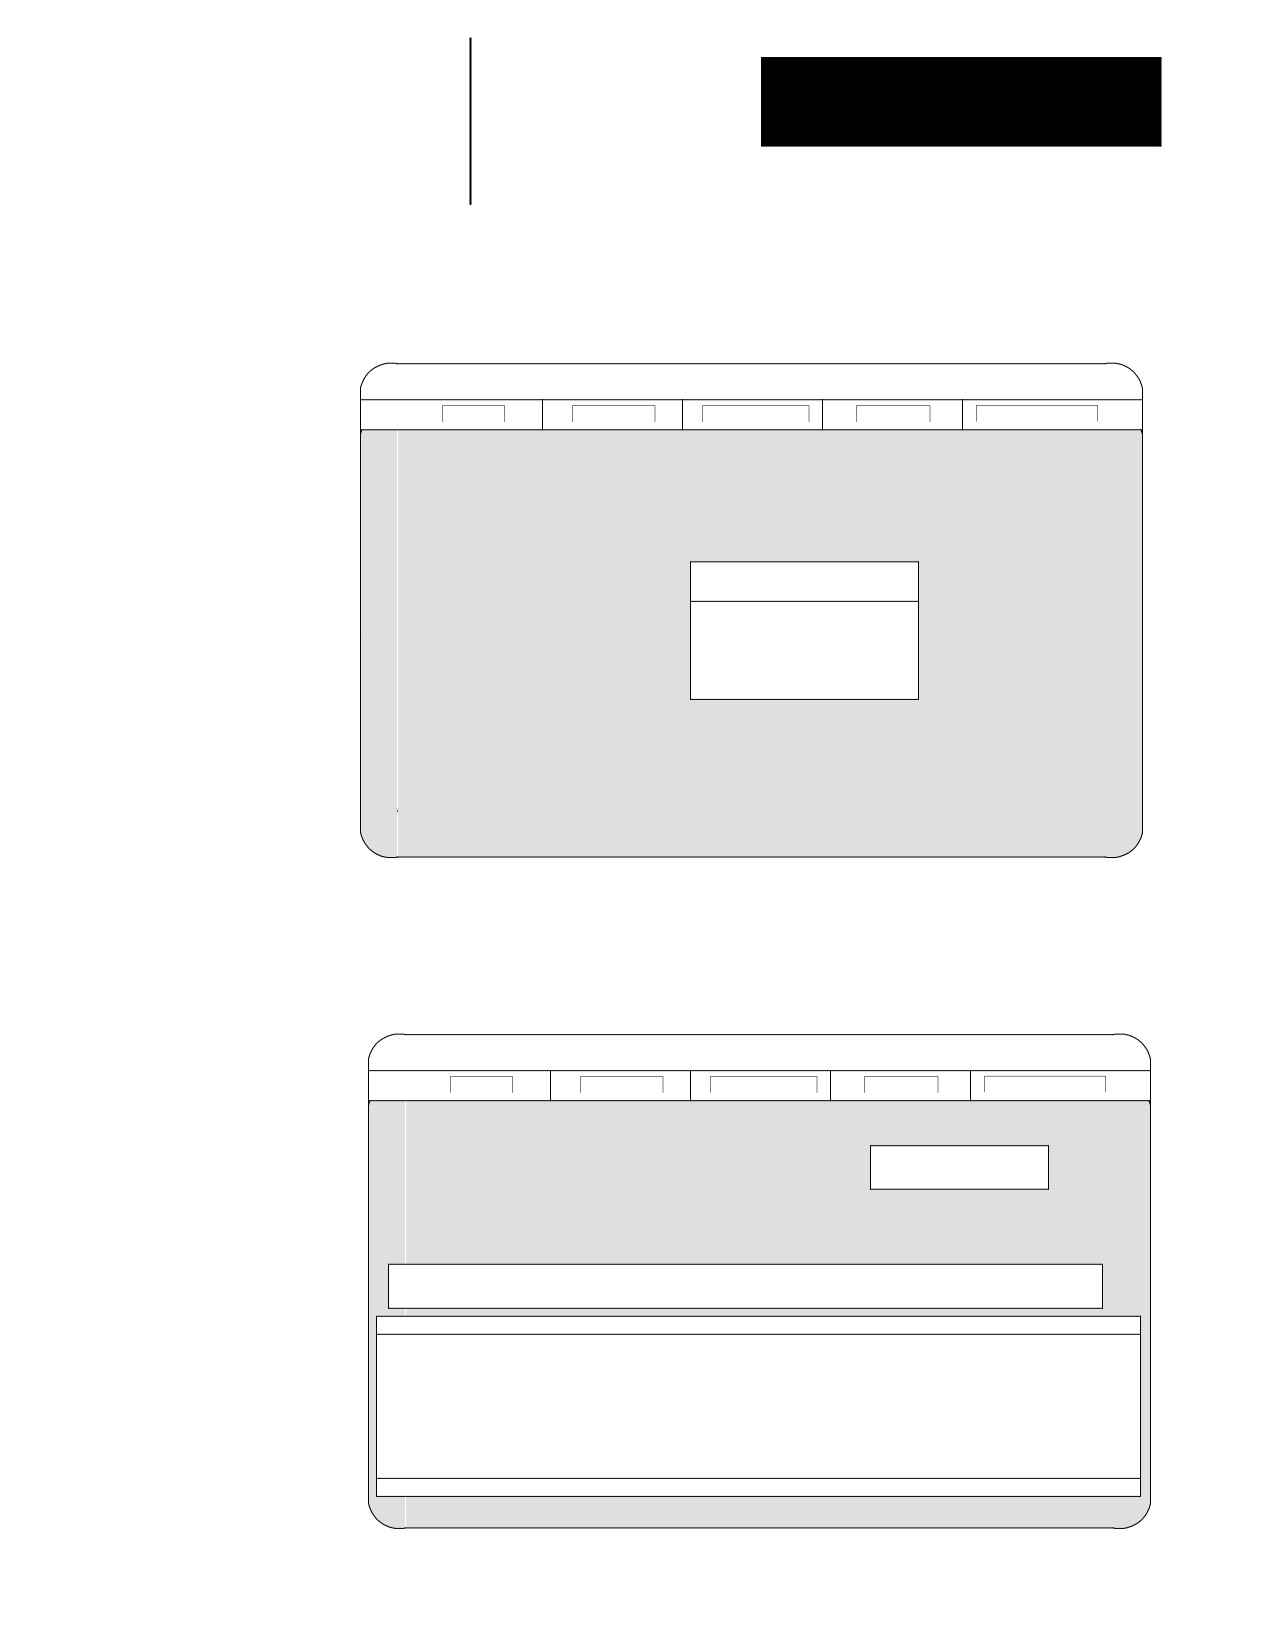
Press [F3] to pull down the Application menu:
The workstation displays this screen:
Proj: PALTEST
Appl: Upload
Util: Get PAL I/O
F1 - File
F2 - Project
F3 - Application
F4 - Utility
F5 - Configuration
AMP
(A)
PAL
(P)
I/O Assignments
(I)
Part Program
(R)
Upload
(U)
Download
(D)
3.
Press [R] to select the Part Program option.
The status line of the screen displayed by the workstation shows that the
Part Program application has been selected.
6-2
Chapter 6
Editing Part Programs Off Line
6.2
Use the Edit Part Program utility of ODS to edit part programs on a
workstation. Programs that already exist on the control can be uploaded to
Editing Part Programs Off
the workstation for editing. These programs or programs created using
Line
ODS can be edited using the screen or text editor that is configured in
ODS.
To edit part programs thorough ODS:
1.
Select the Part Program Application. See above.
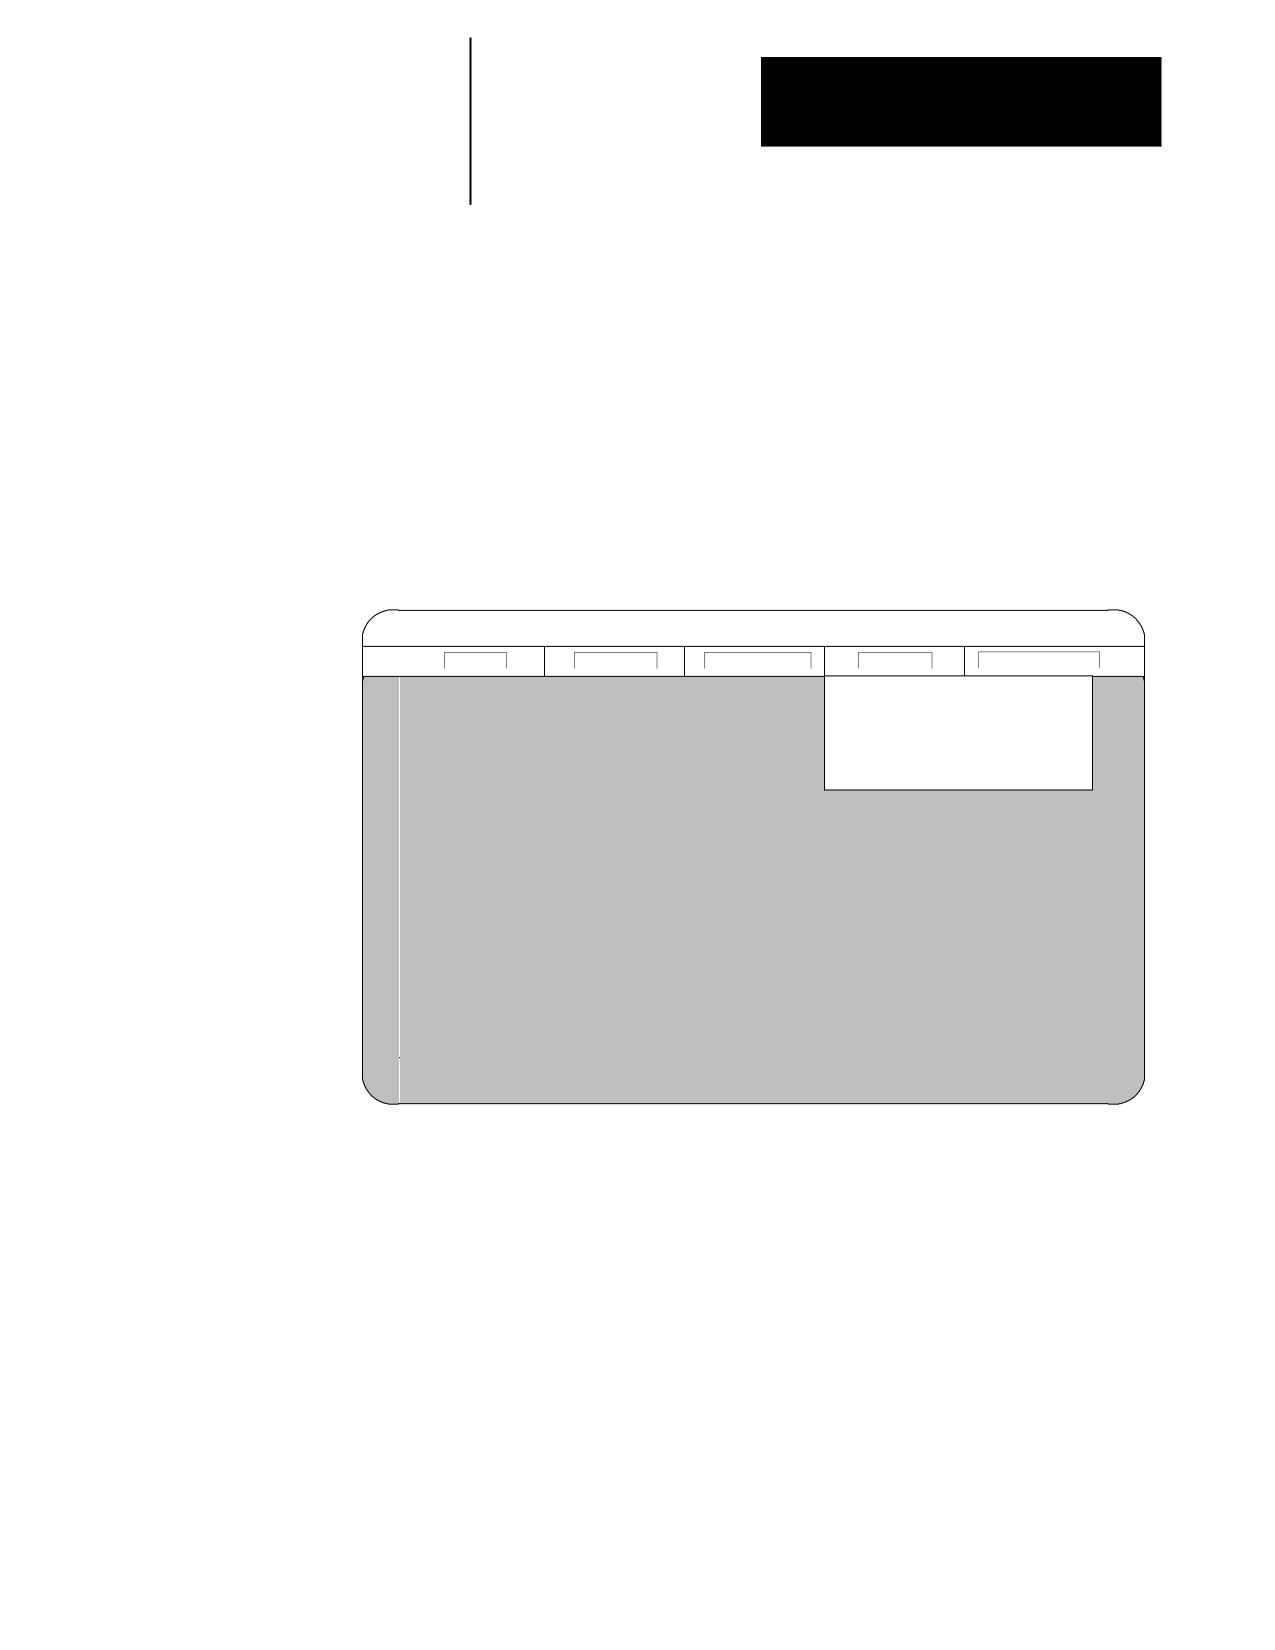
2.
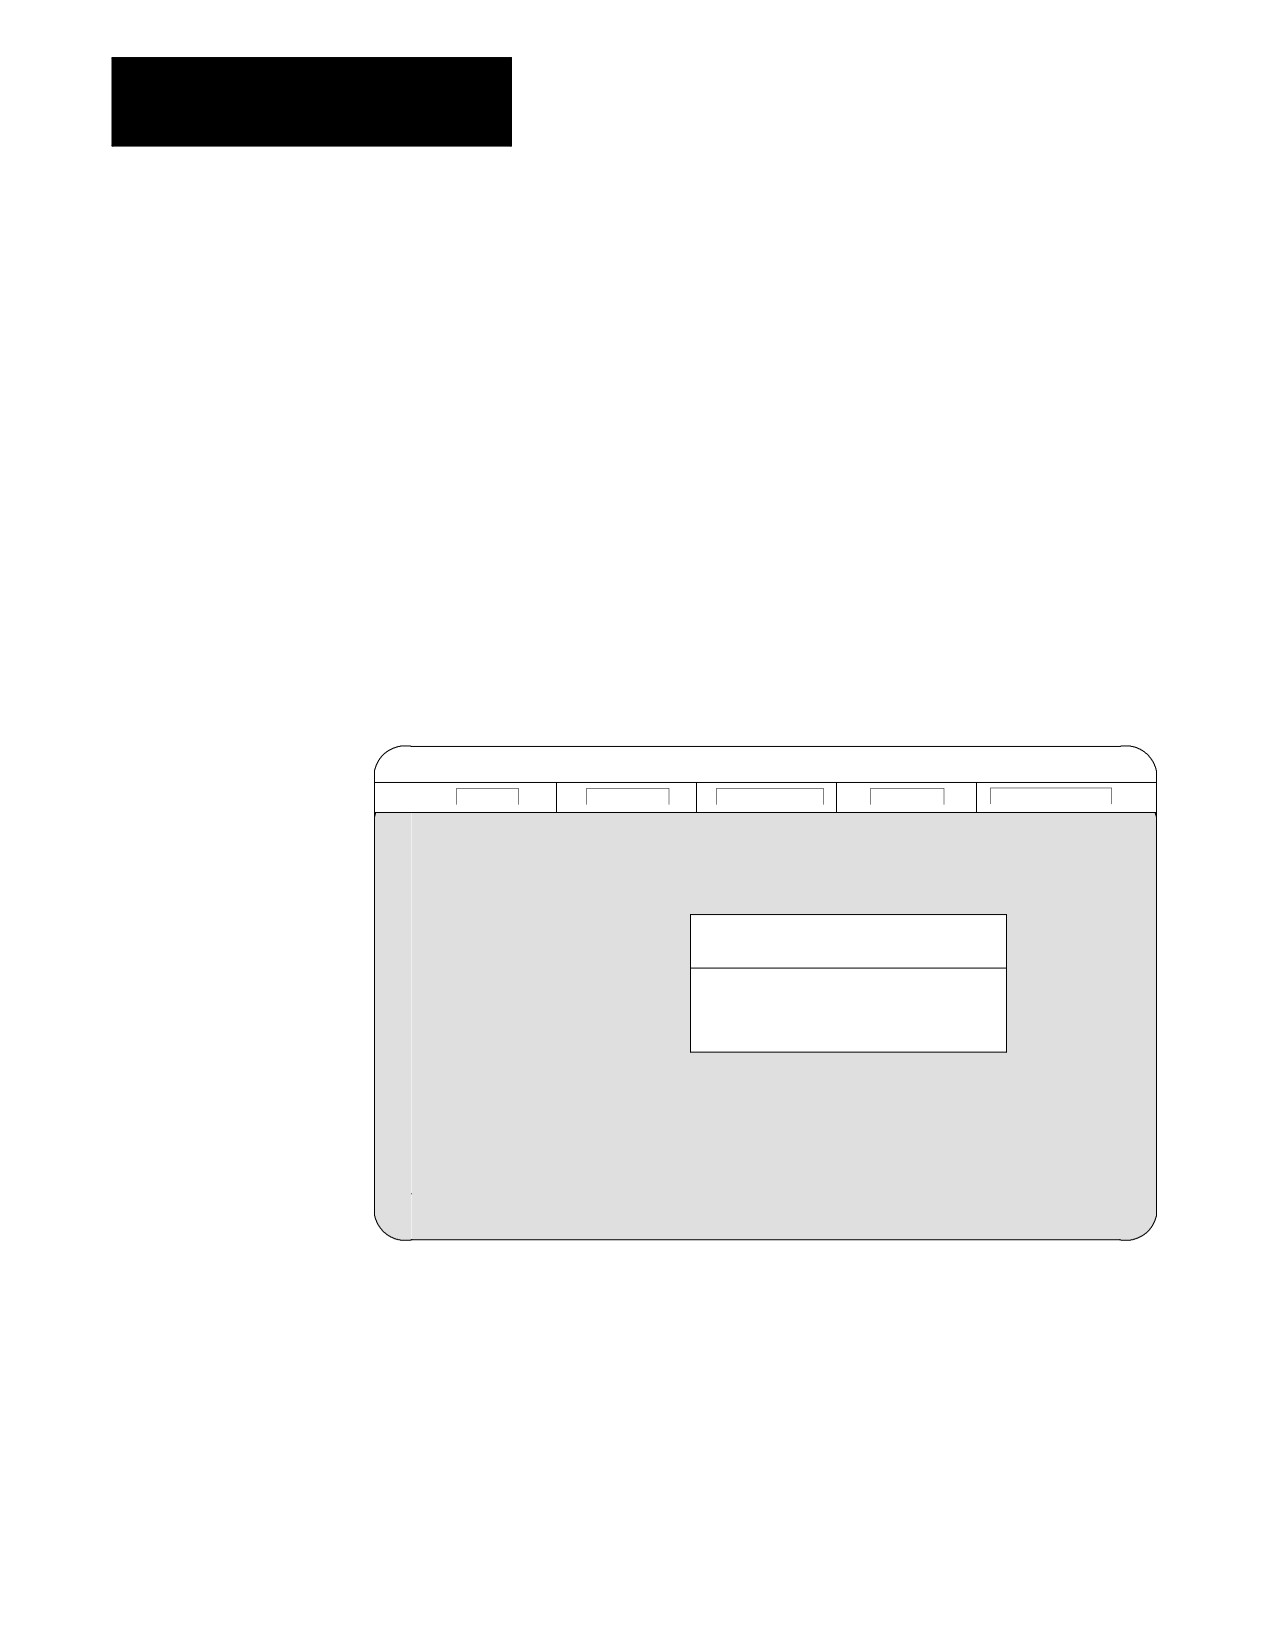
Press [F4] to pull down the Utility menu:
The workstation displays this screen:
Proj: PALTEST
Appl: Upload
Util: Get PAL I/O
F1 - File
F2 - Project
F3 - Application
F4 - Utility
F5 - Configuration
Edit Part Program
(E)
File Management
(F)
6-3
Chapter 6
Editing Part Programs Off Line
3.
Press [E] to select the Part Program option.
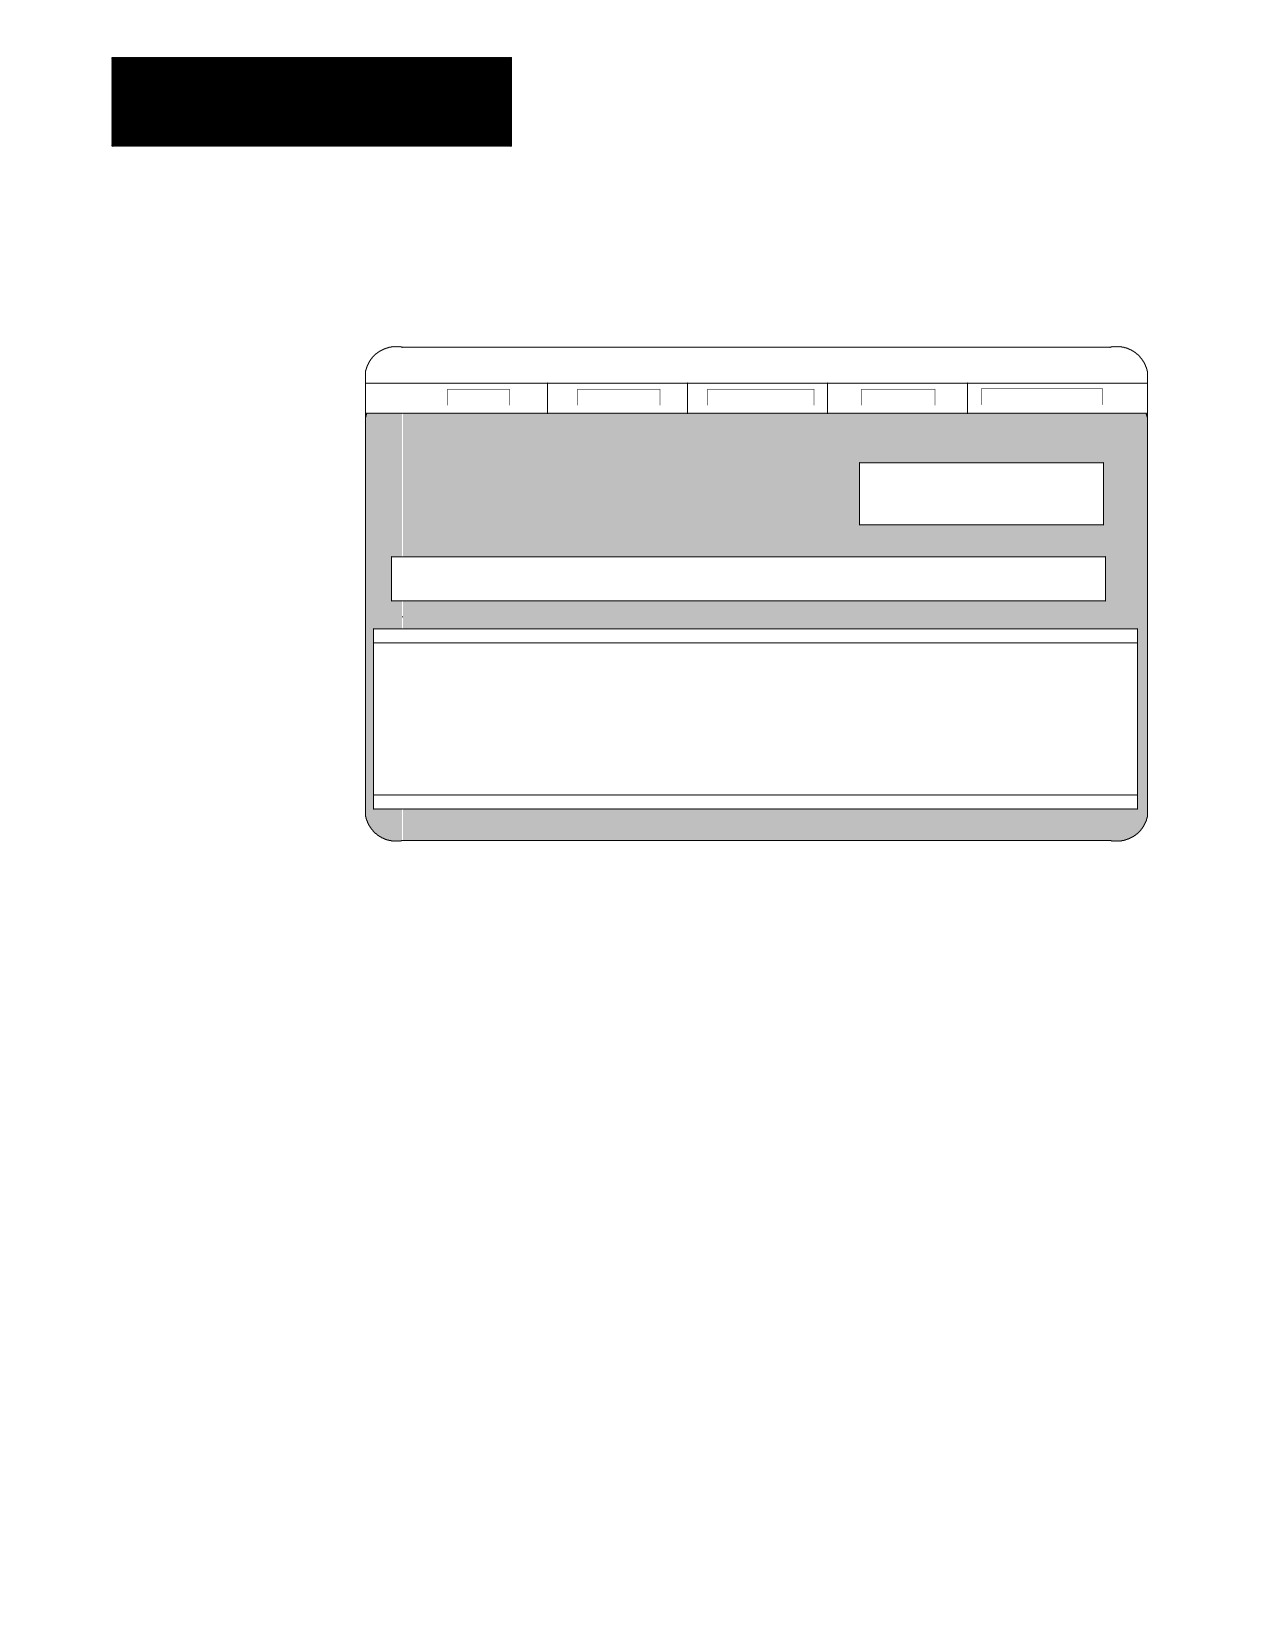
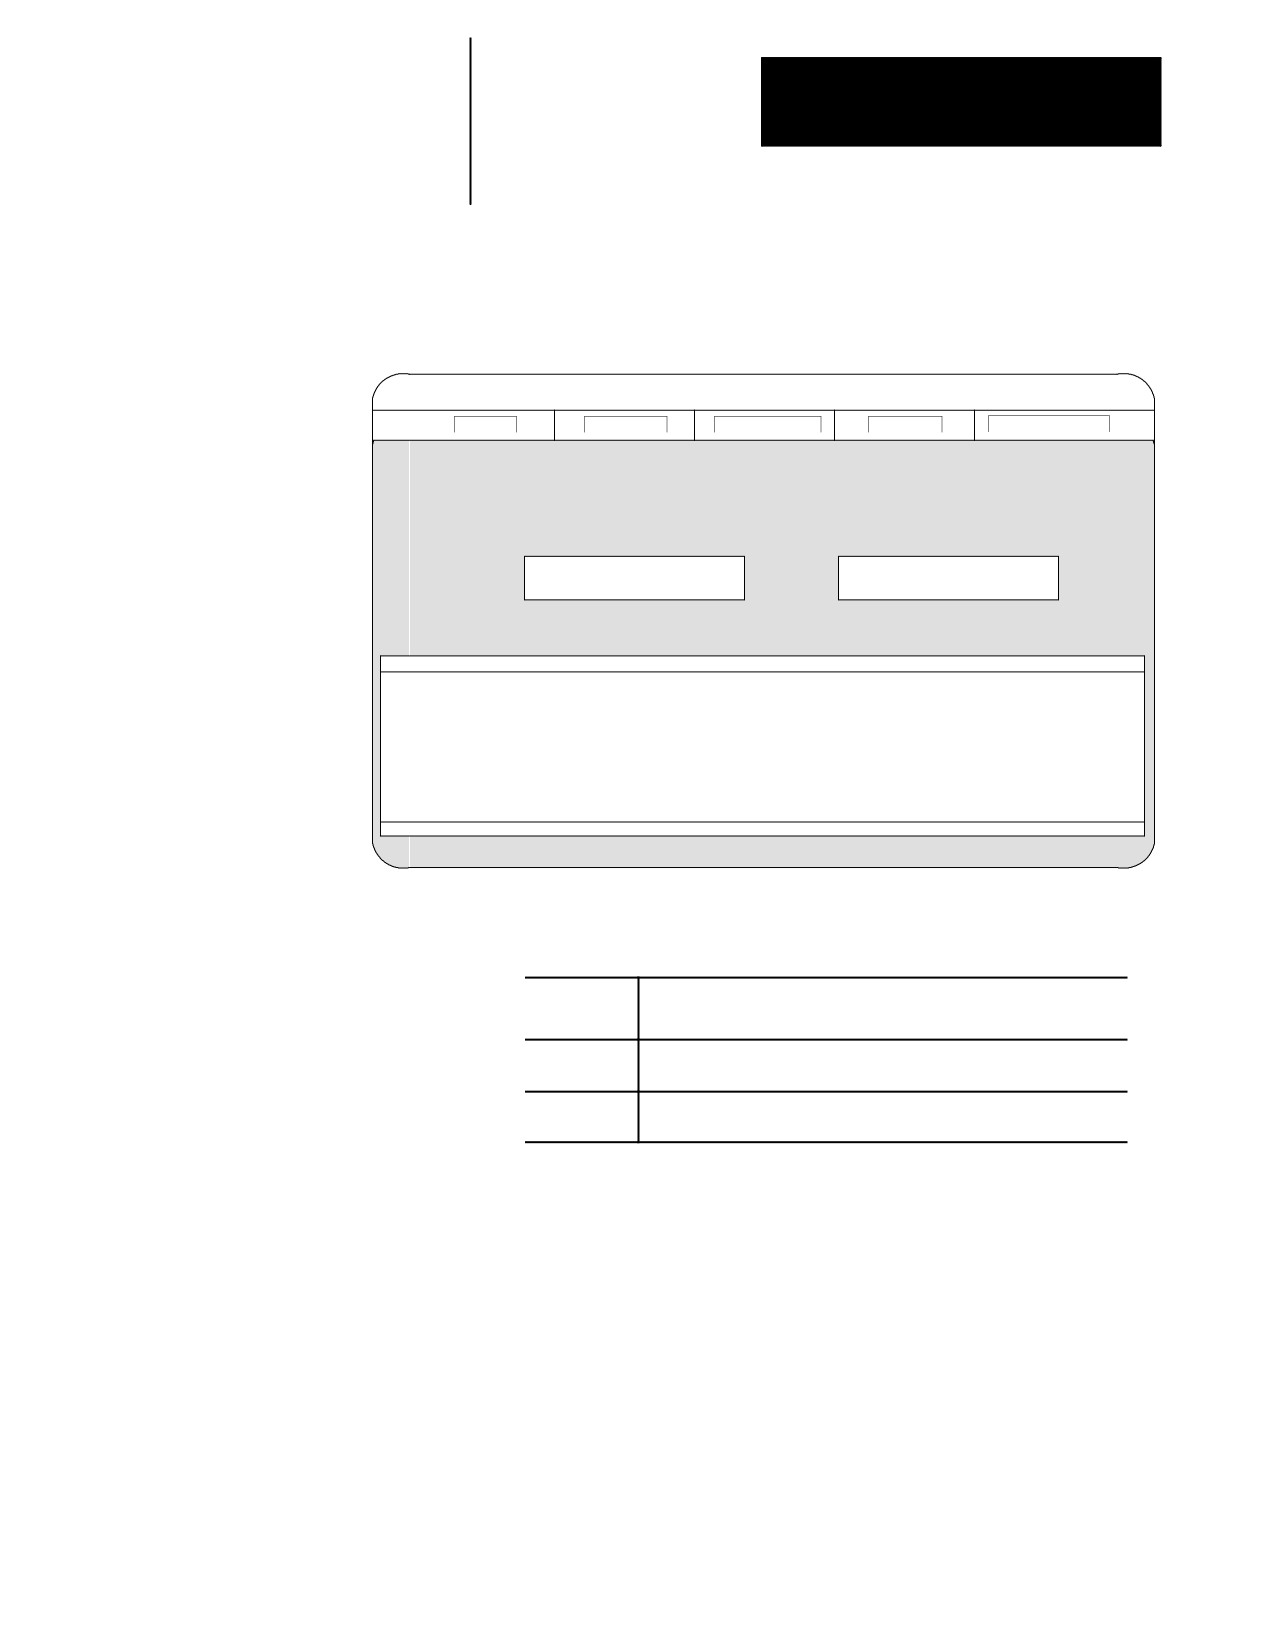
The workstation displays this screen:
Proj: Demo
Appl: Part Program
Util: File Management
F1 - File
F2 - Project
F3 - Application
F4 - Utility
F5 - Configuration
Editing Part Program ...
Selecting New or Existing File
Use ARROWS or Type in name. Press ENTER when done or ESC to cancel
FILE1
FILE2
FILE3
4.
Select a new or existing file.
To create a new file, type in the new file name. To open an existing
file use the arrow keys to select a file or type in a file name.
Press [ENTER] when done, or [ESC] to cancel.
6-4
Chapter 6
Editing Part Programs Off Line
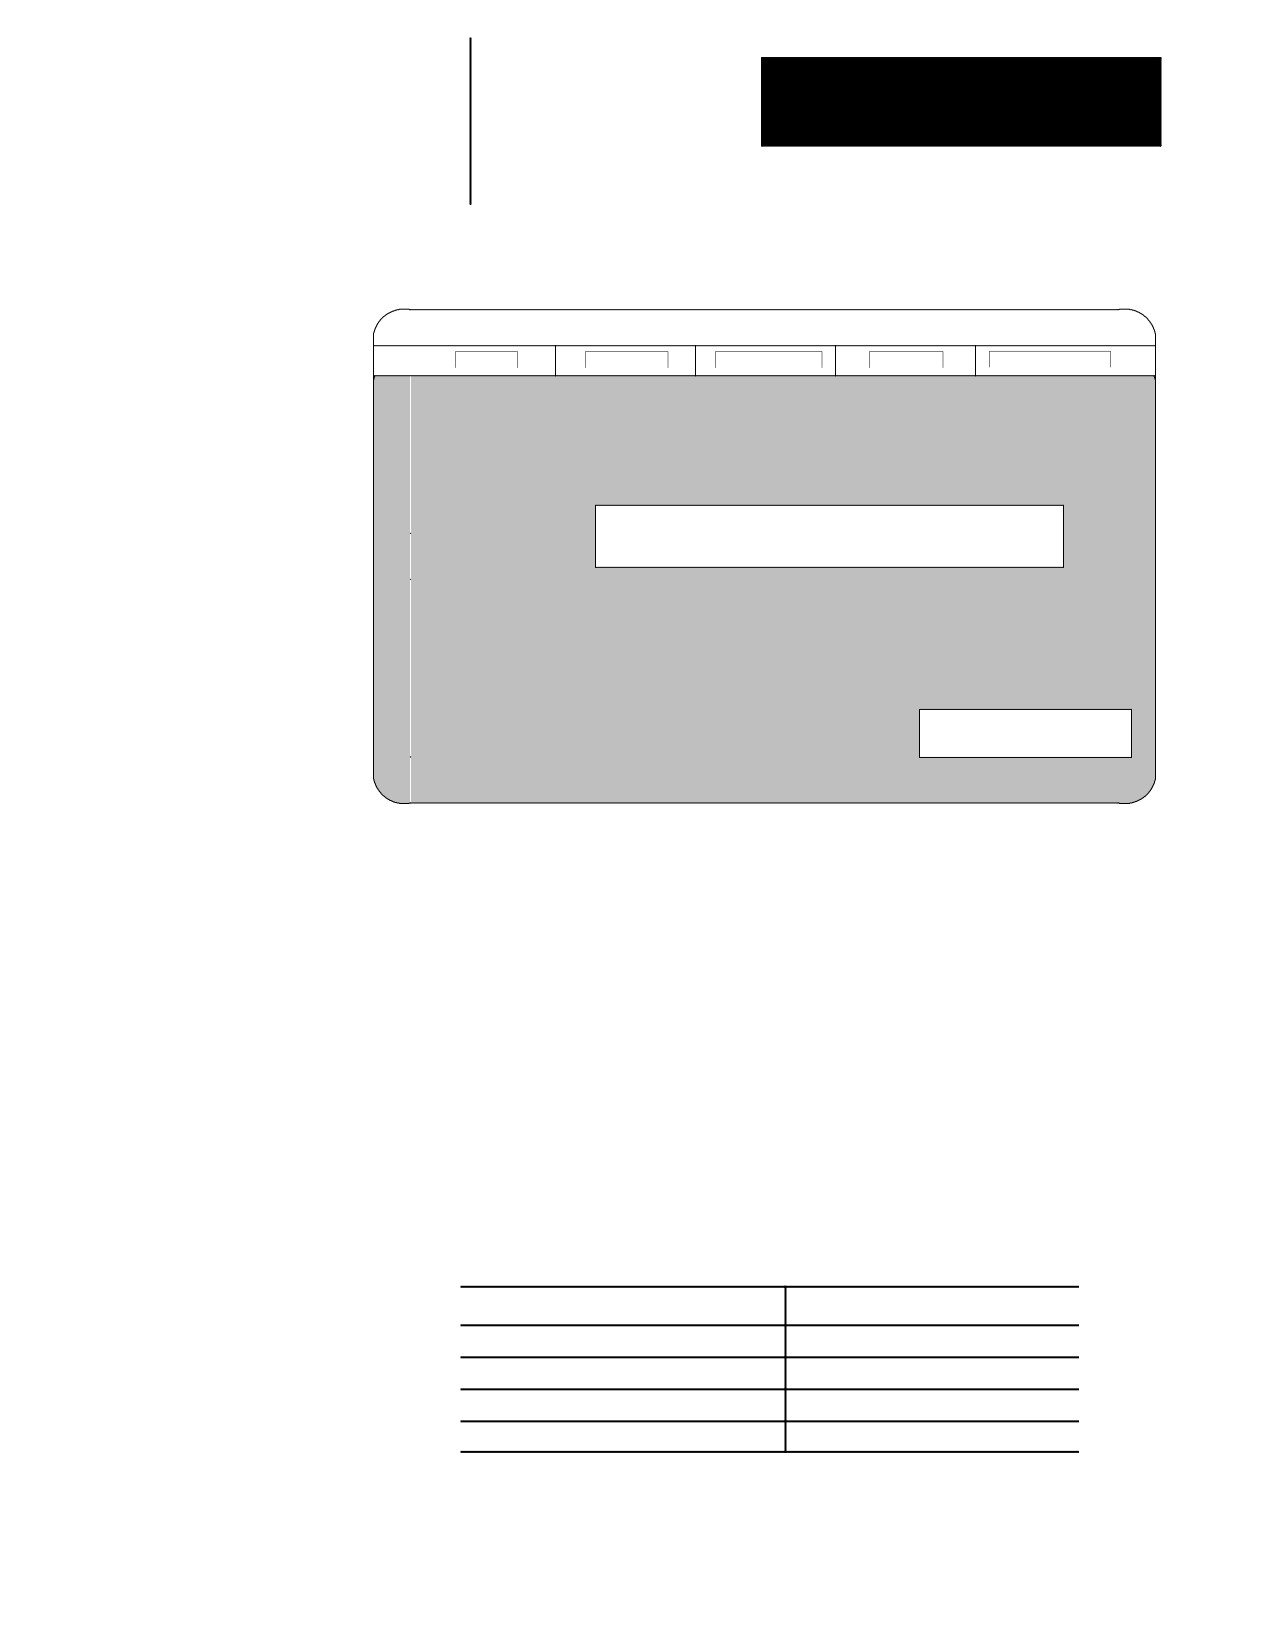
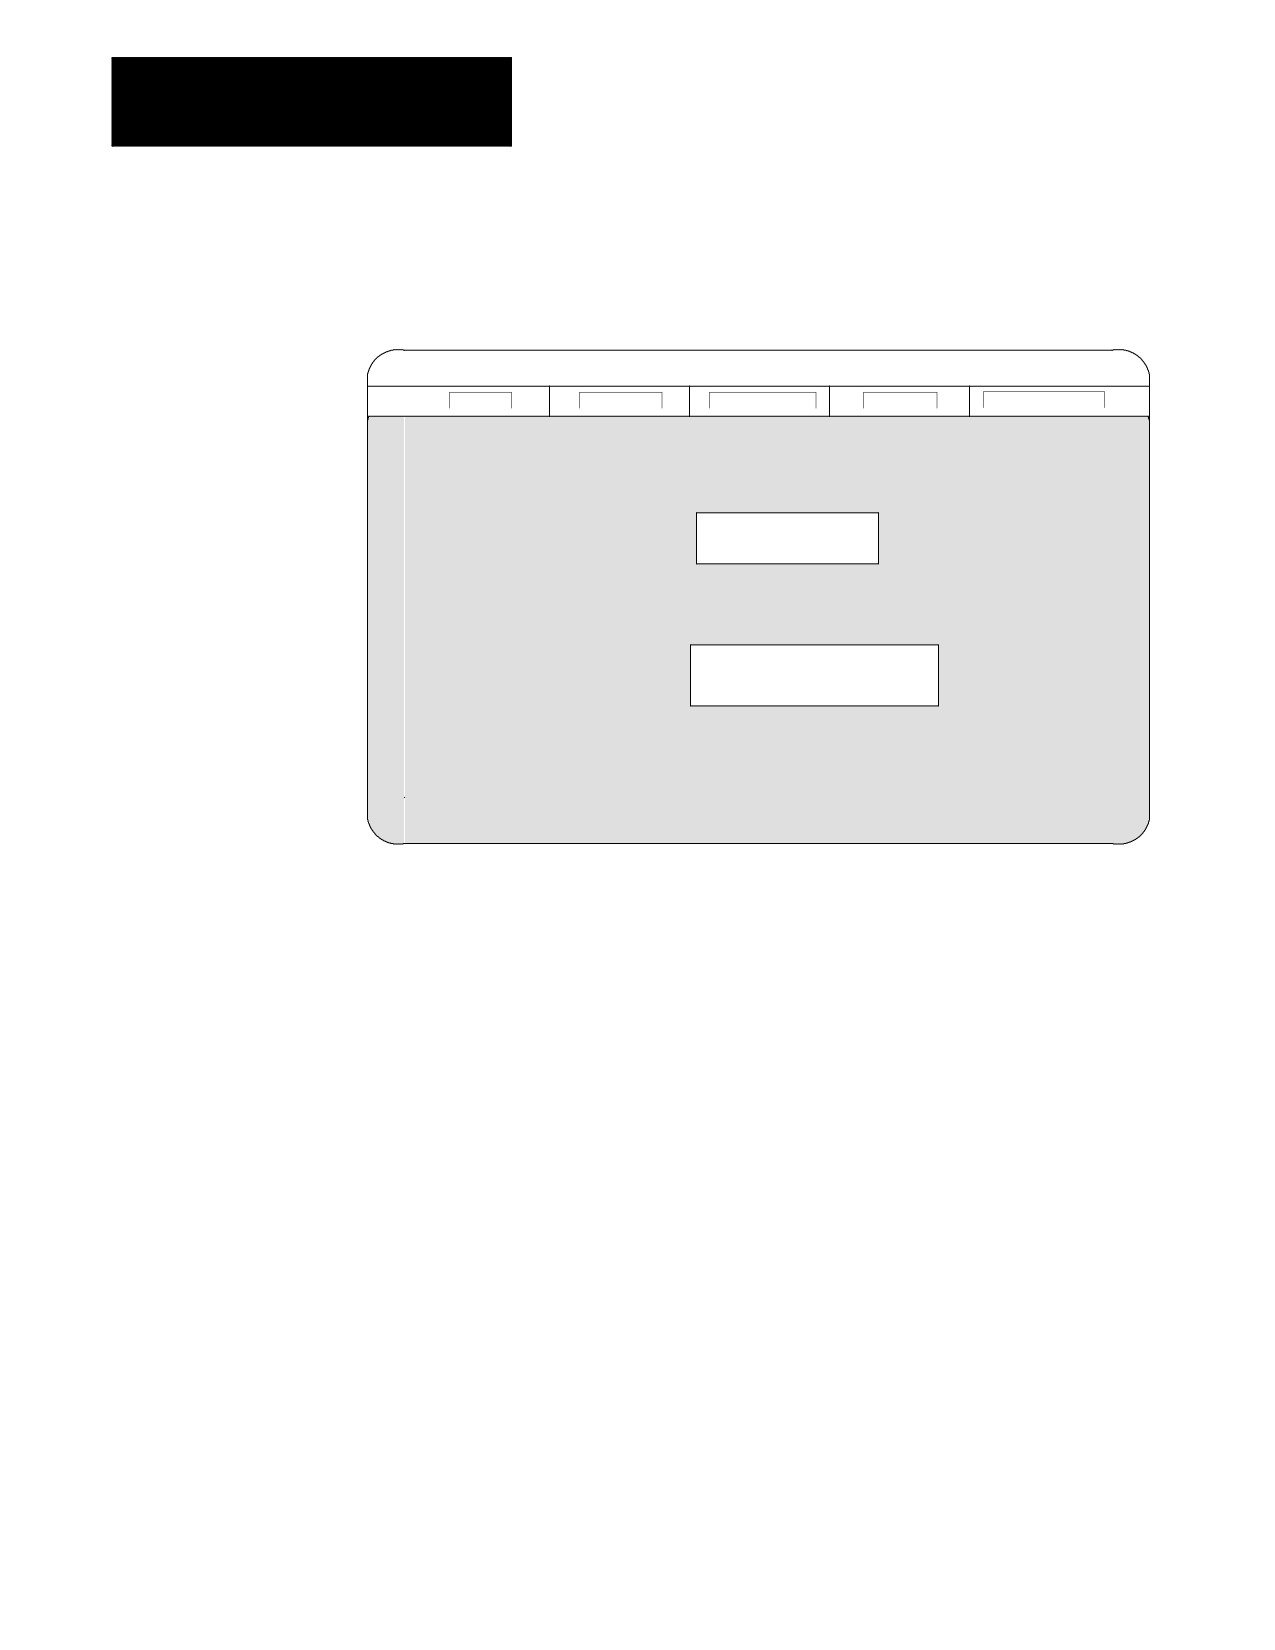
After you select a file, the workstation displays a screen explaining
the text editor:
Proj: Demo
Appl: Part Program
Util: File Management
F1 - File
F2 - Project
F3 - Application
F4 - Utility
F5 - Configuration
The configured text editor will now be executed,
using the file name selected.
Press any key to continue...
Use the configured screen or text editor to edit part programs. The editor
must be compatible with the ODS operating system. The editor must be
configured using the Text Editor Setup option of the F5-Configuration
menu at the main menu line. For details on how to use a specific screen or
text editor, such as ending an edit session, displaying a program, etc., see
the documentation provided with the screen or text editor.
You can find details about programming blocks in later chapters.
Important: The end of block statements, ”;” used to separate blocks on the
control should not be entered with the screen or text editor. The control
automatically inserts the end of block statements ”;” at the end of each line
when the program is downloaded to the control.
The maximum number of programs that you can have is 328. To store a
program, it must use at least 1.3 meters of memory. Use this table to find
out how much part program space there is in your system.
If your system has
this is your part program storage
64K
150 meters
128K
300 meters
192K
450 meters
Extended Part Program Storage (EPPS)
5235 meters
Extended Part Program Storage is not available on 9/230 CNCs.
6-5
Chapter 6
Editing Part Programs Off Line
6.3
The following sections require that the workstation be connected to the
control or storage device. Connect the workstation to the control or
Interfacing the Workstation
storage device with the RS-232 serial interface cable (cable CN25 in the
with the Control
integration/maintenance manual, chapter 4).
Use cable CN25 to connect the RS-232 interface port on the rear of the
workstation to Port B (CN16F) on the control or the RS-232 port on the
storage device. For information about connecting the workstation to a
storage device, see chapter 12 in the integration manual.
When downloading to a control with MTB panel, which has a serial
communication port located on the front left side of the panel, connect the
serial interface cable #25 to the serial communication port. This port is
connected to port B on the control.
You must configure Port B for serial communication. The serial
communication parameters of this port must correspond to the serial
communication parameters of the workstation or storage device.
To display the serial communication parameters of port B, press the
{SYSTEM SUPORT} softkey on the operator panel, then the {DEVICE
SETUP} softkey.
If the port A parameters are displayed, use the left or right arrows on the
operator panel to change the display from port A to port B parameters.
Make sure the DEVICE configured on this screen for port B is ODS. If it
is not configured for ODS, see chapter 9 for details on configuring
communication parameters. Once the DEVICE type of ODS is configured,
the default parameters should work for most PC applications.
If the serial communication parameters of port B do not correspond to the
serial communication parameters of the workstation, refer to programming
manual.
6.4
After using the part program edit utility to create or edit a part program file
offline, the programmer can download this part program to the control or
Downloading Part Programs
to a storage device by using the Download application of ODS.
from ODS
Important: When you download a program from ODS to the control, it is
automatically inserted into the normal program directory on the control.
The control automatically inserts the end of block statements ”;” at the end
of each line when the program is downloaded to the control.
6-6
Chapter 6
Editing Part Programs Off Line
To download a part program from ODS to the control’s memory, follow
these steps:
1.
Interface the workstation with the control. See page 6-6.
2.
Return to the main menu line of ODS.
3.
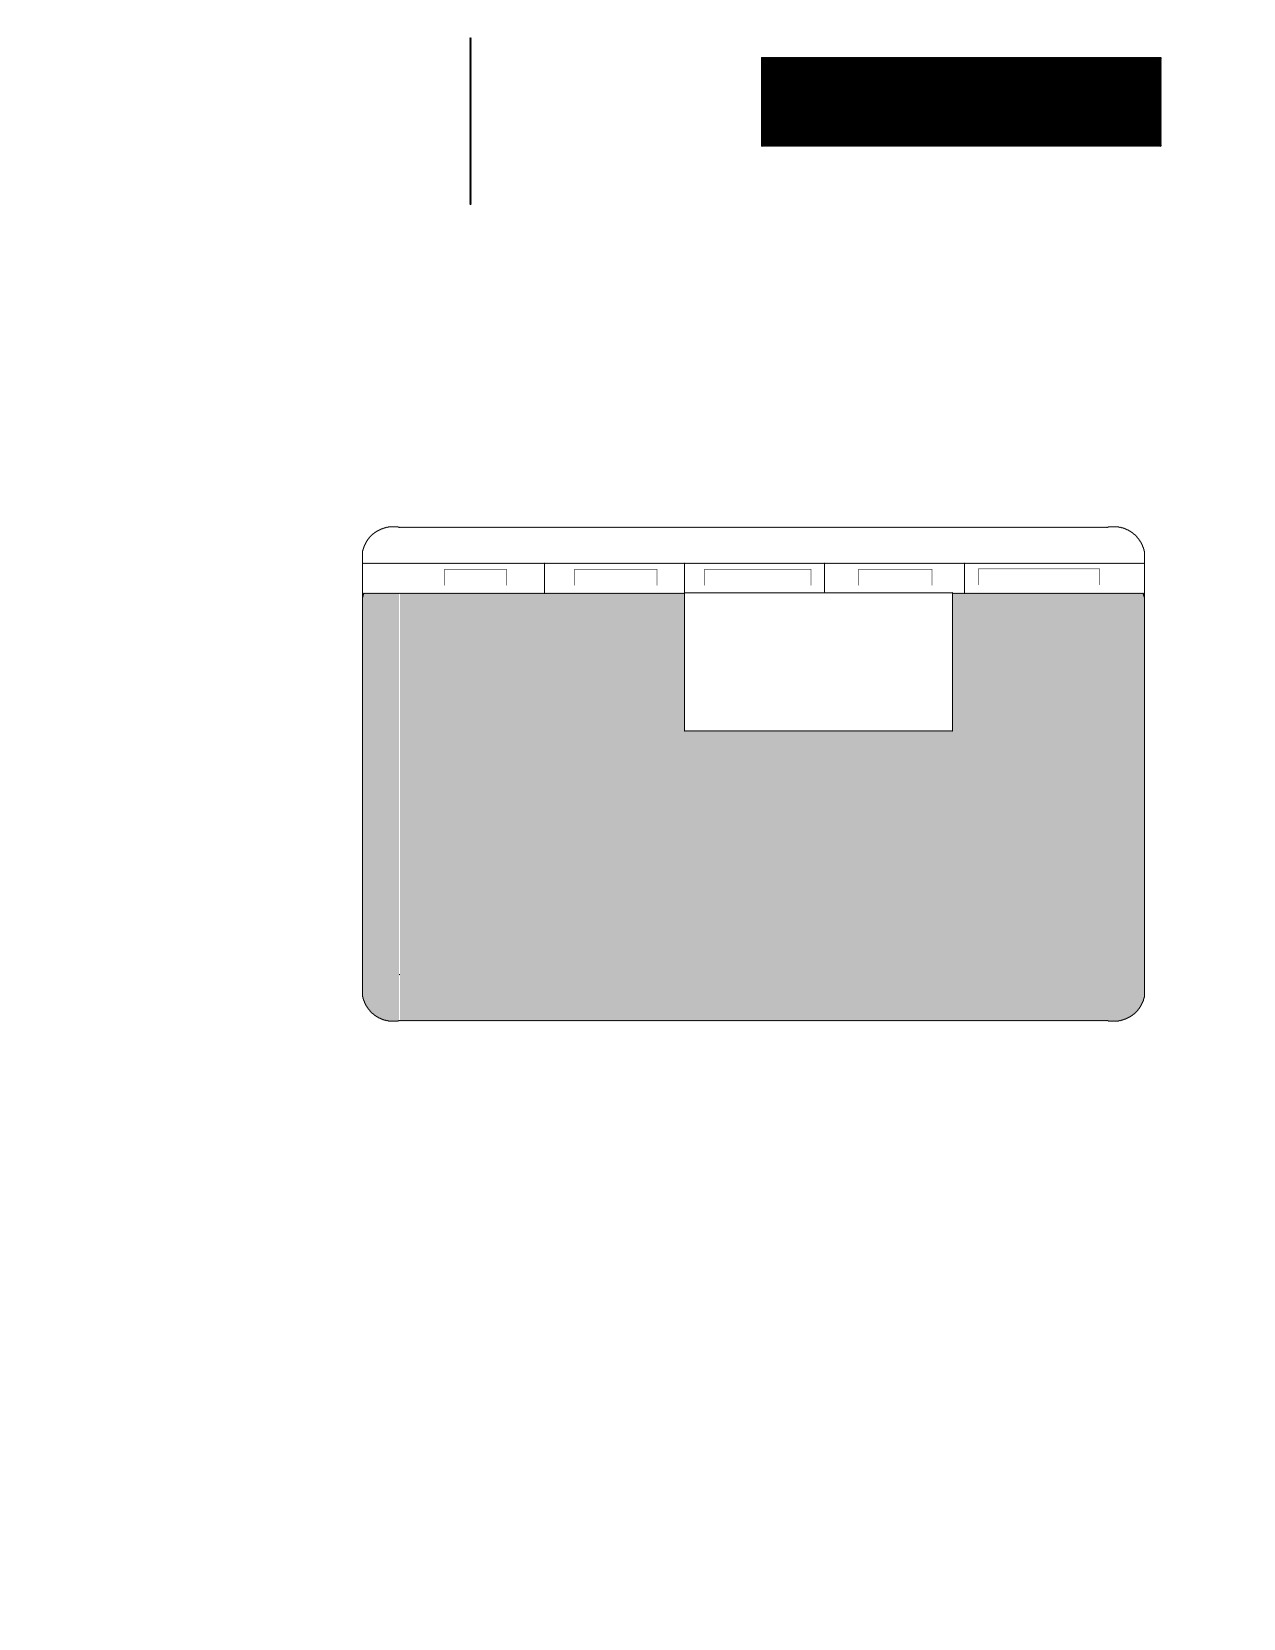
Press [F3] to pull down the Application menu.
The workstation displays this screen:
Proj: PALTEST
Appl: Upload
Util: Get PAL I/O
F1 - File
F2 - Project
F3 - Application
F4 - Utility
F5 - Configuration
AMP
(A)
PAL
(P)
I/O Assignments
(I)
Part Program
(R)
Upload
(U)
Download
(D)
4.
Use the arrow keys to highlight the Download application, then press
[ENTER] or press [D].
6-7
Chapter 6
Editing Part Programs Off Line
5.
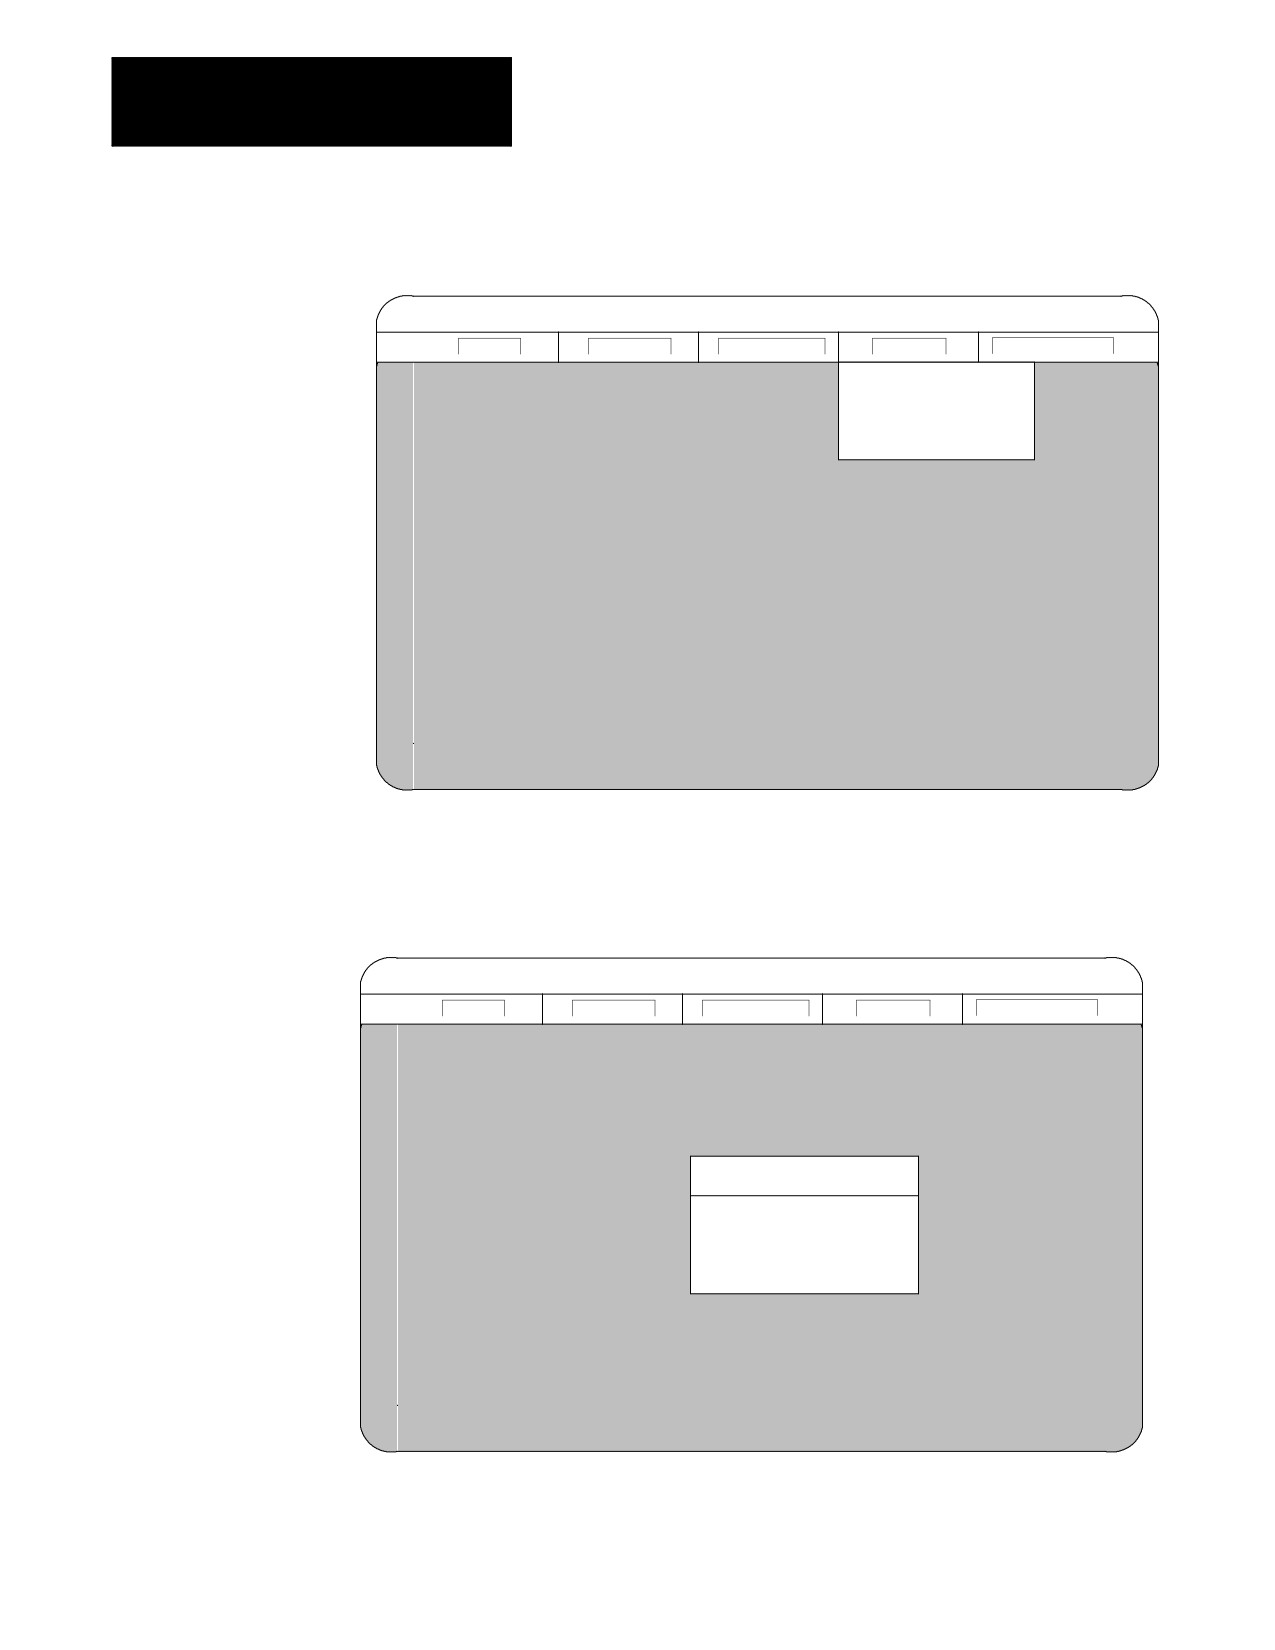
Press [F4] to pull down the Utility menu.
Proj: Demo
Appl: Download
Util: File Management
F1 - File
F2 - Project
F3 - Application
F4 - Utility
F5 - Configuration
Send AMP params
(A)
Send PAL and I/O
(P)
Send Part Program
(R)
6.
Use the arrow keys to highlight the Send Part Program option, then
press[ENTER], or press [R].
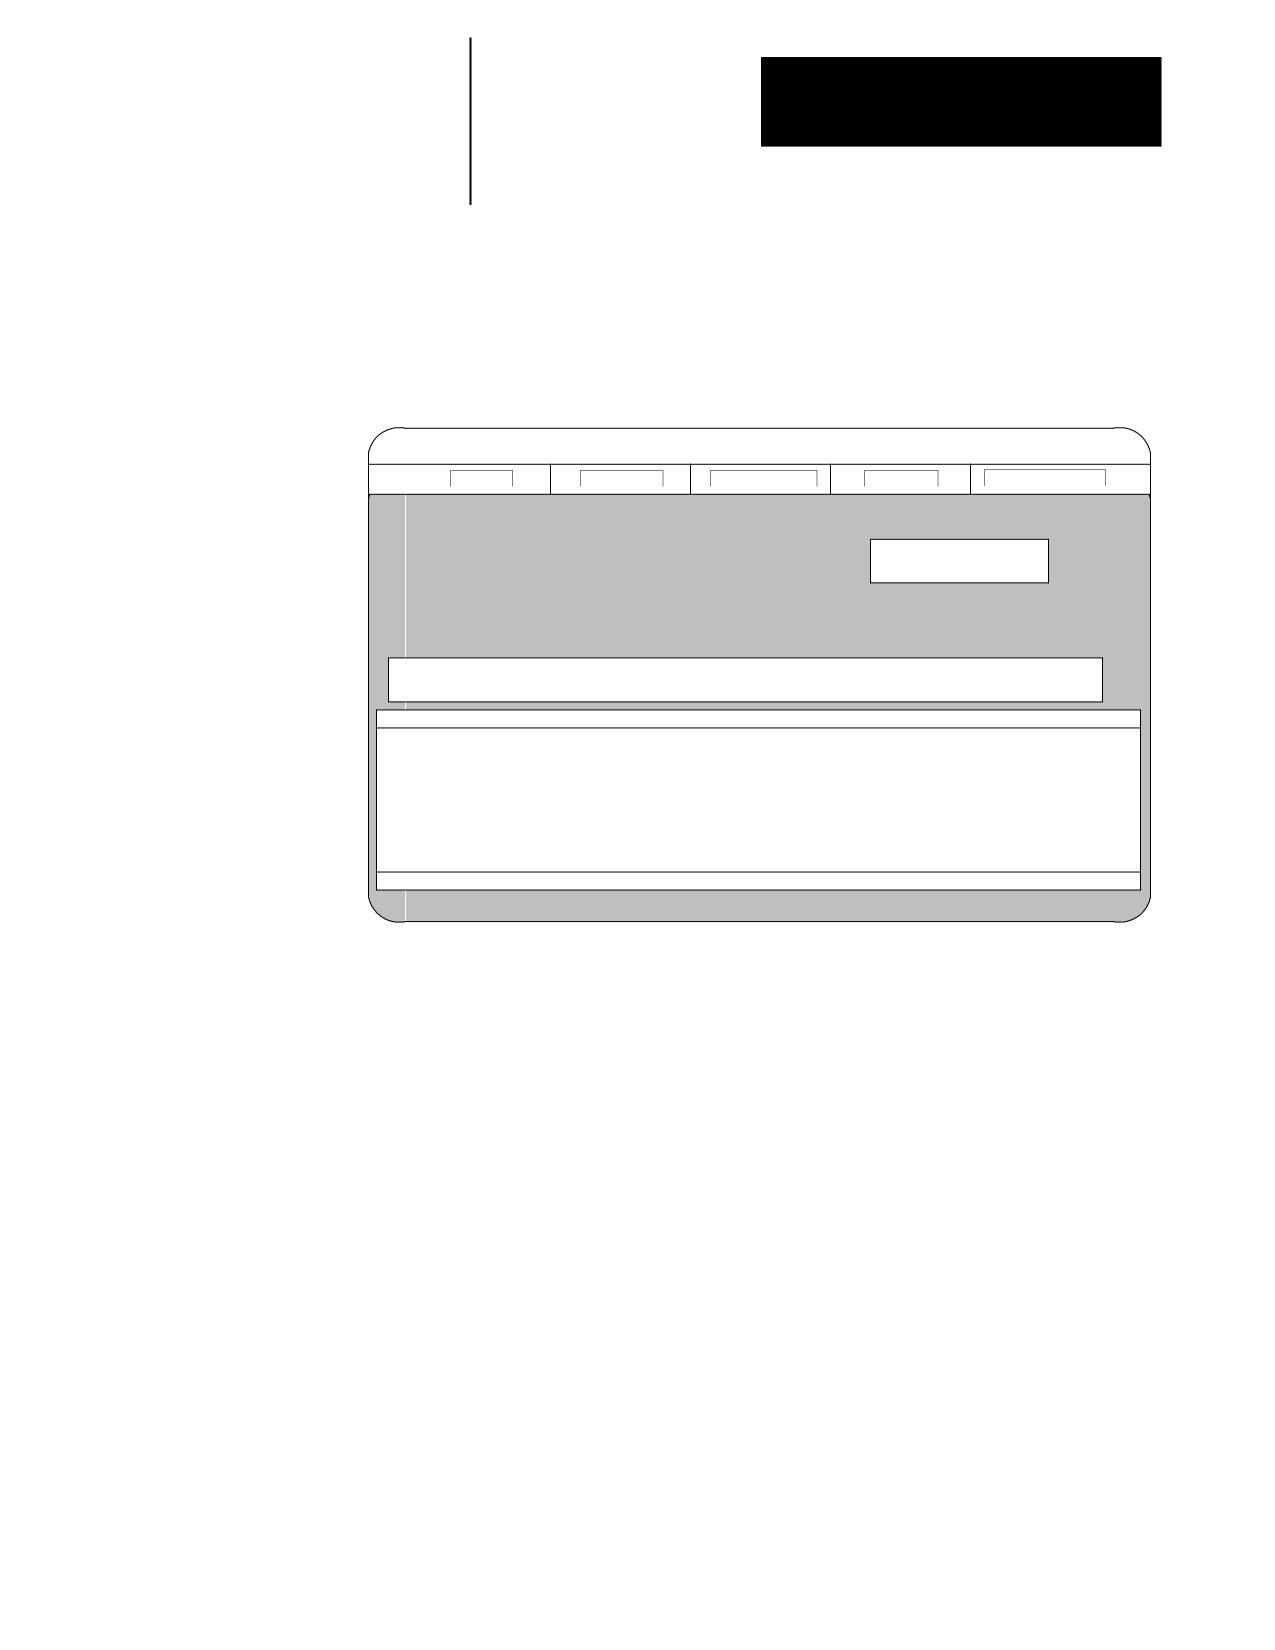
The workstation displays this screen:
Proj: Demo
Appl: Download
Util: File Management
F1 - File
F2 - Project
F3 - Application
F4 - Utility
F5 - Configuration
Download Destination
Control
(C)
Storage
(S)
6-8
Chapter 6
Editing Part Programs Off Line
7.
Use the arrow keys to highlight the download destination or press the
letter that corresponds to the download destination. When selected,
press [ENTER].
The workstation displays the part program files that are stored in the
active project directory of the workstation:
Proj: Demo
Appl: Download
Util: File Management
F1 - File
F2 - Project
F3 - Application
F4 - Utility
F5 - Configuration
Downloading
Use ARROW keys or Type in name. Press ENTER when done, or ESC to cancel.
FILE1
FILE2
FILE3
8.
Use the arrow keys to highlight the name or type in the part program
name to download, then press [ENTER].
Important: You can upload more than one part program by using
wildcards (“*” or “?”) in place of all or part of a file name. Refer to the
workstation’s DOS manual for additional information about using
wildcards.
6-9
Chapter 6
Editing Part Programs Off Line
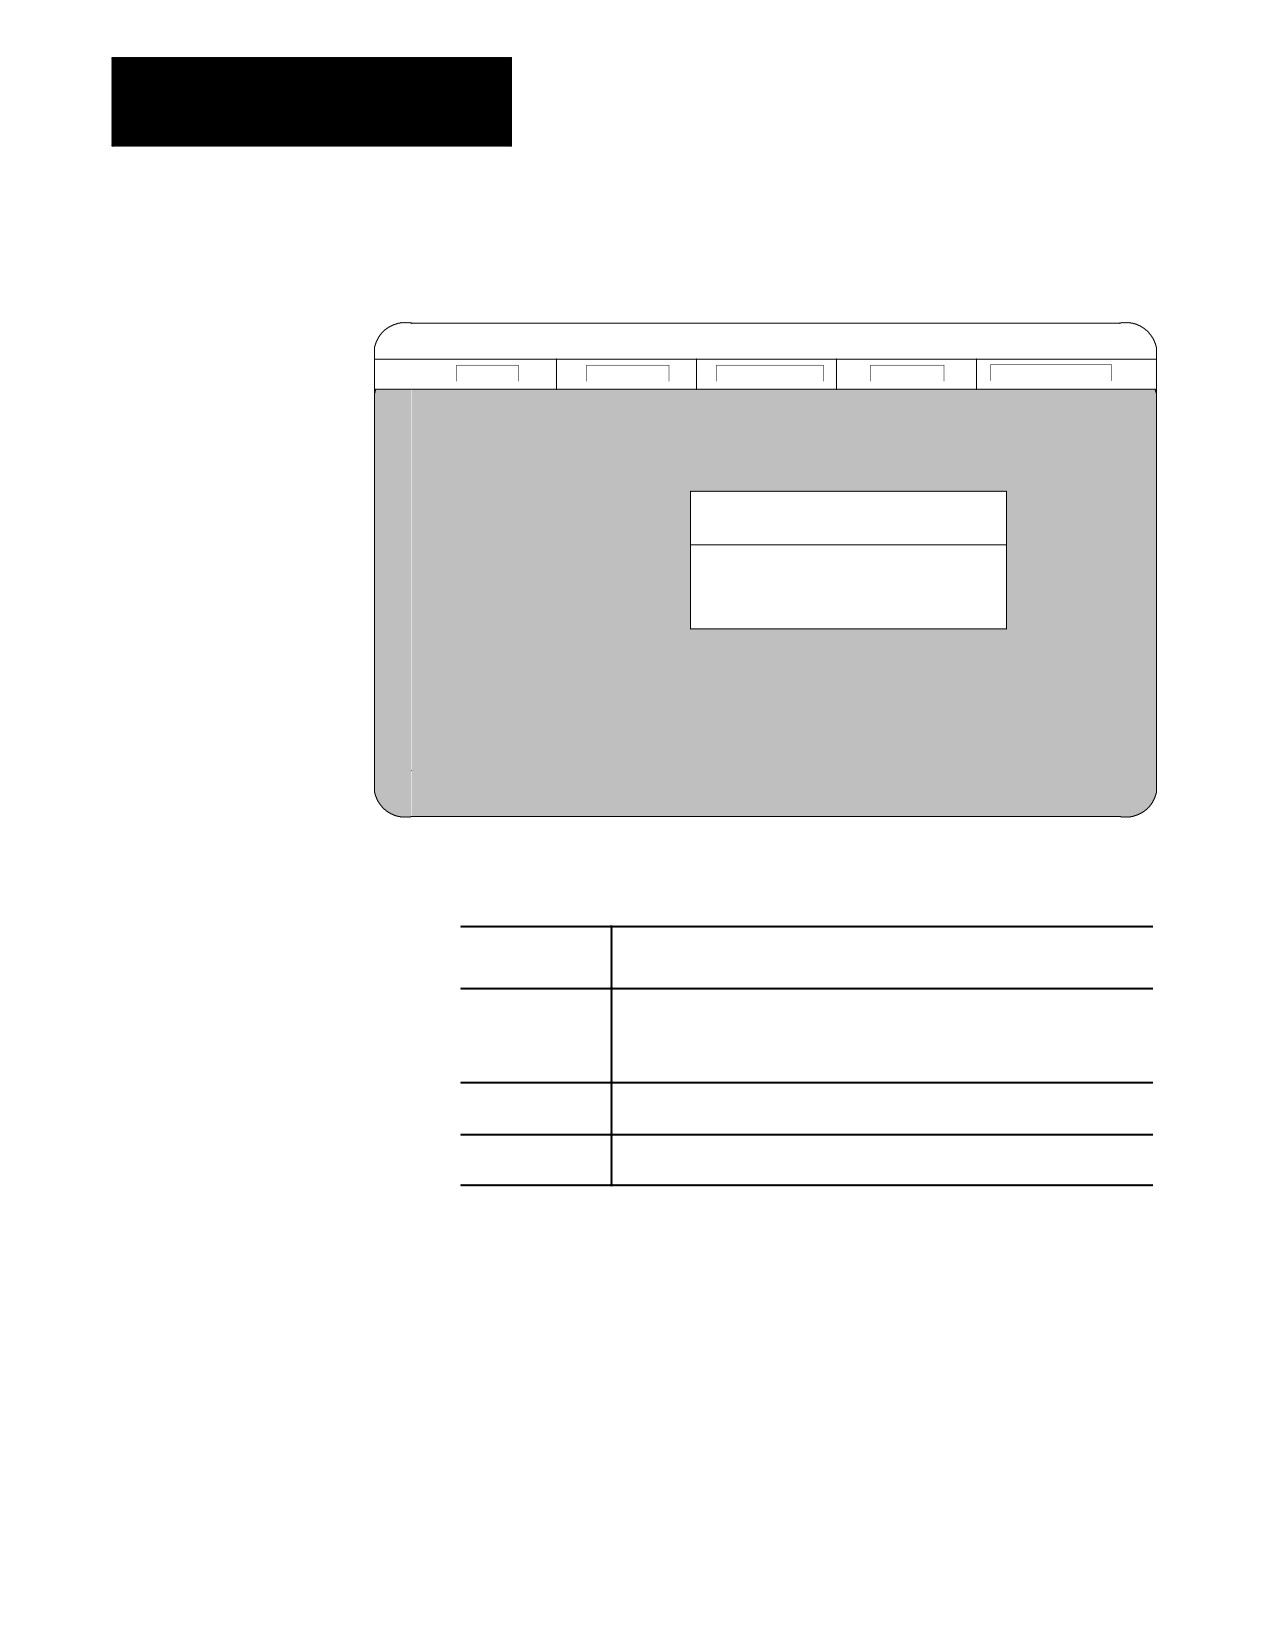
If the selected part program file name already exists on the control, the
workstation displays this screen:
Proj: Demo
Appl: Download
Util: Get Part Program
F1 - File
F2 - Project
F3 - Application
F4 - Utility
F5 - Configuration
File Already Exits
Enter Option
Rename existing file
(R)
Overwrite existing file
(O)
Abort current file
(A)
Important: The currently active or open part program on the control can
not be renamed or overwritten during a download procedure.
If you select this
This happens:
option:
Rename
the workstation renames the existing file, which has the same name as the
file being uploaded, on the workstation.The workstation displays the part
program files stored on the workstation Type in the new name for the
existing part program on the control.
Overwrite
the part program file being downloaded overwrites the file having the same
name on the control.
Abort
the download process is discontinued and the workstation prompts the
programmer for additional files to download.
Important: If you enter a wildcard in place of a file name, the Abort
option is repeated for each file that matches the wildcard. Pressing the
[ESC] key quits the abort wildcard process.
6-10
Chapter 6
Editing Part Programs Off Line
After selecting the Rename or Overwrite option, or if the file being
downloaded did not already exist on the control, the workstation displays
this screen:
Proj: Demo
Appl: Download
Util: Send Part Program
F1 - File
F2 - Project
F3 - Application
F4 - Utility
F5 - Configuration
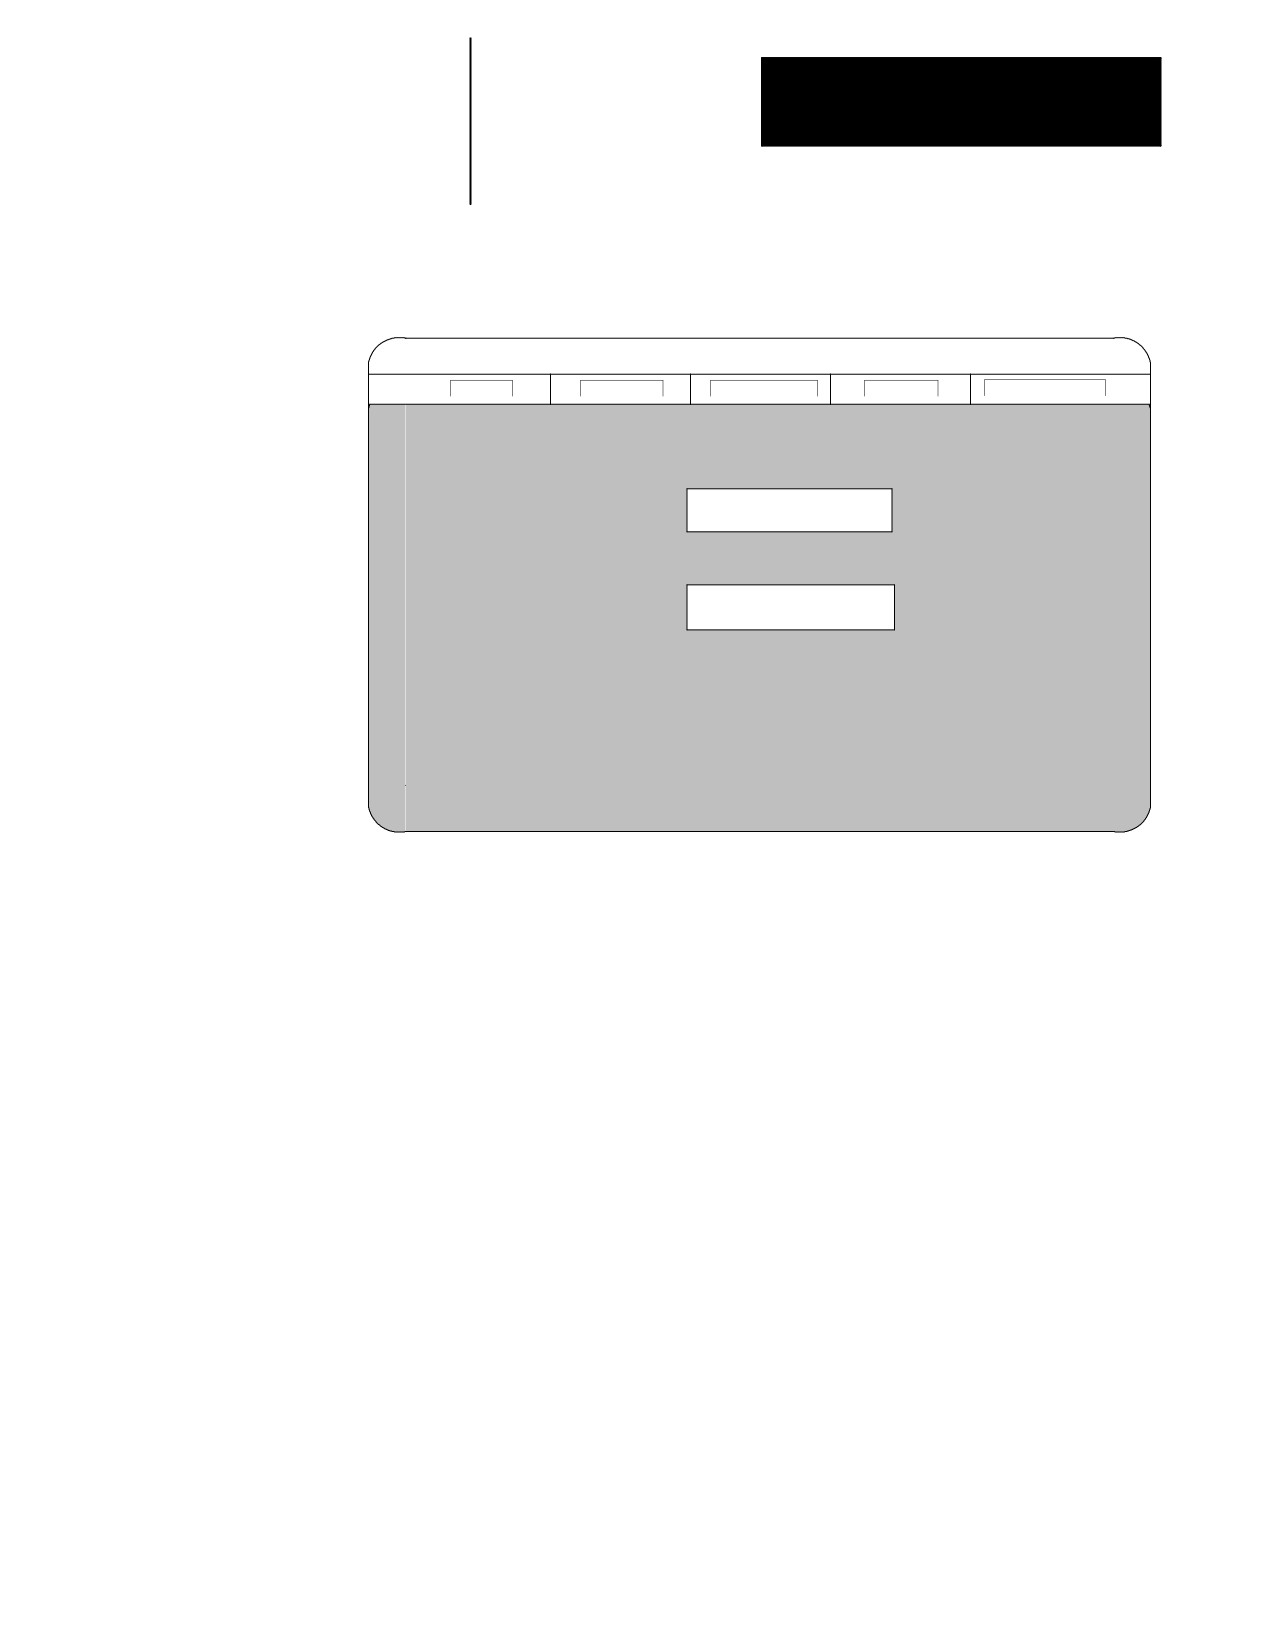
Download In Progress
Percent completed 50%
The percentage of the download process that has currently been completed
is displayed on the screen. This value is updated continually throughout
the download process.
When you download a program to a control, the control does not display a
message to indicate that a download is taking place. If you download a
large program it can take several minutes for the control to complete the
download. As the program downloads, the control updates the size of the
program shown.
6-11
Chapter 6
Editing Part Programs Off Line
When the download process is complete, the workstation displays this
screen:
Proj: Demo
Appl: Download
Util: Send Part Program
F1 - File
F2 - Project
F3 - Application
F4 - Utility
F5 - Configuration
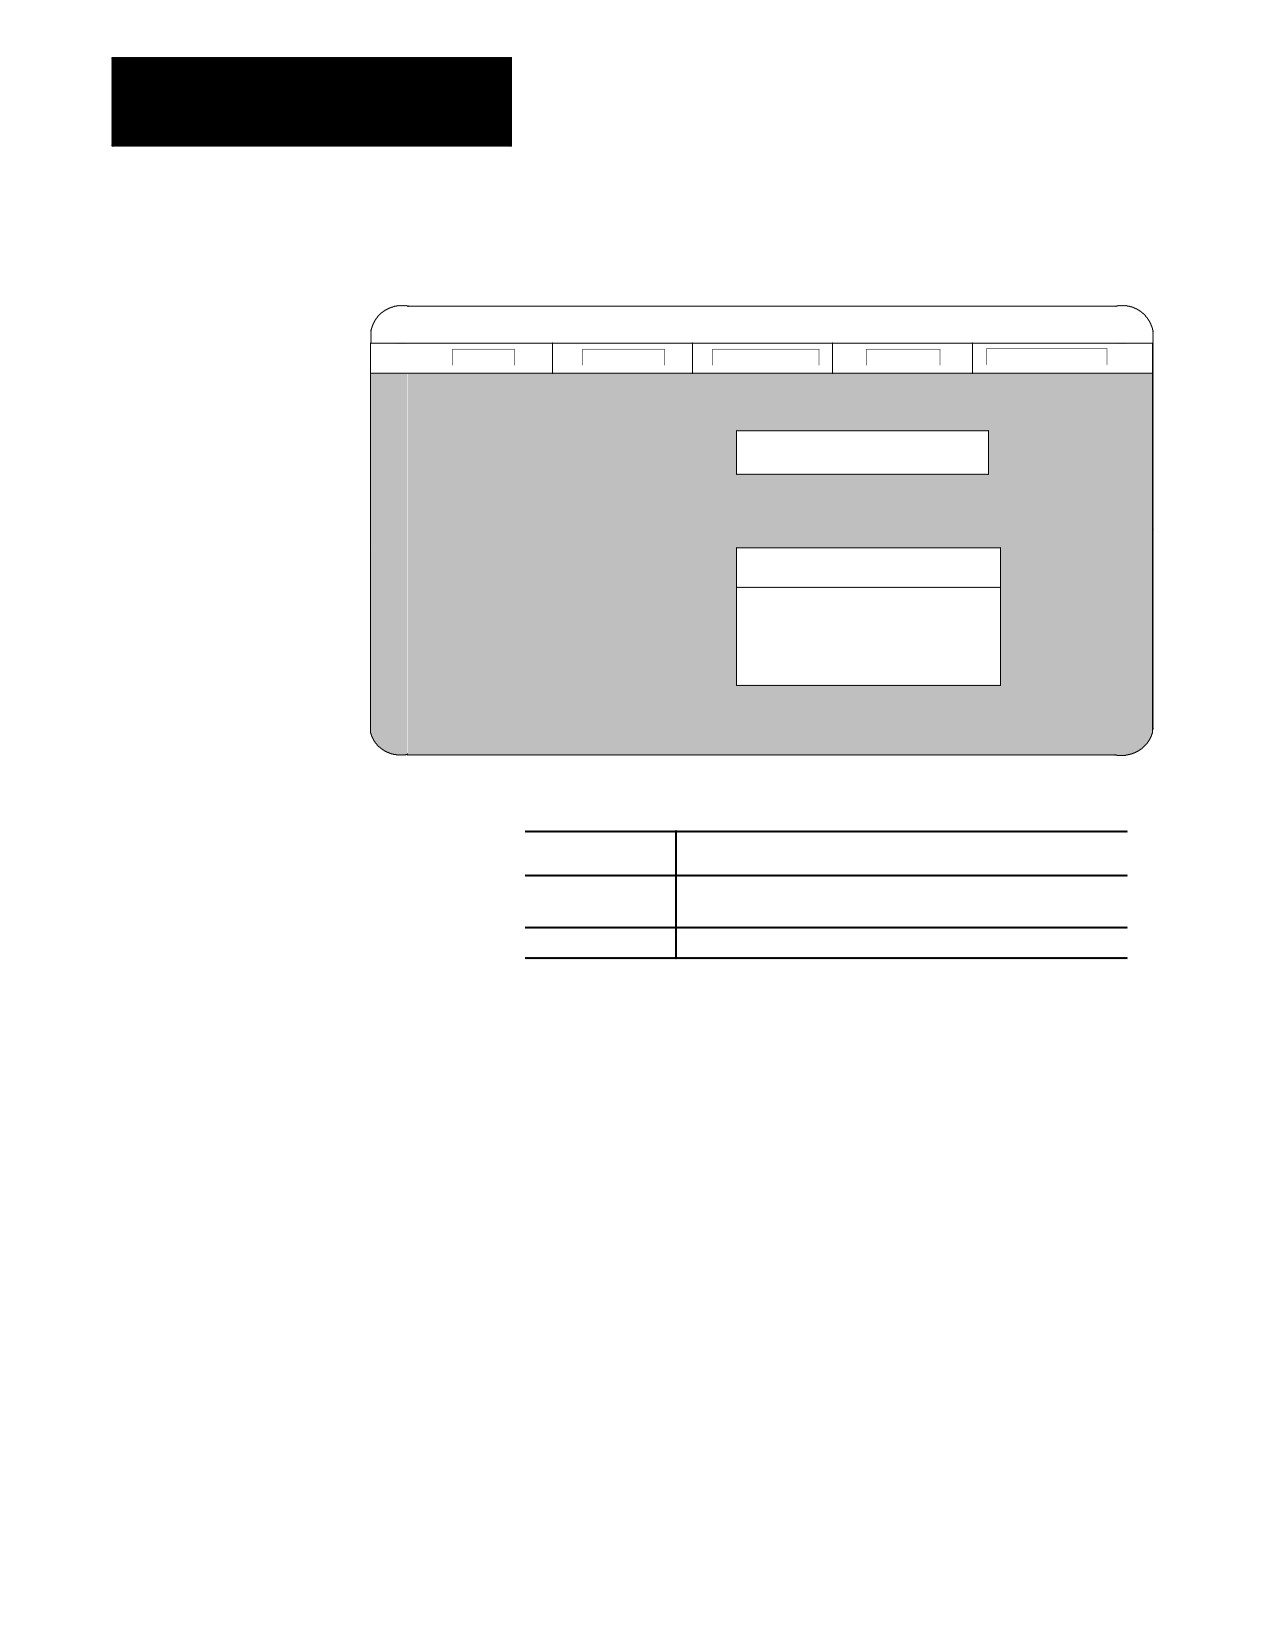
Download Complete
Download Another File?
Yes
(Y)
No
(N)
9.
Select
“Yes” or “No.”
If you select:
Then:
Yes
the system prompts the programmer through the download
procedure again
No
the workstation returns to ODS the main menu line.
6-12
Chapter 6
Editing Part Programs Off Line
If the workstation was unable to complete the download procedure in
the allotted time frame, it displays this screen:
Proj: Demo
Appl: Download
Util: Send Part Program
F1 - File
F2 - Project
F3 - Application
F4 - Utility
F5 - Configuration
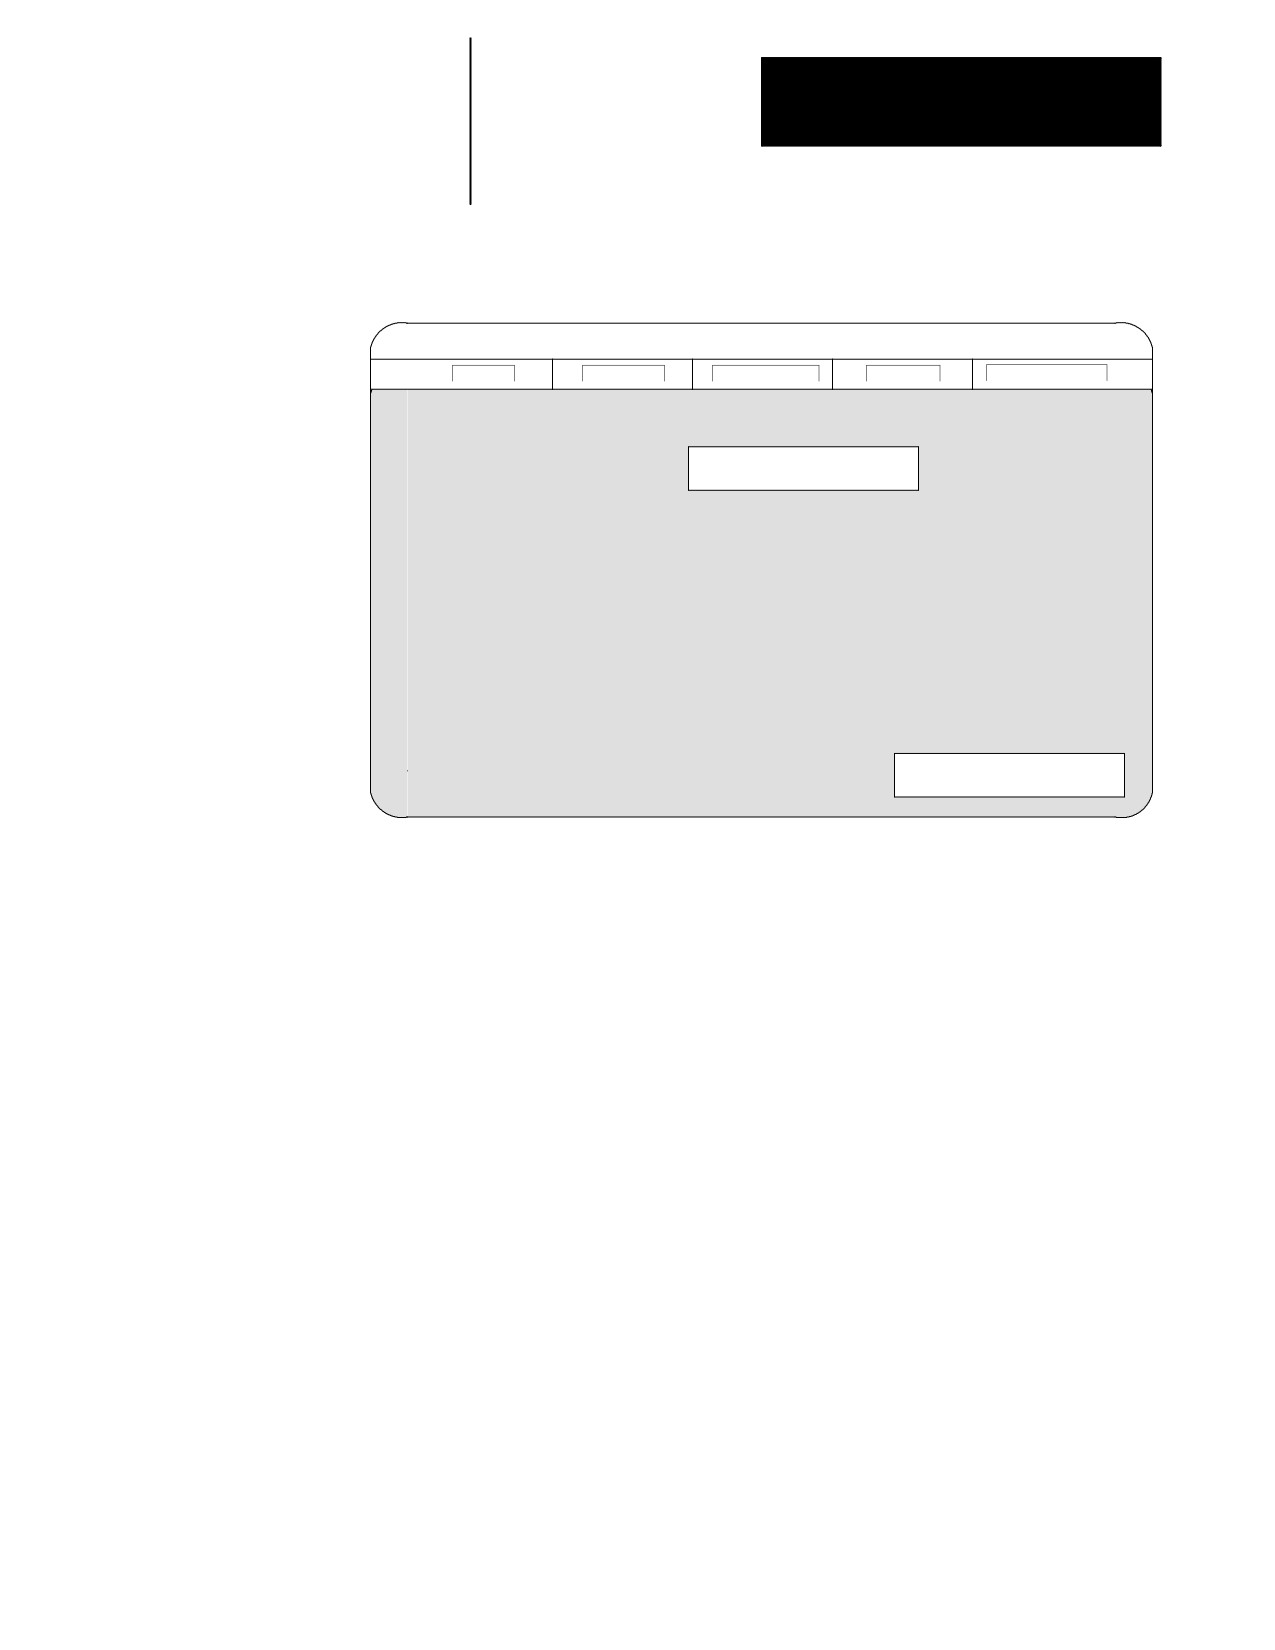
A time-out occurred ...
Press any key to continue ...
Pressing any key causes the workstation to return to the ODS main menu.
6.5
The programmer can upload a part program from the control’s memory to
UPLOAD Part Programs to
the workstation by using the ODS Upload application. This allows the part
program to be edited or stored on the workstation.
ODS
1.
Interface the workstation with the control. See page 6-6.
2.
Return to the main menu line of ODS.
6-13
Chapter 6
Editing Part Programs Off Line
3.
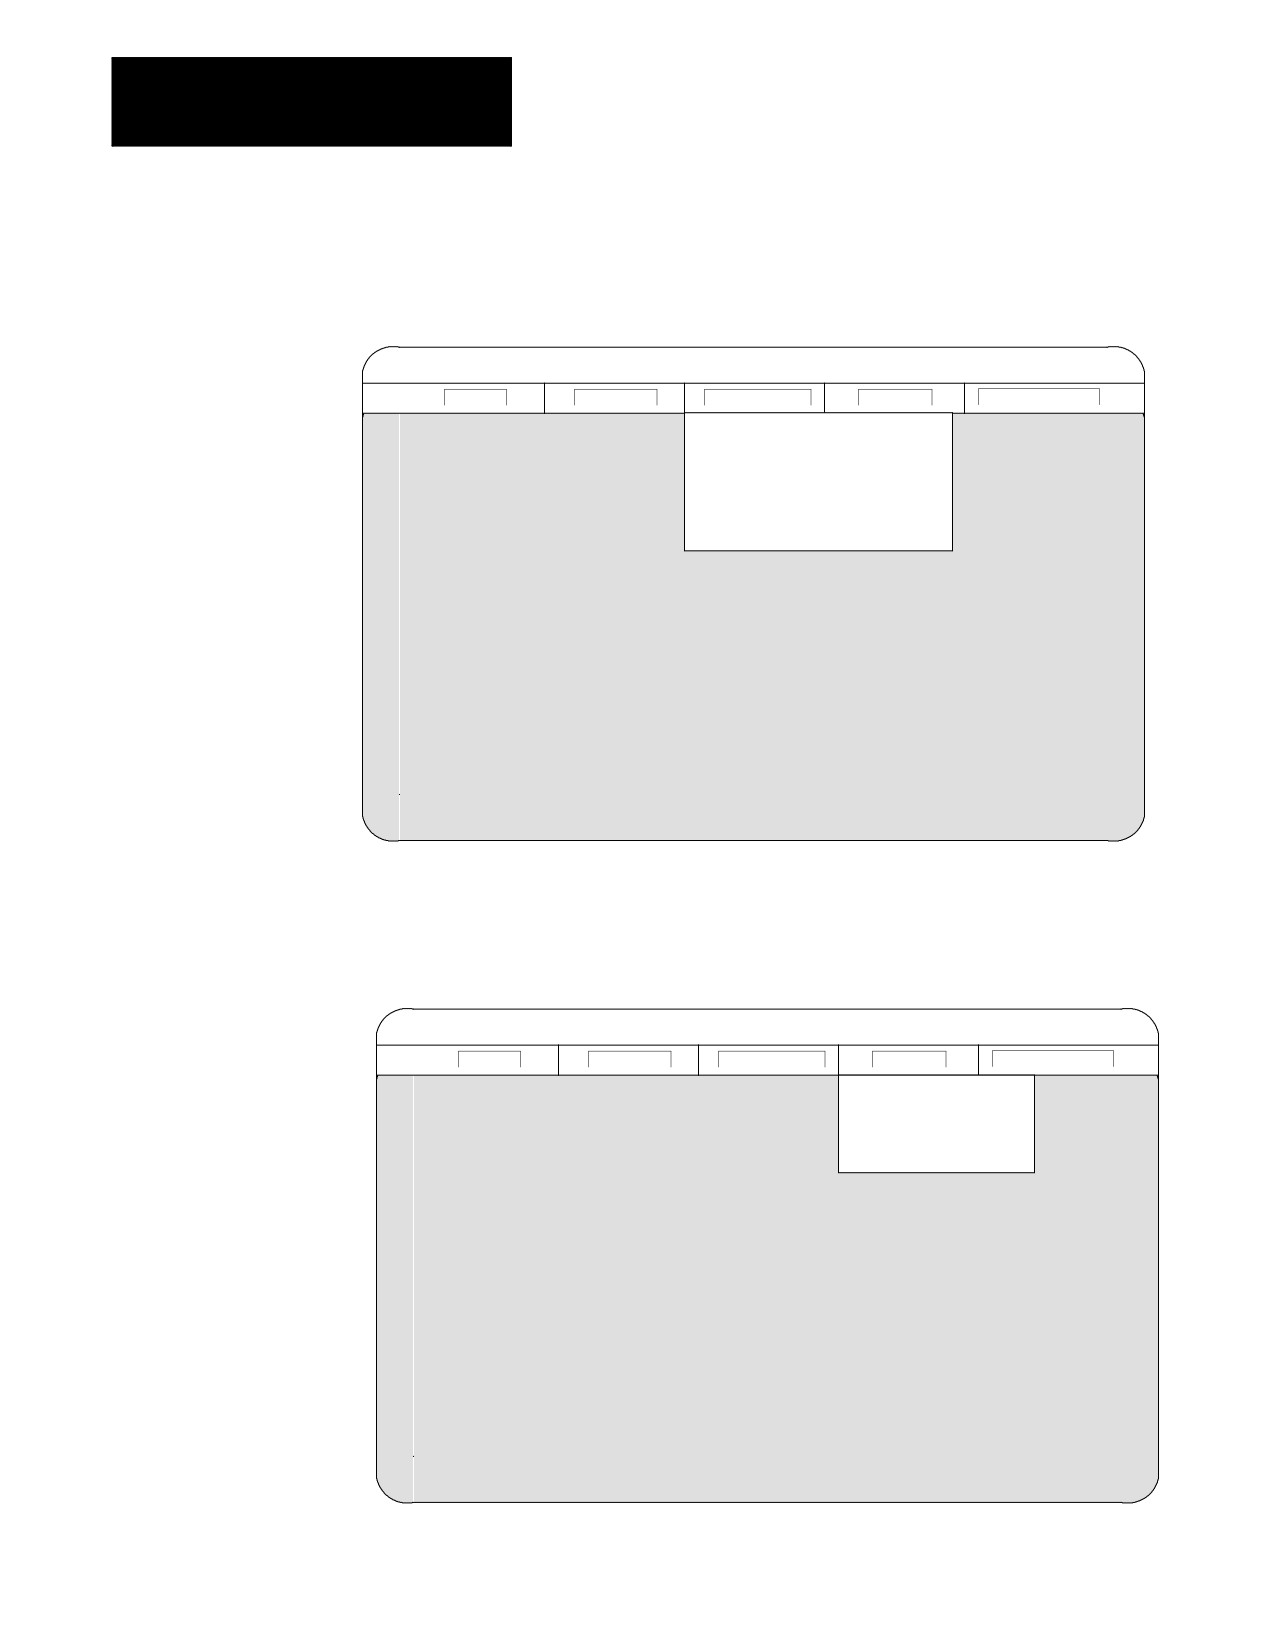
Press [F3] to pull down the Application menu.
The workstation displays this screen:
Proj: PALTEST
Appl: Upload
Util: Get PAL I/O
F1 - File
F2 - Project
F3 - Application
F4 - Utility
F5 - Configuration
AMP
(A)
PAL
(P)
I/O Assignments
(I)
Part Program
(R)
Upload
(U)
Download
(D)
4.
Use the arrow keys to highlight the Upload application, then press
[ENTER] or press [U].
5.
Press[F4] to pull down the Utility menu.
Proj: Demo
Appl: Part Program
Util: none
F1 - File
F2 - Project
F3 - Application
F4 - Utility
F5 - Configuration
Get AMP params
(A)
Get PAL and I/O
(P)
Get Part Program
(R)
6-14
Chapter 6
Editing Part Programs Off Line
6.
Use the arrow keys to highlight the Get Part Program option, then
press[ENTER], or press [R].
The workstation displays this screen:
Proj: Demo
Appl: Part Program
Util: Get Part Program
F1 - File
F2 - Project
F3 - Application
F4 - Utility
F5 - Configuration
Upload Origin
Control
(C)
Storage
(S)
7.
Use the arrow keys to highlight the upload origin, then press [ENTER]
or press the letter that corresponds to the upload origin.
The workstation displays the part program files that are stored on the
control or storage device:
Proj: Demo
Appl: Part Program
Util: Get Part Program
F1 - File
F2 - Project
F3 - Application
F4 - Utility
F5 - Configuration
Upload From...
Use ARROW keys or Type in name. Press ENTER when done, or ESC to cancel.
FILE1
FILE2
FILE3
6-15
Chapter 6
Editing Part Programs Off Line
8.
Use the arrow keys to highlight the name of the part program to be
uploaded to the workstation or type in the part program name, then
press [ENTER].
When you upload a program from the control, the control does not display
a message to indicate that an upload is taking place. If you upload a large
program it may take several minutes for the upload to complete. If you try
to edit the program while it is uploading you see an error message that says
the program is already open. You have to wait until the upload is complete
to edit the program.
Important: You can upload more than one part program by using
wildcards (“*” or “?”) in place of all or part of a file name. Refer to the
workstation’s DOS manual for additional information about using
wildcards.
If the selected part program already exists on the workstation, the
workstation displays this screen:
Proj: Demo
Appl: Upload
Util: Get Part Program
F1 - File
F2 - Project
F3 - Application
F4 - Utility
F5 - Configuration
File Already Exits
Enter Option
Rename existing file
(R)
Overwrite existing file
(O)
Abort current file
(A)
6-16
Chapter 6
Editing Part Programs Off Line
If you select the Rename option, the workstation renames the existing file,
which has the same name as the file being uploaded, on the workstation.
The workstation displays the part program files stored on the workstation:
Proj: Demo
Appl: Upload
Util: Get Part Program
F1 - File
F2 - Project
F3 - Application
F4 - Utility
F5 - Configuration
Enter new name:
Rename To
FILE1
FILE2
FILE3
9.
Type in the new name for the existing part program file on the
workstation.
If you select
This happens:
this option:
Overwrite
the part program file being uploaded overwrites the file having the
same name on the workstation.
Abort
the upload process is discontinued and the workstation prompts the
programmer for additional files to upload.
Important: If you enter a wildcard in place of a file name, the Abort
option is repeated for each file that matches the wildcard. Pressing the
[ESC] key quits the abort wildcard process.
6-17
Chapter 6
Editing Part Programs Off Line
If the name of the part program that was entered does not exist on the
workstation or the Overwrite option was selected the workstation displays
this screen:
Proj: Demo
Appl: Upload
Util: Get Part Program
F1 - File
F2 - Project
F3 - Application
F4 - Utility
F5 - Configuration
Upload In Progress
Percent Transferred:
80%
The percentage of the upload process that has currently been completed is
displayed on the screen. This value is updated continually throughout the
upload process.
When you upload a program from the control, the control does not display
a message to indicate that an upload is taking place. If you upload a large
program it can take several minutes for the upload to complete. If you try
to edit the program while it is uploading, you see an error message that
says the program is already open. You have to wait until the upload is
complete to edit the program.
6-18
Chapter 6
Editing Part Programs Off Line
After the part program has been uploaded to the workstation, the
workstation displays this screen:
Proj: Demo
Appl: Upload
Util: Get Part Program
F1 - File
F2 - Project
F3 - Application
F4 - Utility
F5 - Configuration
Upload Complete
Upload Another File?
Yes
(Y)
No
(N)
Select “Yes” or “No.”
If you select:
Then:
Yes
the system prompts the programmer through the upload
procedure again
No
the workstation returns to ODS the main menu line.
END OF CHAPTER
6-19
Chapter
7
Running a Program
7.0
This chapter describes how to test a part program and execute it in
automatic mode. Major topics include:
Chapter Overview
Topic:
On page:
Selecting special running condition
7-1
Selecting a part program input device
7-5
Selecting a program
7-6
De-selecting a part program
7-8
Program search
7-9
Program execution
7-17
Jog retract
7-28
Block retrace
7-31
7.1
The following subsections describe some of the functions available on the
9/Series control that affect how the control executes a program. The use of
Selecting Special Running
these “special running conditions” is optional. They are activated either
Conditions
through the MTB panel, through programming, through the
{FRONT PANEL} softkey, or some combination of the three.
7.1.1
When programming a slash “/” followed by a numeric value (1-9)
anywhere in a block, the control skips (does not execute) all remaining
Block Delete
programmed commands in that block if a corresponding softkey or
optionally installed switch on the MTB panel is activated. If the “block
delete type” parameter in AMP is set to “delete whole,” then the entire
block is deleted regardless of the position of the block delete character.
For details on the block delete feature, see chapter 7.
To activate the block delete feature, your system installer may have
installed a switch corresponding to a block delete number (see
documentation prepared by your system installer), or use the
{FRONT PANEL} softkey. If you use the {FRONT PANEL} softkey, only block
delete 1 (/ or/1) is available.
7-1
Chapter 7
Running a Program
7.1.2
When the MISCELLANEOUS FUNCTION LOCK is made active, the
control displays M-, second auxiliary functions (B-codes), S-, and T-codes
Miscellaneous Function
in the part program and activates the corresponding Tool Wear Offset,
Lock
except for M00, M01, M02, M30, M98, M99, and M100-M199.
M100-M199 are process synchronization codes for dual-process systems.
To activate the MISCELLANEOUS FUNCTION LOCK feature, your
system installer may have installed a switch corresponding to the
MISCELLANEOUS FUNCTION LOCK feature (refer to documentation
prepared by your system installer), or use the {FRONT PANEL} softkey
(chapter 3.3).
7.1.3
Use this feature to cause automatic program execution to stop after a
Sequence Stop {SEQ STOP}
specified block. This block is determined by assigning its sequence
number (N-word) as the sequence stop block. This sequence number may
be entered before or after part program execution begins. If this sequence
number is entered after program execution begins, it must be entered
before the control has executed that block. If it is not entered before the
block is executed, it is ignored and execution continues as normal.
Automatic execution stops after the sequence stop block is completed. The
control is placed in cycle stop. To resume execution from the current
position in the program, press the <CYCLE START> button.
Important: Once you enter a sequence stop number for a program, it
remains active for all programs that are executed until it is replaced with a
different sequence stop number, or power is lost. Not entering a value for
the sequence stop number or entering a value of zero results in the
sequence stop function being canceled.
If you call a subprogram or macro that also contains a sequence number
that corresponds to the sequence stop number, program execution stops in
the subprogram or macro at the corresponding sequence number.
To enter a sequence number to stop execution:
1.
Press the {PRGRAM MANAGE} softkey. A program must already have
been selected for automatic execution as described in chapter 7.
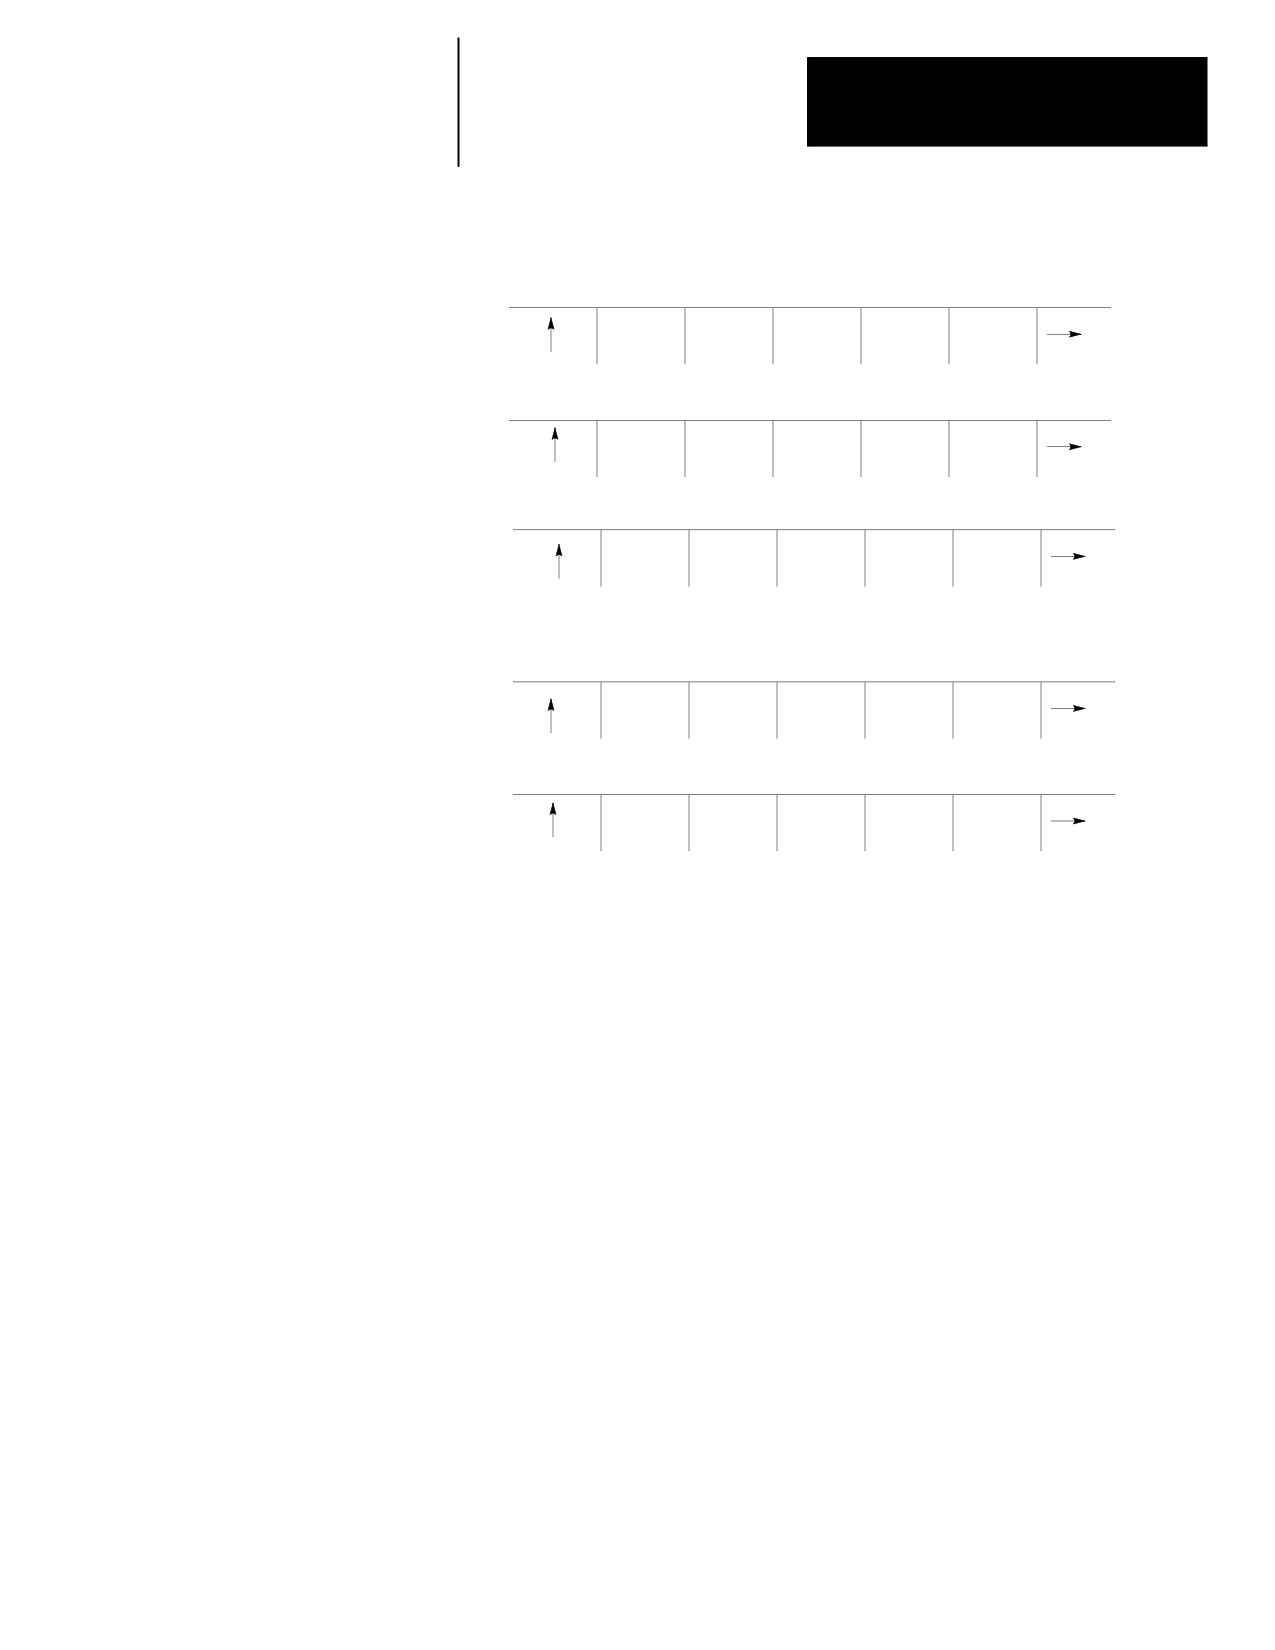
(softkey level 1)
PRGRAM
OFFSET
MACRO
PRGRAM
SYSTEM
MANAGE
PARAM
CHECK
SUPORT
FRONT
ERROR
PASS-
SWITCH
PANEL
MESAGE
WORD
LANG
7-2
Chapter 7
Running a Program
2.
Press the {ACTIVE PRGRAM} softkey.
(softkey level 2)
ACTIVE
EDIT
RESTRT
DISPLY
COPY
PRGRAM
PRGRAM
PRGRAM
PRGRAM
PRGRAM
DELETE
VERIFY
PRGRAM
RENAME
INPUT
PRGRAM
PRGRAM
COMENT
PRGRAM
DEVICE
REFORM
CHANGE
MEMORY
DIR
3.
Press the {SEQ STOP} softkey.
(softkey level 3)
DE-ACT
SEARCH
MID ST
T PATH
T PATH
PRGRAM
PRGRAM
GRAPH
DISABL
SEQ
TIME
STOP
PARTS
4.
Key in the sequence number where you want automatic operation in
the part program to stop, then press the [TRANSMIT] key.
Important: The control stops automatic operation after it completes the
commands in the block.
5.
Press the <CYCLE START> button to continue execution of the program
from the point at which program execution was stopped.
7-3
Chapter 7
Running a Program
7.1.4
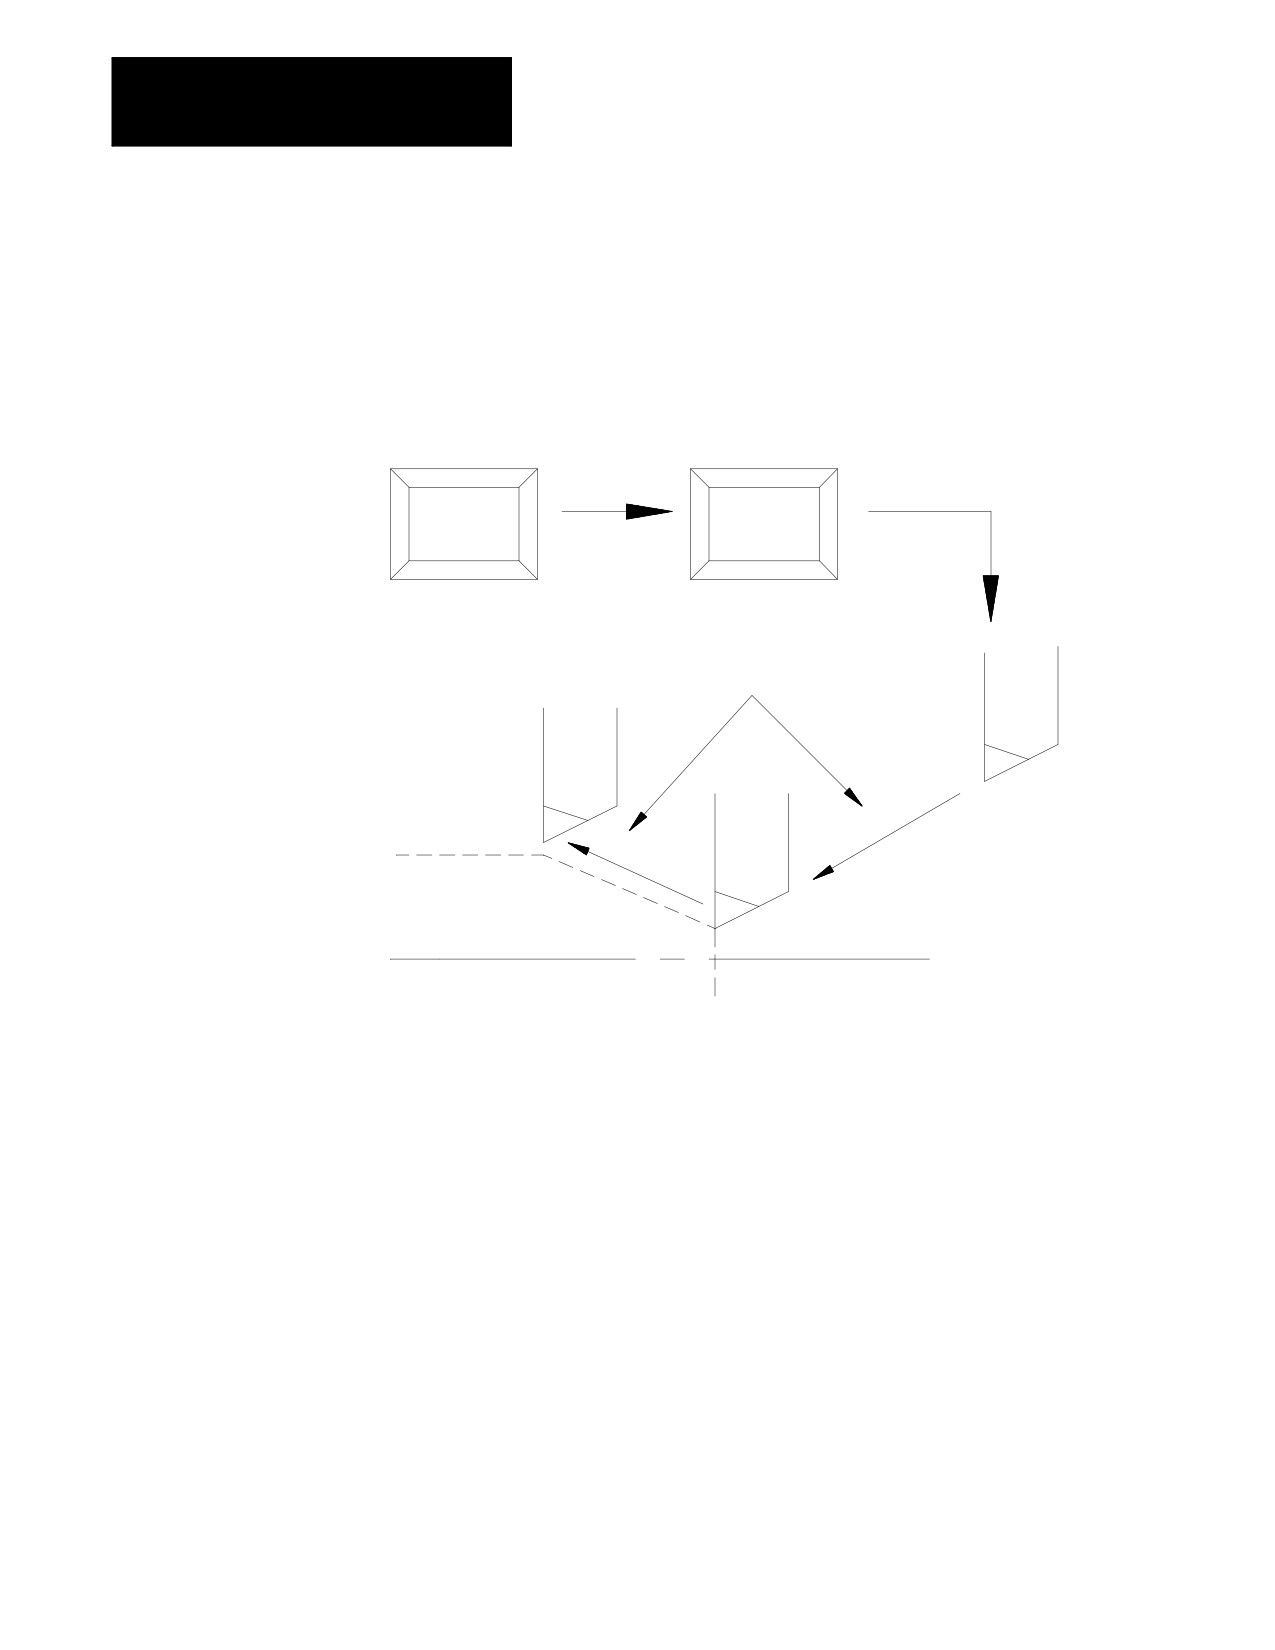
In single block mode, the control executes the part program block by
block. Each time you press the <CYCLE START> button, the control
Single Block
executes one block of commands in the part program when in single block
mode.
Figure 7.1
Single Block
SINGLE
CYCLE
BLOCK
START
When <CYCLE START> is pressed, one
block of commands is executed
Cutting tool
To activate the single block function, press the <SINGLE BLOCK> button.
The light inside the button lights up when active.
If you press the <SINGLE BLOCK> button while the control is running a part
program in the automatic or MDI mode, the control activates the single
block function after it completes the commands in the block that is
currently being executed.
The <SINGLE BLOCK> button is a toggle switch. If you press it again while
the single block function is active, the function is canceled and the light
inside the button turns off. You can execute the remaining program blocks
normally by pressing the <CYCLE START> button.
7-4