Tractors X60 Series. Manual - part 38
 

  Index      Tractors     Tractors X60 Series - service repair manual 2012 year


Search            


Content   ..  36  37  38  39   ..


Tractors X60 Series. Manual - part 38


151

Tyres, Wheels, Ballasting

6

Tyre Inflation Procedure

DO NOT inflate a tyre that has had a complete loss of air.
If the tyre has lost all air pressure, have a qualified tyre
mechanic service the tyre.

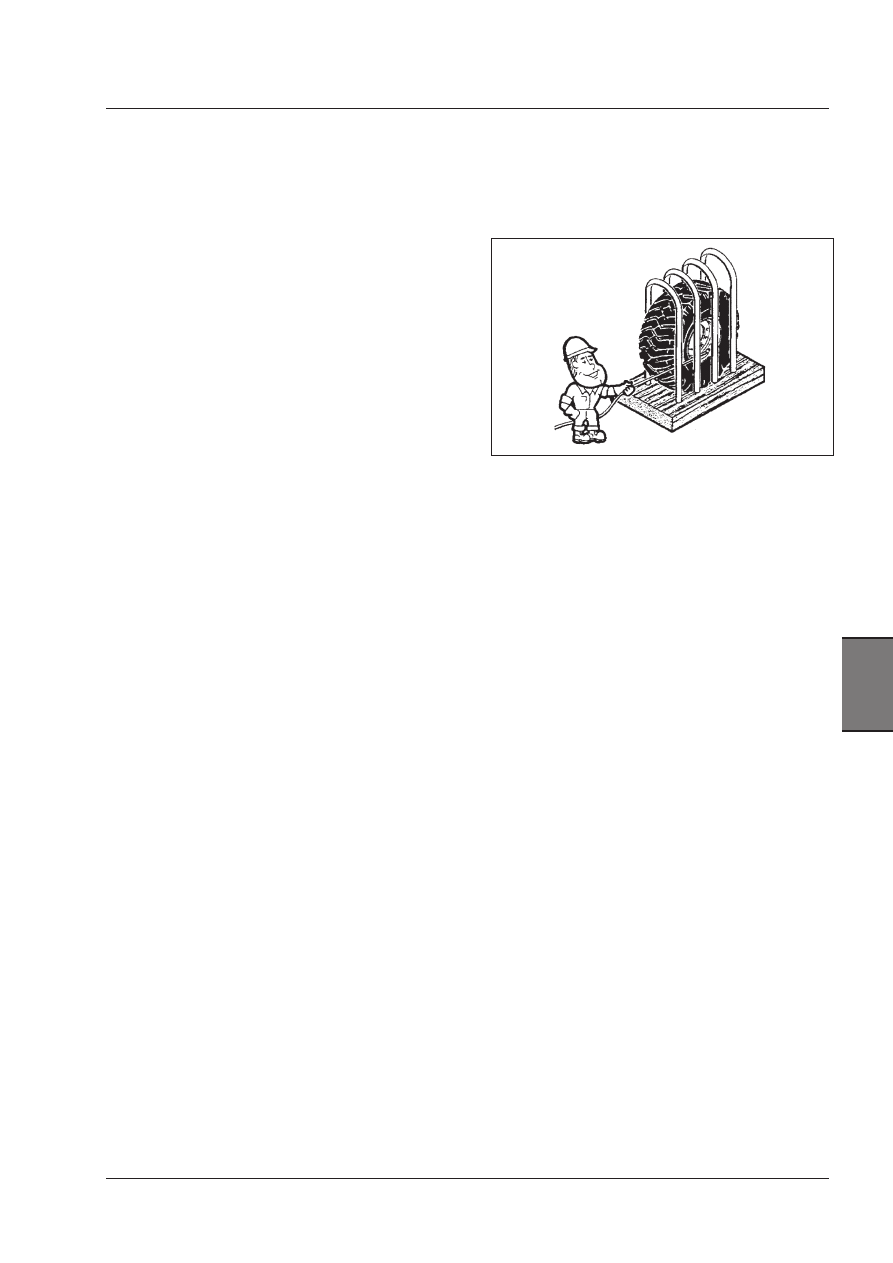
IMPORTANT: If the tyre wheel assembly has been removed 
from the tractor always use a restraining device (tyre infla-
tion cage) when inflating a tyre.

To  ADD  air  to  a  partly  inflated  tyre,  use  the  following
procedure:

OPERATION 1

Use a SAFETY TYPE air hose with a remote shutoff valve
and a self-locking air chuck.

OPERATION 2

Stand  behind  the  tread  of  the  tyre  and  make  sure  all
persons are away from the side of the tyre before you
start to add air.

OPERATION 3

Inflate the tyre to the recommended air pressure. DO NOT
INFLATE THE TYRE MORE THAN THE RECOMMENDED
PRESSURE.

Air Pressure Check

Check the tyre inflation pressure every 50 hours of opera-
tion or once per week.

NOTE: For best tyre life check tyre pressures as regular 
intervals. Too low a pressure causes early tyre wall failure. 
Too  high  a  pressure  causes  higher  tread  wear  or  dam-
age.

Check the condition of the tyres and wheels for wear or
damage.  Keep  the  tyres  inflated  to  the  recommended
pressures.

NOTE: Cross ply tyres can have the pressure reduced to 
increase traction in field work. For speeds below 16 kph 
(10 mph), loads can be increased by 20%.

NOTE: Never use radial ply tyres below 1.2 bar (17 psi). It 
is not necessary to reduce the pressure in radial tyres to 
get better traction in the field.

IMPORTANT: Before leaving the factory the tyre pressures 
are  increased.  Check  and  adjust  the  pressures  before 
operating the tractor.

For tyres equipped with liquid ballast, check the air pres-
sure as follows:

OPERATION 1

Use an air-water gauge. The valve must be at the bottom
of the tyre to get an accurate reading.

OPERATION 2

Use a standard air gauge as follows:

A.  The valve must be at the top of the tyre.

B.  Measure the wheel diameter.

C.  Add 3.5 kPa (0.04 bar - 1/2 psi) for each 305 mm

(12 inches) of rim diameter to the standard gauge
reading.

152

Tyres, Wheels, Ballasting

TYRE PRESSURES, LOAD CAPACITIES AND SERVICE

Tyres can be marked in two ways, as shown in the examples below:

CROSSPLY STRUCTURE: Example

12.4-24 8PR

12.4 = Nominal tyre width in inches
- =

Crossply structure

24 =

Internal diameter

8PR =  8 ply rating

For correct tyre pressures/load capacities for CROSSPLY tyres see your dealer or tyre manufacturer.

RADIAL - Examples

18.4R38
18.4 = Nominal tyre width in inches
R = Radial structure
38 =

Internal diameter

142 = Load index number, 142 = 2650 kg (see chart 1)
A8 = Speed code for 40 kph, (see chart 2)

710/75R34

710 = Nominal tyre width in mm
75 =

Nominal aspect ratio

(ratio  of  sidewall

height/section width)
R = Radial structure
34 = Rim diameter at the bead seat in inches
168 = Load index number, 168 = 5,600 kg (see chart 1)
A8 = Speed code for 40 kph, (see chart 2)
165 = Load index number, 165 = 5,150 kg (see chart 1)
B = Speed code for 50 kph, (see chart 2)

The performance of a Radial tyre is determined by the Load Index and Speed Code which have replaced the Ply rating
found on Crossply tyres.
The maximum load which can be carried by a tyre is dependant upon the Load Index quoted on the tyre wall. Charts 1
and 2, on the following page, give a guide to the maximum load a tyre can carry and a percentage (%) variation depend-
ing upon the speed code or travel speed.

153

Tyres, Wheels, Ballasting

6

SPEED CODE

kph   mph

% Variation factor (*)

for different speeds


A2  

10 

 6 

+ 67%


A3  

15 

 9 

+ 50%


A4  

20 

 12  

 + 39%


A5 

25 

 15  

+ 28%


A6  

30  

 19  

+ 11%


A7  

35  

 22  

+ 4%


A8  

40  

 25  

 0


50  

 31 

 - 9%

IMPORTANT: The charts below are only a guide. Loads may vary slightly with makes of tyre. For correct loads see your 
dealer or tyre manufacturer.

Chart 1 - Load Index Codes and Loads per Tyre

INDEX  kg

INDEX   kg

INDEX

kg

INDEX

kg

INDEX

kg

INDEX  kg

90

600

105

925

120

1400

135  2180

150  3350

165  5150

91

615

106   950

121

1450

136  2240

151  3450

166  5300

92

630

107   975

122

1500

137  2300

152  3550

167  5450

93

650

108  1000

123

1550

138  2360

153  3650

168  5600

94

670

109  1030

124

1600

139  2430

154  3750

169  5800

95

690

110  1060

125

1650

140  2500

155  3875

170  6000

96

710

111  1090

126

1700

141  2575

156  4000

171  6150

97

730

112  1120

127

1750

142  2650

157  4125

172  6300

98

750

113  1150

128

1800

143  2725

158  4250

173  6500

99

775

114  1180

129

1850

144  2800

159  4375

174  6700

100  800

115  1215

130

1900

145  2900

160  4500

175  6900

101  825

116  1250

131

1950

146  3000

161  4625

176  7100

102  850

117  1285

132

2000

147  3075

162  4750

177  7300

103  875

118  1320

133

2060

148  3150

163  4875

178  7500

104  900

119  1360

134

2120

149  3250

164  5000

179  7750

(*) The % variation factors are based on recommendations by the
European Tyre And Rim Technical Organization (ETRTO).

Chart 2 - Speed Codes

154

Tyres, Wheels, Ballasting

Tyre And Wheel Service

WARNING:  Do  not  remove,  install  or  make 
repairs  to  tyres  or  rims.  Take  the  tyre  and 
rim to a tyre specialist where persons with 
special training and special safety tools are 
available.  If  the  tyre  is  not  correctly  posi-
tioned on the rim, or if over inflated, the tyre 
bead can loosen on one side and cause air 
to leak at high force and can thrust the tyre 
in any direction. Explosive separation of the 
tyre can cause serious injury.

WARNING: DO NOT weld to wheel or rim when 
a tyre is installed. Welding will cause an ex-
plosive air/gas mixture that will be ignited 
with  high  temperatures.  This  can  happen 
to  tyres  inflated  or  deflated.  Removing  air 
or breaking bead is not adequate. The tyre 
MUST  be  completely  removed  from  the  rim 
prior to welding.

WARNING:  Explosive  separation  of  the  tyre 
and/or rim parts can cause injury or death. 
When tyre service is necessary, have a quali-
fied tyre mechanic service the tyre.

Always have a qualified tyre mechanic service the tyres
and  wheels  on  this  machine.  If  the  tyre  has  lost  all  air
pressure, take the tyre and wheel to a tyre specialist for
service. The use of correct equipment and correct service/
repair procedures will prevent accidents.

Tyre Installation

To get the correct traction and cleaning action of the lugs,
the tyres must be installed on the wheels so the tread
pattern is turning as shown. DO NOT try to remove, repair
or install a tractor tyre on a wheel.


Content   ..  36  37  38  39   ..