Subaru Legacy III (2000-2003 year). Manual - part 978
EI-14
EXTERIOR/INTERIOR TRIM
FRONT BUMPER
4. Front Bumper
A: REMOVAL
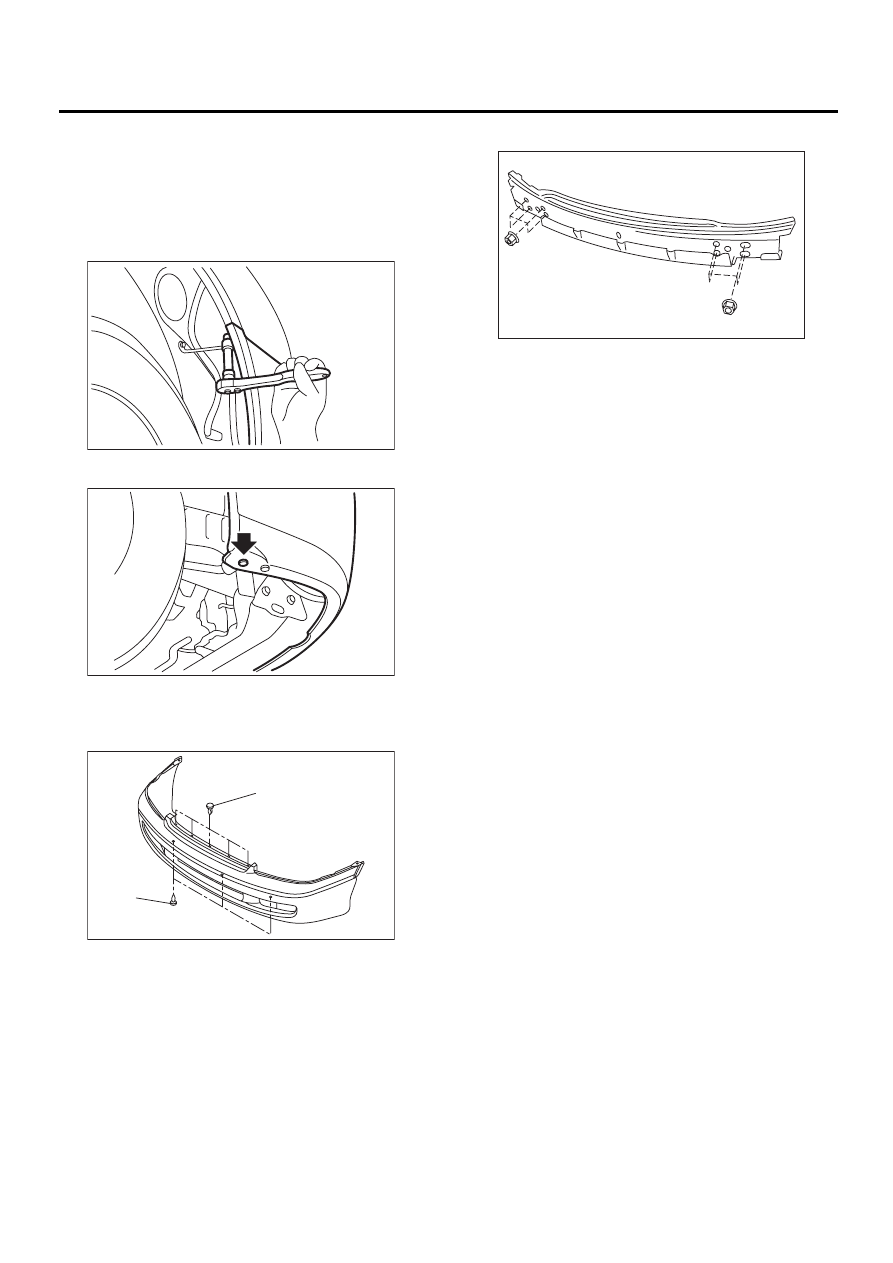
1) Open hood.
2) Disconnect ground cable from battery.
3) Pull off front side of front mud guard, then re-
move bolts from inside the mud gruand.
4) Remove clip at bottom of bumper.
5) Remove clip (A), and pull out bumper slightly.
6) Disconnect electrical connector of fog light to re-
move bumper.
7) Remove bumper beam.
B: INSTALLATION
Install in the reverse order of removal.
Tightening torque:
Refer to COMPONENT in General Descrip-
tion. <Ref. to EI-2, FRONT BUMPER, COM-
PONENT, General Description.>
EI-00127
EI-00128
EI-00129
( A )
( A )
EI-00131