Subaru Impreza 3 / Impreza WRX / Impreza WRX STI. Manual - part 651
AB(diag)-143
Diagnostic Chart with Trouble Code
AIRBAG SYSTEM (DIAGNOSTICS)
BN:DTC 9E CURTAIN AIRBAG MODULE LH FAILURE
DTC DETECTING CONDITION:
• Curtain airbag harness (LH) circuit is open.
• Curtain airbag module (LH) is faulty.
• Airbag control module is faulty.
CAUTION:
• Before diagnosing the airbag system, be sure to turn the ignition switch to OFF, disconnect the
ground cable from battery, and wait 60 seconds or more before starting to work.
• When replacing the airbag module, seat belt pretensioner, roll connector, control module and sen-
sor, reconnect each part and check that the warning light operates properly.
• When inspecting the airbag main harness, disconnect the airbag module connectors of the driver’s
and passenger’s seats for safety.
• When inspecting the airbag rear harness, disconnect the side airbag module connector, curtain
airbag module connector and seat belt pretensioner connector for safety reasons.
WIRING DIAGRAM:
Airbag system <Ref. to WI-82, WIRING DIAGRAM, Airbag System.>
Step
Check
Yes
No
1
CHECK POOR CONTACT OF CONNEC-
TORS.
Check for poor contact of the connectors
between the airbag control module, curtain air-
bag module LH and the curtain airbag sensor
LH.
Is there poor contact?
Replace the airbag
rear harness along
with body harness.
2
CHECK CURTAIN AIRBAG MODULE.
1) Turn the ignition switch to OFF, disconnect
the battery ground cable, and wait for 60 sec-
onds or more.
2) Disconnect the connector (AB31) from cur-
tain airbag module (LH).
3) Connect the connector (1N) in the test har-
ness N to the connector (AB31).
4) Connect the airbag resistor to the connector
(2N) of test harness N.
5) Connect the battery ground terminal and
turn the ignition switch to ON.
Does the airbag warning light
illuminate for 6 seconds and go
off?
Replace the cur-
tain airbag module
(LH). <Ref. to AB-
19, Curtain Airbag
Module.>
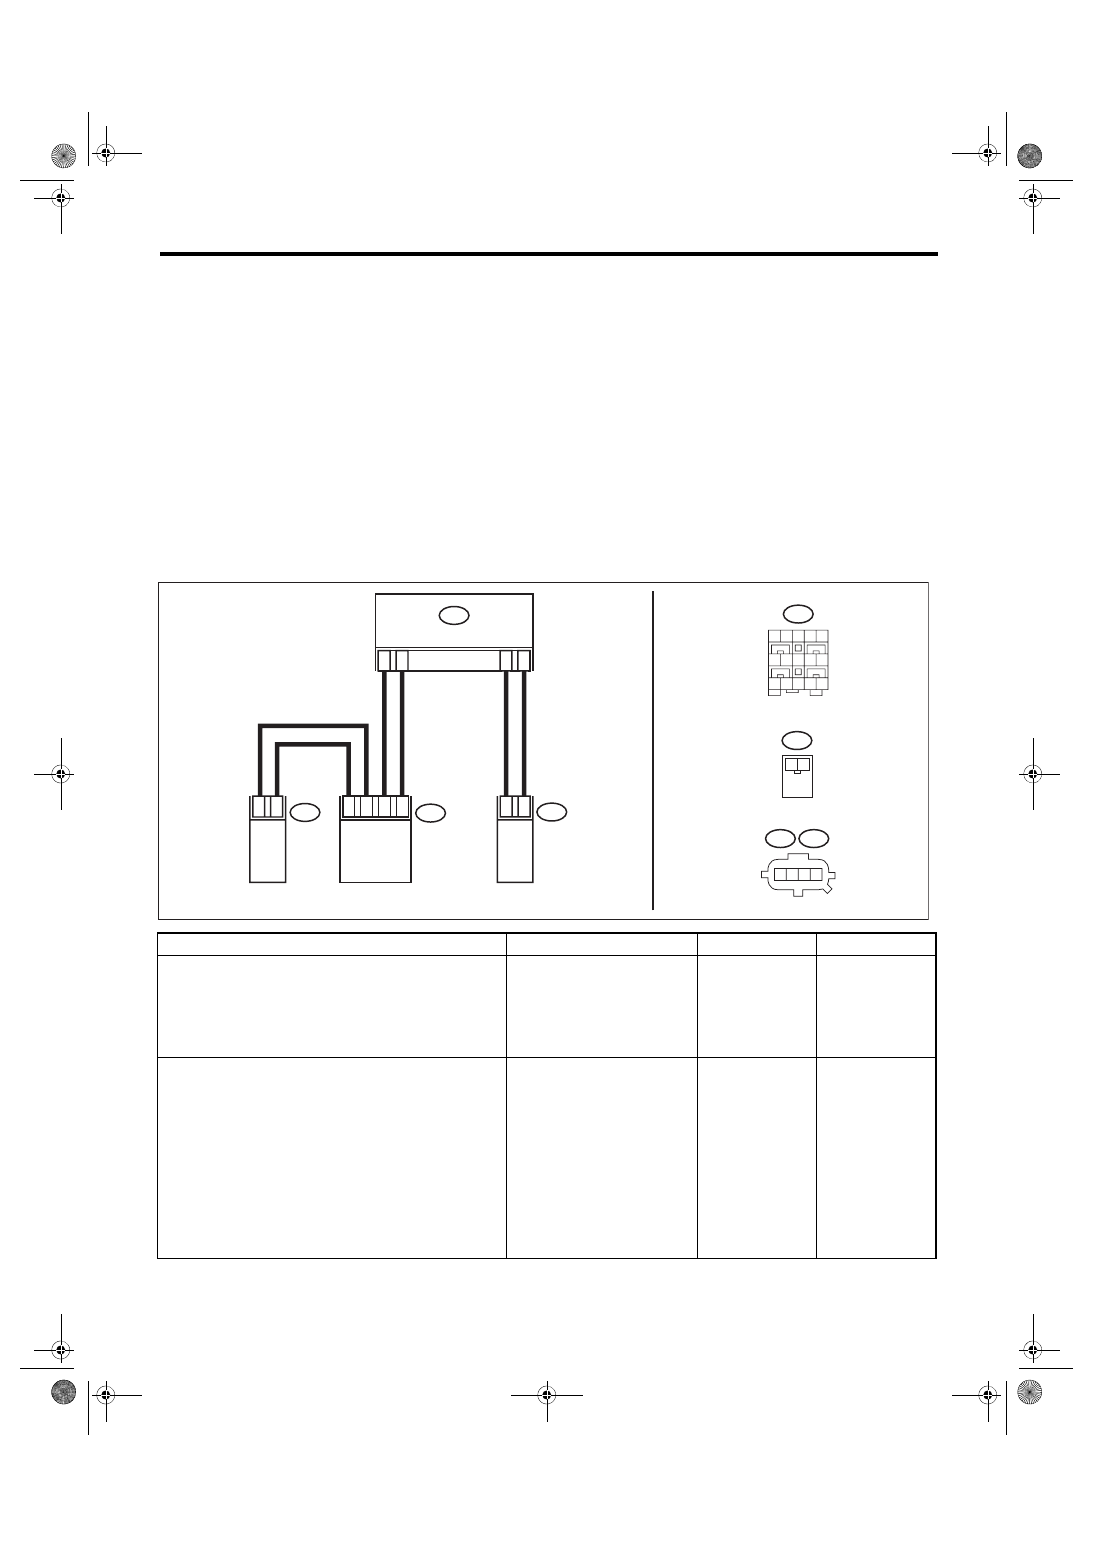
AB-02464
AB17
1 2 3 4 5
6 7 8 9 10
11 12 13 14 15
AB31
1 2
AB23 AB32
1 2 3 4
7
6
15
AB31
AB32
AB23
8
AB17
4
3
2
1
4
3
2
1
AIRBAG CM
CURTAIN AIRBAG
SENSOR LH
CURTAIN AIRBAG
MODULE LH
SIDE AIRBAG
SENSOR LH