Subaru Impreza 3 / Impreza WRX / Impreza WRX STI. Manual - part 559
BR-21
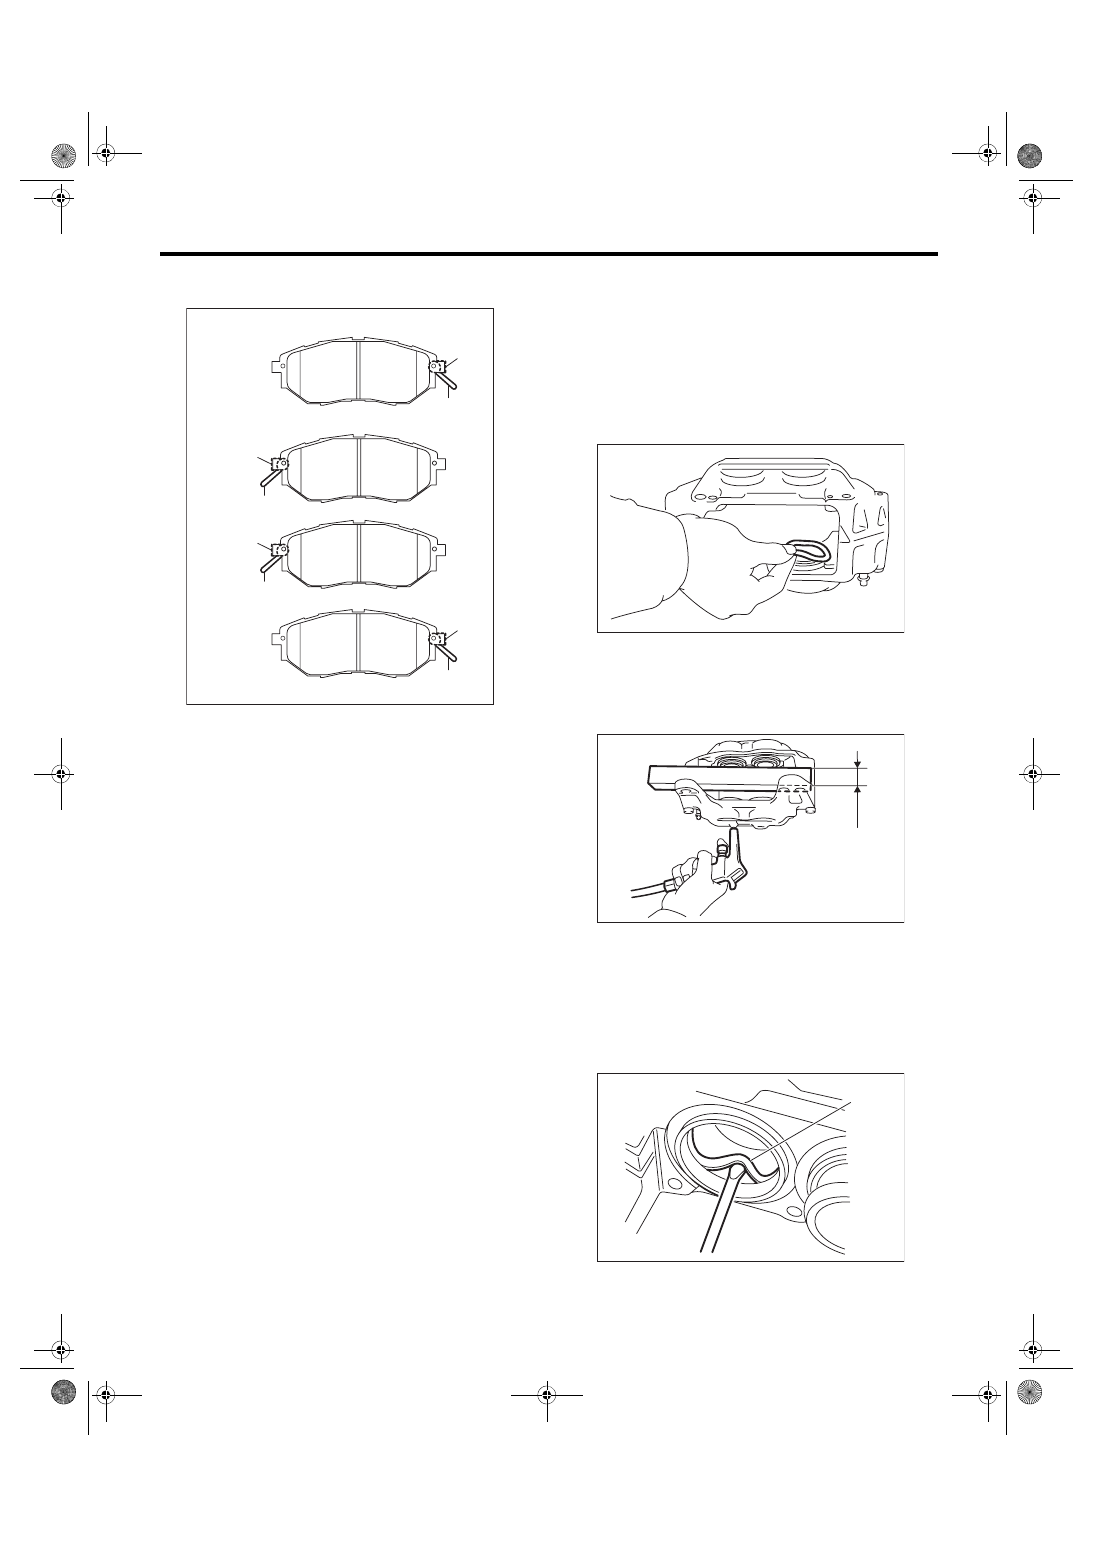
Front Disc Brake Assembly
BRAKE
NOTE:
Install the pad indicator in proper direction.
6) Install the caliper body to the support.
Tightening torque:
27 N·m (2.75 kgf-m, 19.9 ft-lb)
7) Connect the brake hose using a new brake hose
gasket.
Tightening torque:
18 N·m (1.84 kgf-m, 13.3 ft-lb)
8) Bleed air from the brake system. <Ref. to BR-41,
C: DISASSEMBLY
1. BREMBO TYPE
1) Remove mud and foreign matter from the caliper
body.
CAUTION:
Be careful not to allow foreign matter to enter
the brake hose connector.
2) Remove the piston boots from each piston end.
3) Place a wooden block in the caliper body as
shown in the figure to prevent the piston from jump-
ing out and being damaged.
4) Gradually apply compressed air via the brake
hose installation hole to push the piston out.
5) Remove the piston seal (1) from the caliper body
cylinder.
CAUTION:
Do not damage the cylinder and piston seal
groove.
(1) LH — IN
(2) LH — OUT
(3) RH — IN
(4) RH — OUT
(5) Pad indicator
(6) Pad return spring
(1)
(2)
(3)
(4)
BR-00886
(6)
(5)
(6)
(5)
(6)
(5)
(6)
(5)
(1) Place a wooden block of 30 mm (1.18 in) width.
BR-00303
(1)
BR-00304
(1)
BR-00305