Peugeot 407 C (2010.5). Instruction - part 11
146
04
9
10
11
12
1
2
3
SETTING RISK AREAS
ALERT PARAMETERS
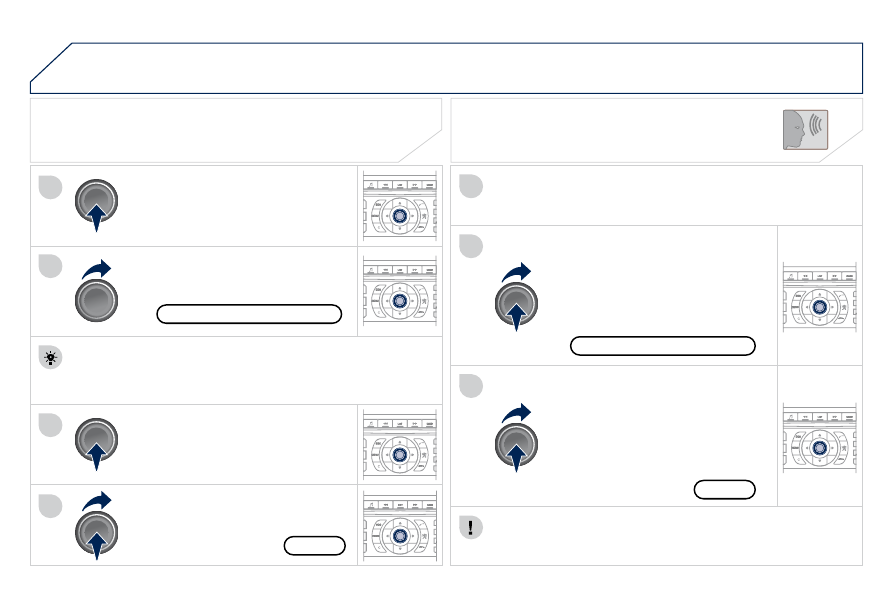
Turn the dial and select the "Traffi c
info" function if you wish to receive the
traffi c information announcements.
Press the dial to confi rm the selection.
Select "OK" and press the dial to
confi rm.
Press the dial to confi rm the selection.
Turn the dial and select the "Set
risk area parameters" function, then
press the dial to confi rm the warning
message. Press the dial to confi rm the
selection.
Repeat steps 1 to 5 of the guidance option.
These functions are only available if the risk areas have been
downloaded and installed on the system.
Select:
- visual warnings,
- audible warnings with an
announcement duration (in seconds),
- warn during guidance only, then
select OK and press the dial to
confi rm.
NAVIGATION - GUIDANCE
Tick this box for optimum operation of the traffi c information,
diversions will be suggested.
The volume of the Risk Areas POI alerts can only be adjusted
during the alert.
Traffi c info
OK
Set risk area parameters
OK