Nissan Juke (2017 year). Instruction - part 7
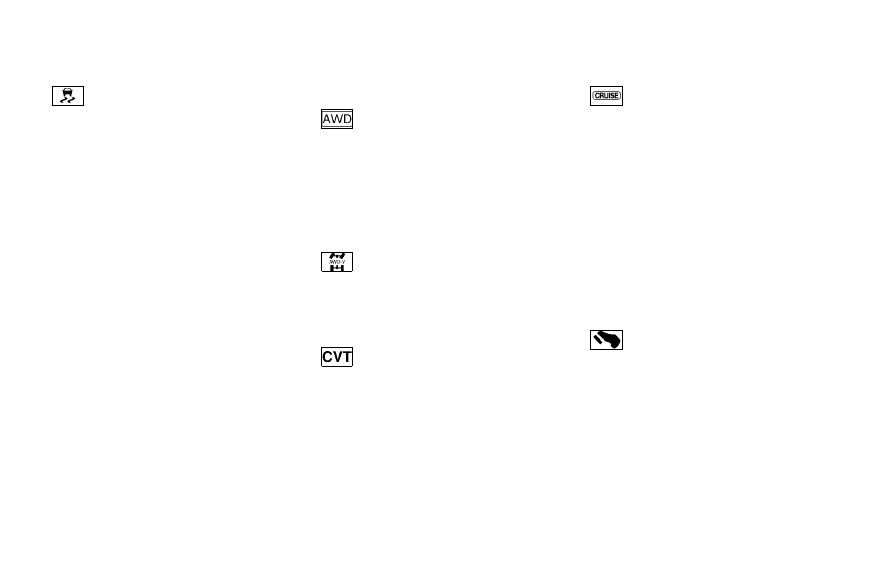
Vehicle Dynamic Control (VDC)
warning light
When the ignition switch is in the “ON” position,
the Vehicle Dynamic Control (VDC) warning
light illuminates and then turns off.
The light will blink when the Vehicle Dynamic
Control (VDC) system or the traction control
system is operating, thus alerting the driver that
the vehicle is nearing its traction limits. The road
surface may be slippery.
If the VDC warning light illuminates while the
VDC system is on, this light alerts the driver to
the fact that the VDC system’s fail-safe mode is
operating, for example the VDC system may not
be functioning properly. Have the system
checked. It is recommended you visit a NISSAN
dealer for this service. If a malfunction occurs in
the system, the VDC system function will be
canceled but the vehicle is still driveable. For
additional information, see “Vehicle Dynamic
Control (VDC) system” (P.5-37) of this manual.
INDICATOR LIGHTS
All-Wheel Drive (AWD) indicator
light (AWD model)
When the ignition switch is in the “ON” position,
the All-Wheel Drive (AWD) indicator light
illuminates and then turns off.
When selecting AWD mode while the engine is
running, the AWD indicator light illuminates.
(See “All-Wheel Drive (AWD)” (P.5-29).)
All-Wheel Drive (AWD-V) indicator
light (AWD model)
When selecting AWD-V mode while the engine
is running, the AWD-V indicator light illuminates.
(See “All-Wheel Drive (AWD)” (P.5-29).)
Continuously Variable Transmis-
sion (CVT) indicator light (if so equipped)
When the ignition switch is in the “ON” position,
the Continuously Variable Transmission (CVT)
indicator light illuminates and then turns off.
Cruise indicator light
Cruise main switch indicator:
This light illuminates when the cruise control
main switch is pushed. The light turns off when
the main switch is pushed again. When the
cruise indicator light illuminates, the cruise
control system is operational.
Cruise malfunction:
If the cruise indicator light blinks while the
engine is running, it may indicate the cruise
control system is not functioning properly. Have
the system checked. It is recommended you visit
a NISSAN dealer for this service.
See “Cruise control” (P.5-26).
Engine start operation indicator
light
This light appears when the shift lever is in the P
(Park) position (Continuously Variable Transmis-
sion (CVT) models) or N (Neutral) position
(Manual Transmission (MT) models). This light
means that the engine will start by pushing the
ignition switch with the brake pedal (CVT
models) or clutch pedal (MT models) depressed.
You can start the engine directly in any position.
Instruments and controls
2-21