Nissan Pathfinder (2008 year). Manual - part 401
PARKING, LICENSE PLATE AND TAIL LAMPS ARE NOT TURNED ON
EXL-107
< SYMPTOM DIAGNOSIS >
C
D
E
F
G
H
I
J
K
M
A
B
EXL
N
O
P
PARKING, LICENSE PLATE AND TAIL LAMPS ARE NOT TURNED ON
Description
INFOID:0000000001712412
The parking, license plate and tail lamps do not turn ON in with any lighting switch setting.
Diagnosis Procedure
INFOID:0000000001712413
1.
COMBINATION SWITCH INSPECTION
Check the combination switch. Refer to
.
Is the combination switch normal?
YES
>> GO TO 2
NO
>> Repair or replace the malfunctioning part.
2.
CHECK TAIL LAMP RELAY REQUEST SIGNAL INPUT
CONSULT-III DATA MONITOR
1.
Select "TAIL & CLR REQ" of IPDM E/R DATA MONITOR item.
2.
With operating the lighting switch, check the monitor status.
Is the item status normal?
YES
>> GO TO 3
NO
>> Replace BCM. Refer to
BCS-54, "Removal and Installation"
3.
PARK LAMP CIRCUIT INSPECTION
Check the parking lamp circuit. Refer to
Is the tail lamp circuit normal?
YES
>> Replace IPDM E/R. Refer to
PCS-30, "Removal and Installation of IPDM E/R"
.
NO
>> Repair or replace the malfunctioning part.
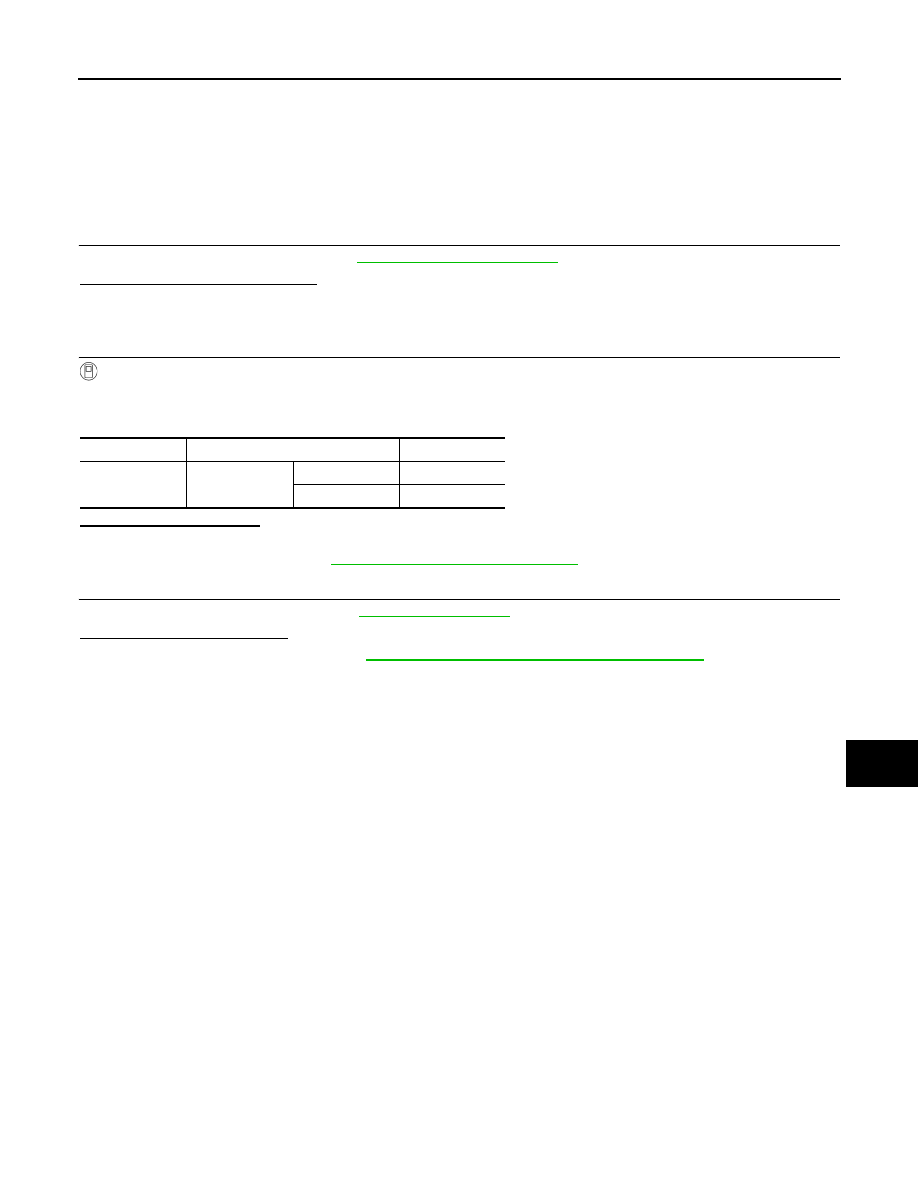
Monitor item
Condition
Monitor status
TAIL & CLR
REQ
Lighting switch
1ST
ON
OFF
OFF