Mitsubishi Outlander PHEV (2019 year). Instruction - part 25
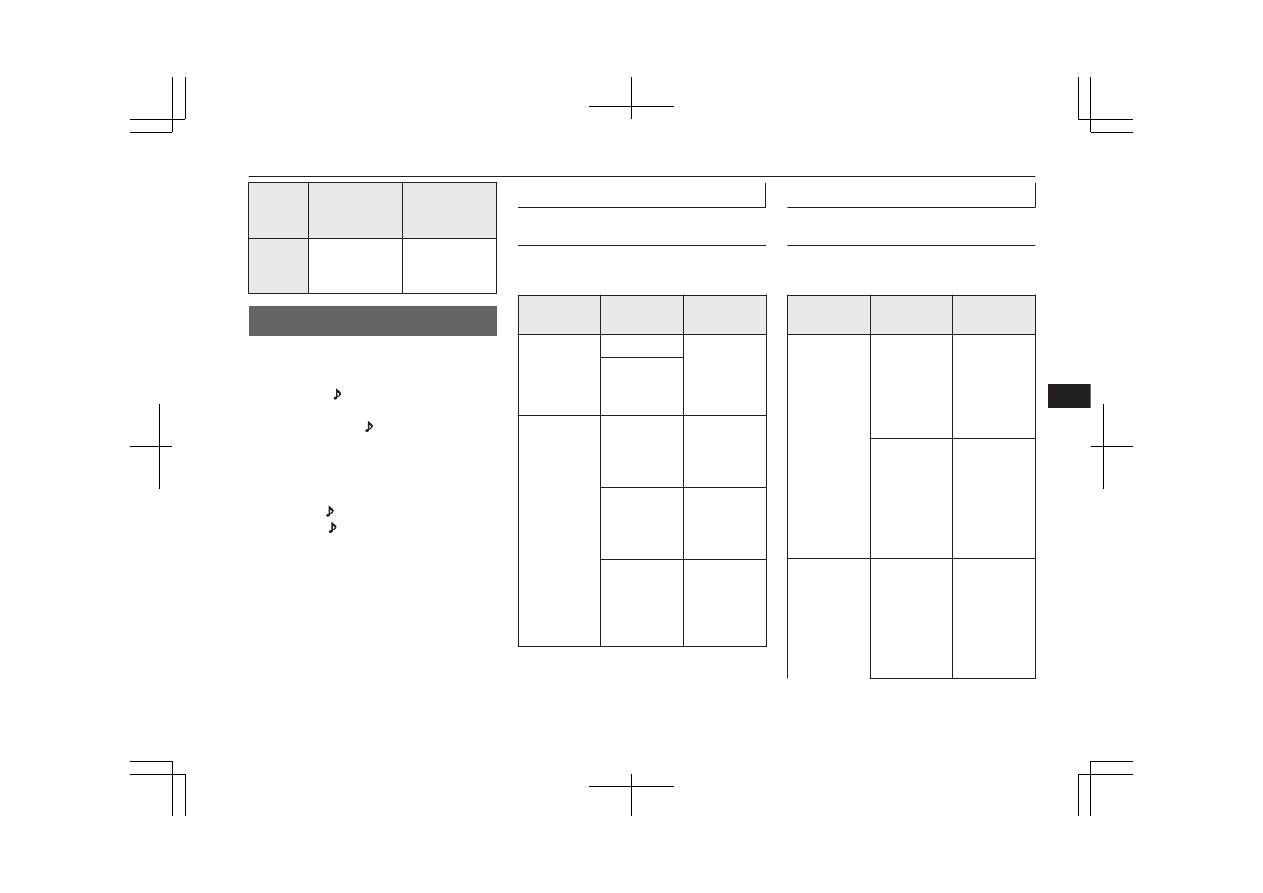
Adjust-
ment
items
Turn counter-
clockwise
Turn clockwise
SCV
OFF, LOW
(SCV effect is
OFF/low)
MID, HIGH
(SCV effect is
middle/high)
System Settings
E00738301188
Change system settings such as product time.
1. Press the MENU key.
2. Press the
/SEL key to select settings
items.
Each time the
/SEL key is pressed,
this switches in the order DAB setting*
1
,
Gracenote DB*
2
, AF, REG, TP-S, PI-S,
PTY language settings, PHONE settings,
CT, Adjust time, and Cancel.
3. Turn the /SEL key to set.
4. Press the /SEL key to determine.
This completes settings, and displays the
next settings item.
*
1
: Displayed when a DAB tuner is con-
nected.
*
2
: Displayed when playing back audio
files (vehicles with a Bluetooth
®
2.0 in-
terface).
DAB Setting*
Change DAB settings
(“Set value” bold typeface indicates factory
default settings.)
Settings
name
Settings val-
ue
Settings con-
tent
DAB-DAB
Link settings
OFF
If low recep-
tion sensitivi-
ty, switch to
another serv-
ice.
ON
DAB Band
settings
BAND III
Set used
broadcast
band to 174
to 239 MHz.
L-BAND
Set used
broadcast
band to 1452
to 1490 MHz.
BOTH
Set used
broadcast
band to Band
III and L-
Band.
RDS Setting
Change RDS settings
(“Set value” bold typeface indicates factory
default settings.)
Settings
name
Settings val-
ue
Settings con-
tent
AF
AF ON
Automatical-
ly track the
same station
as the pro-
gram being
received.
AF OFF
Do not auto-
matically
track the
same station
as the pro-
gram being
received.
REG
REG ON
Do not auto-
matically
track the lo-
cal station for
the program
being re-
ceived.
System Settings
8-45
OGGE19E1
For pleasant driving
8