Range Rover. Manual - part 46
LAND ROVER V8
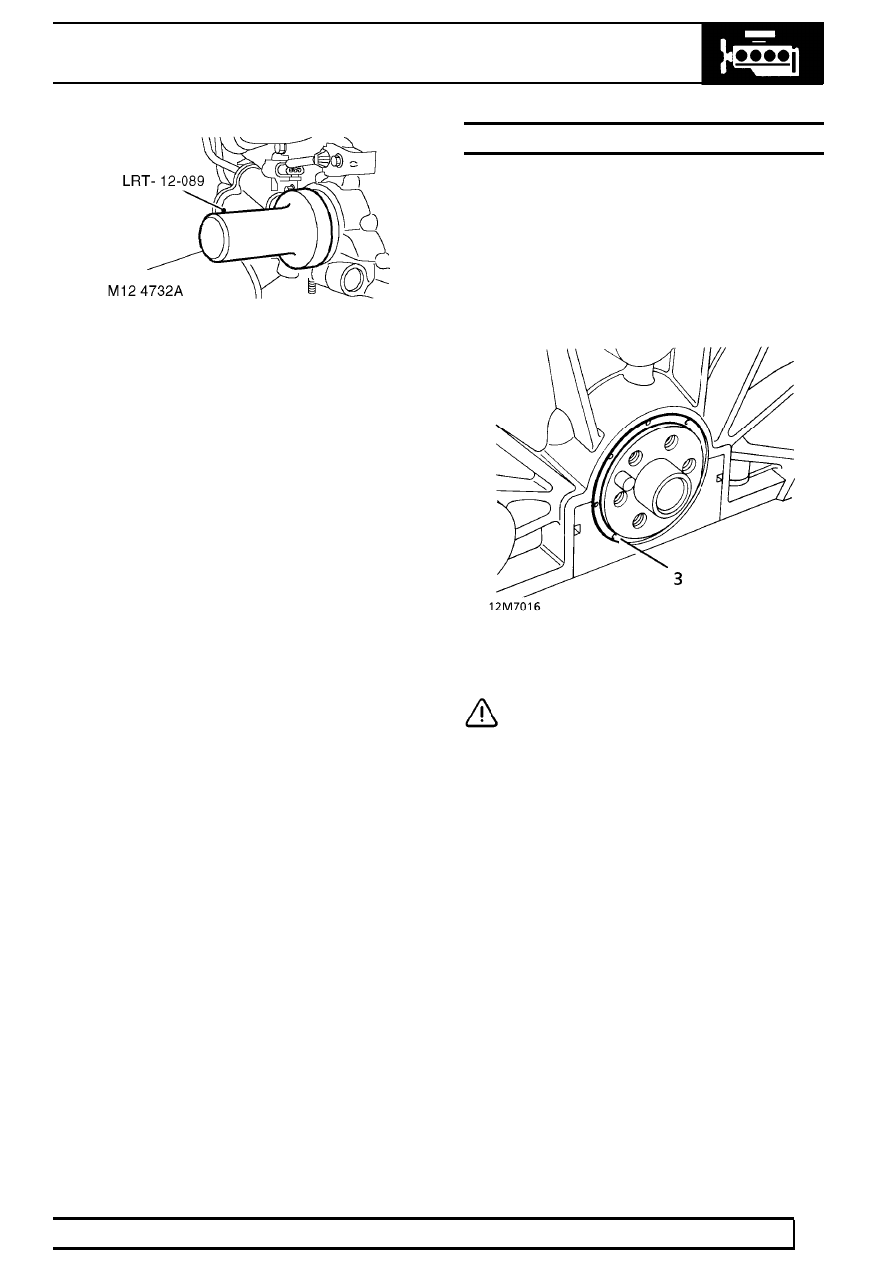
3
REPAIR
7. Lubricate outer face of seal and fit seal to front
cover using LRT-12-089
8. Fit crankshaft pulley and tighten bolt to
270 Nm
(200 lbf.ft.).
9. Remove LRT-12-080 from crankshaft pulley.
10. Fit auxiliary drive belt.
See ELECTRICAL,
Repair.
CRANKSHAFT REAR OIL SEAL
Service repair no - 12.21.20
Remove
1. Manual Vehicles: Remove flywheel.
See this
section.
2. Automatic Vehicles: Remove drive plate.
See
this section.
3. Remove oil seal from location.
CAUTION: Do not damage seal location or
running surface on crankshaft.
Refit
4. Ensure both seal location and running surface
on crankshaft are clean.
5. Ensure mating faces of flywheel and crankshaft
are clean.
6. Lubricate seal guide LRT-12-095 with clean
engine oil. Position over crankshaft boss.