Freelander Body Repair Manual - part 36


  Index      Land Rover     Freelander Body Repair Manual 1998 year


Search            


Content   ..  34  35  36  37   ..


Freelander Body Repair Manual - part 36


BODY

8

EXTERIOR FITTINGS

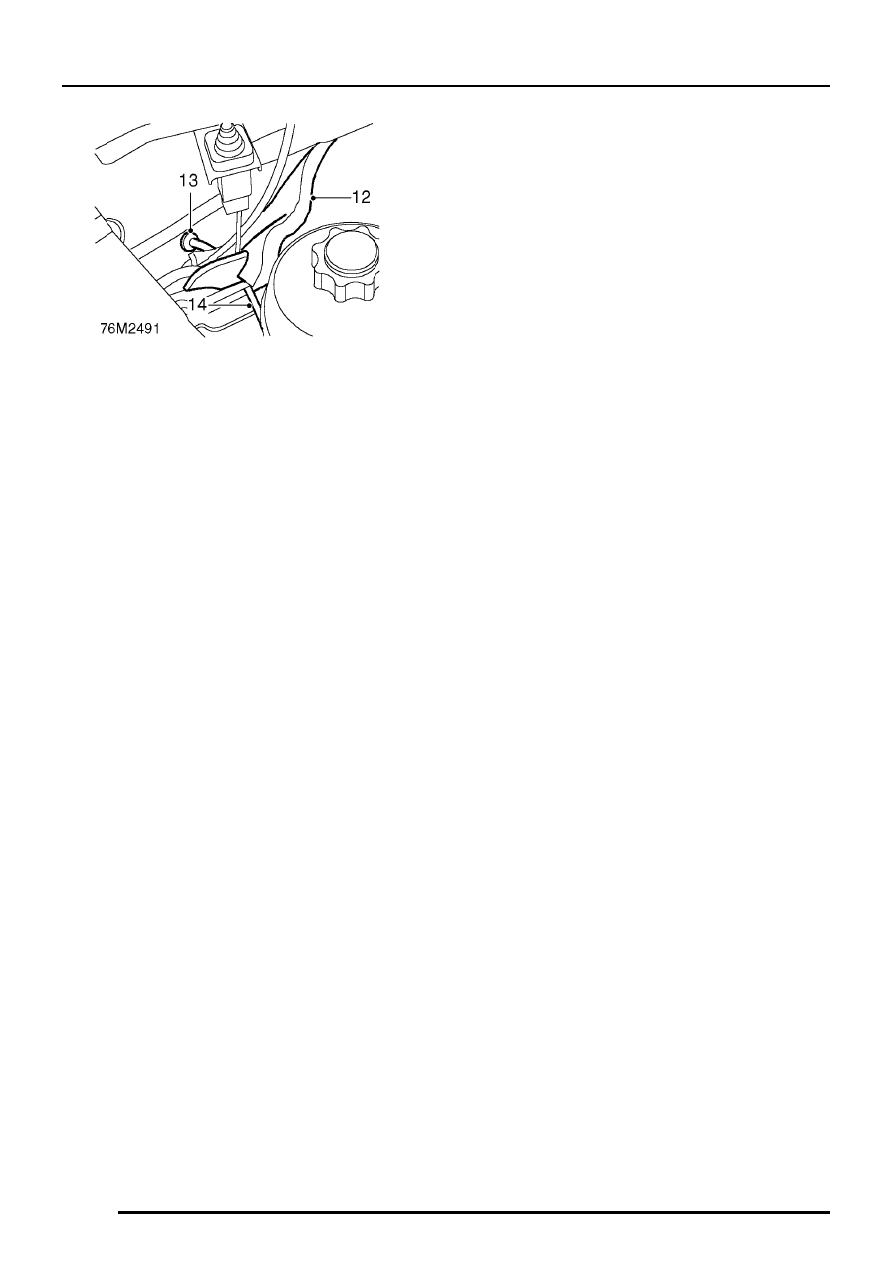
12. Pull sound insulation away from bulkhead for

access to bonnet release cable grommet.

13. Remove grommet from bulkhead.
14. Remove bonnet release cable.

Refit

1. Fit bonnet release cable through bulkhead.
2. Position bonnet release lever.
3. Connect bonnet release cable to lever.
4. Fit release lever to ’A’ post and tighten bolt to 9

Nm.

5. Fit bonnet release cable grommet to bulkhead.
6. Fit cable ties and secure bonnet release to

main harness.

7. Fit sound insulation material to bulkhead.
8. Tie draw string to end of bonnet release cable.
9. Pull on draw string to feed bonnet release

cable through bonnet locking platform.

10. Untie draw string and connect bonnet release

cable to bonnet lock lever.

11. Fit bonnet latch shield and secure with 5 rivets.
12. Fit and tighten radiator threaded retainers in

bonnet locking platform.

Models with air conditioning:

13. Fit condenser.

See AIR CONDITIONING,

Repairs.

All models:

14. Fit front grille.

See this section.

15. Close bonnet and check for correct locking

operation.

BODY

EXTERIOR FITTINGS

9

BUMPER VALANCE - FRONT

Service repair no - 76.22.72

Remove

1. Remove front grille.

See this section.

2. Remove 12 screws securing bumper valance

to body.

3. Remove 3 scrivets from bumper valance.

4. Remove wheelarch liner access panel and

loosen bolts under front of each wing.

5. With assistance, remove bumper valance.

Do not carry out further dismantling if
component is removed for access only.

6. Remove number plate.

BODY

10

EXTERIOR FITTINGS

7. Remove 2 screws from bumper grille.
8. Remove bumper grille.
9. Remove 2 spire nuts.

10. Fit spire nuts to replacement bumper valance.
11. Position bumper grille on replacement bumper

valance and secure with screws.

12. Fit number plate on replacement bumper

valance.

Refit

1. With assistance position bumper valance to

body.

2. Tighten bolts under each front wing to 5 Nm.
3. Fit wheelarch liner access panel.
4. Fit scrivets.
5. Fit screws securing bumper valance to body.
6. Fit front grille.

See this section.

BODY

EXTERIOR FITTINGS

11

BUMPER VALANCE - REAR

Service repair no - 76.22.74

Remove

1. Remove rear mud flaps.

See this section.

2. Remove both tail lamps.

See ELECTRICAL,

Repairs.

3. Remove rear wheel arch extensions.

See this

section.

4. Remove 10 screws securing bumper valance.
5. Remove 5 scrivets securing bumper valance.
6. Remove 2 mud flap brackets.
7. With assistance, remove bumper valance.


Content   ..  34  35  36  37   ..