Discovery 2. Manual - part 351
HARNESSES
REPAIRS 86-7-27
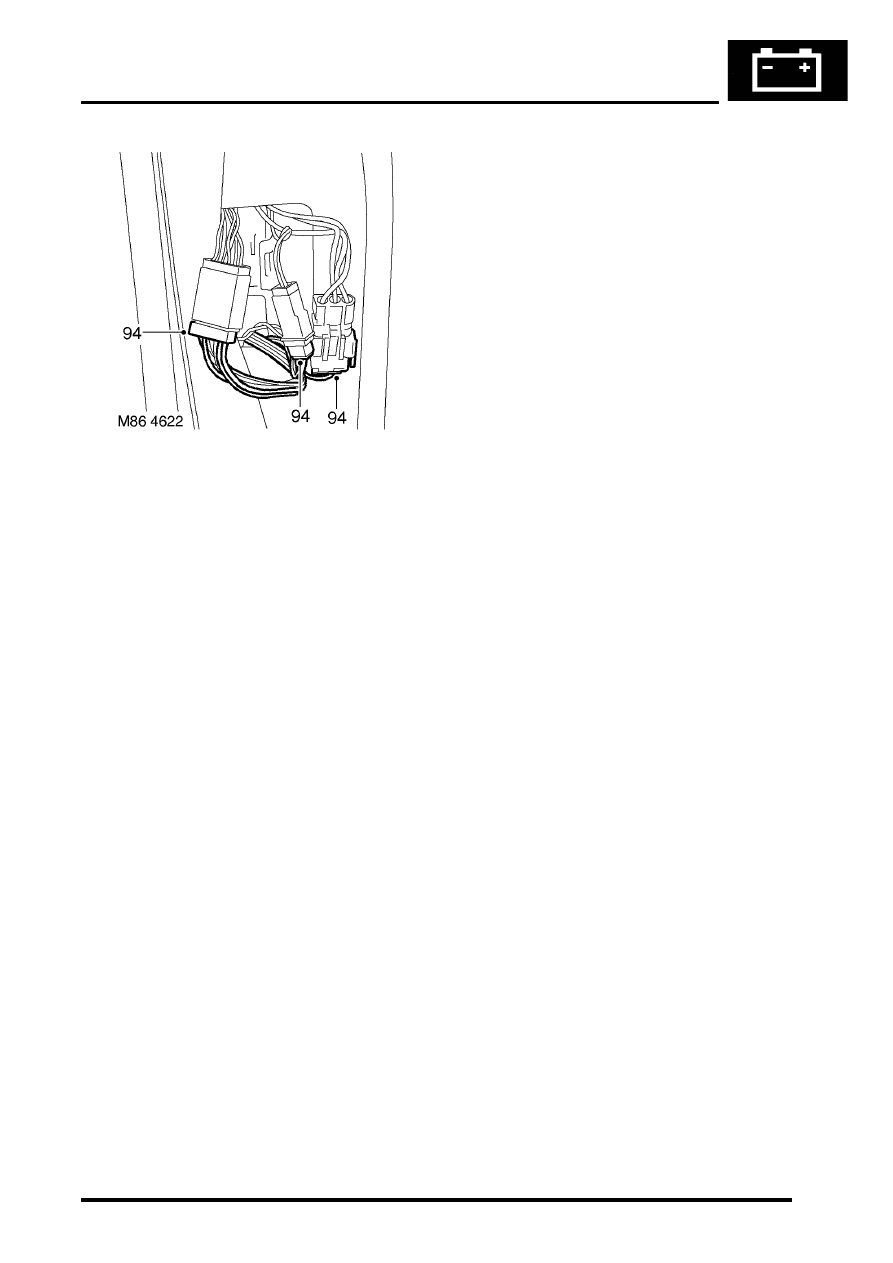
94. Disconnect 3 multiplugs from LH rear door
harness.
95. Withdraw harness to interior.
96. Manoeuvre harness over steering column
support bracket.
97. With assistance remove main harness.
Refit
1. With assistance position main harness to body
and manoeuvre over steering column support
bracket.
2. Lay harness in position and secure to floor
clips and retainers.
3. Connect LH and RH rear door multiplugs.
4. Connect CD player multiplug.
5. Position centre console earth headers and
secure with nuts.
6. Fit rear carpet.
7. Connect DCU multiplug.
8. Connect Lucar to handbrake switch.
9. Fit and tighten nuts securing harness to
transmission tunnel.
10. Secure harness to pedal box.
11. Position footwell earth header and secure with
nut.
12. Feed RH side of harness into engine bay.
13. Position carpet.
14. Connect wiper motor multiplug, position
mechanism and secure with nuts and bolts.
15. Connect ECM multiplug.
16. Position RH lower 'A' post earth header and
secure with nut, connect cruise control
multiplug.
17. Connect RH front door and RH side body
harness multiplugs.
18. Secure multiplugs to steering column support
bracket and connect brake and clutch pedal
multiplugs.
19. Connect multiplugs to column switch and
passive coil.
20. Position passenger compartment fusebox,
connect multiplugs, fit fusebox to fascia and
secure with nut.
21. Connect ignition switch multiplug to fuse box.
22. With assistance feed LH side of harness into
engine bay.
23. Connect multiplugs to front door harness and
body harness.
24. Position earth headers to LH lower 'A' post and
secure with nuts.
25. Connect multiplugs to ECU pack.
26. Position harness in engine bay.
27. Connect and secure heated front screen
multiplugs.
28. Fit plenum molding.
29. Connect multiplugs to ABS sensor and fuel
cut-off switch.
30. Using draw string feed harness through inner
wing, remove draw string, connect repeater
lamp multiplug and fit lamp.
31. Connect multiplugs to ABS modulator.
32. Feed harness through to front panel.
33. Position body earth leads and secure with
bolts.
34. Connect washer reservoir multiplugs and
pipes, secure pipes with clips.
35. Secure fog lamp multiplug.
36. Secure earth header behind headlamp.
37. Connect multiplugs to headlamp level motor,
headlamp and side lamp.
38. Fit indicator lamp
LIGHTING, REPAIRS, Lamp - front
39. Connect multiplug to LH horn.
40. Feed harness to ACE accelerometer, connect
multiplug and secure with cable ties.
41. Connect cruise control, ABS sensor and brake
fluid level switch multiplugs.
42. Connect engine harness multiplug and feed
harness along RH wing to fuse box.
43. Using draw string pull harness through inner
wing, remove draw string, connect repeater
lamp multiplug and fit lamp.
44. Connect chassis harness multiplugs.
45. Position engine bay fuse box and connect
multiplugs, fit fuse box and secure with screws.
46. Connect multiplugs to front of fuse box.
47. Position battery and starter cables and secure
with screws.
48. Fit fuse box cover.
49. Position earth lead and secure with nut.