Defender 300Tdi (1996+). Manual - part 75
WHEELS AND TYRES
1
FAULT DIAGNOSIS
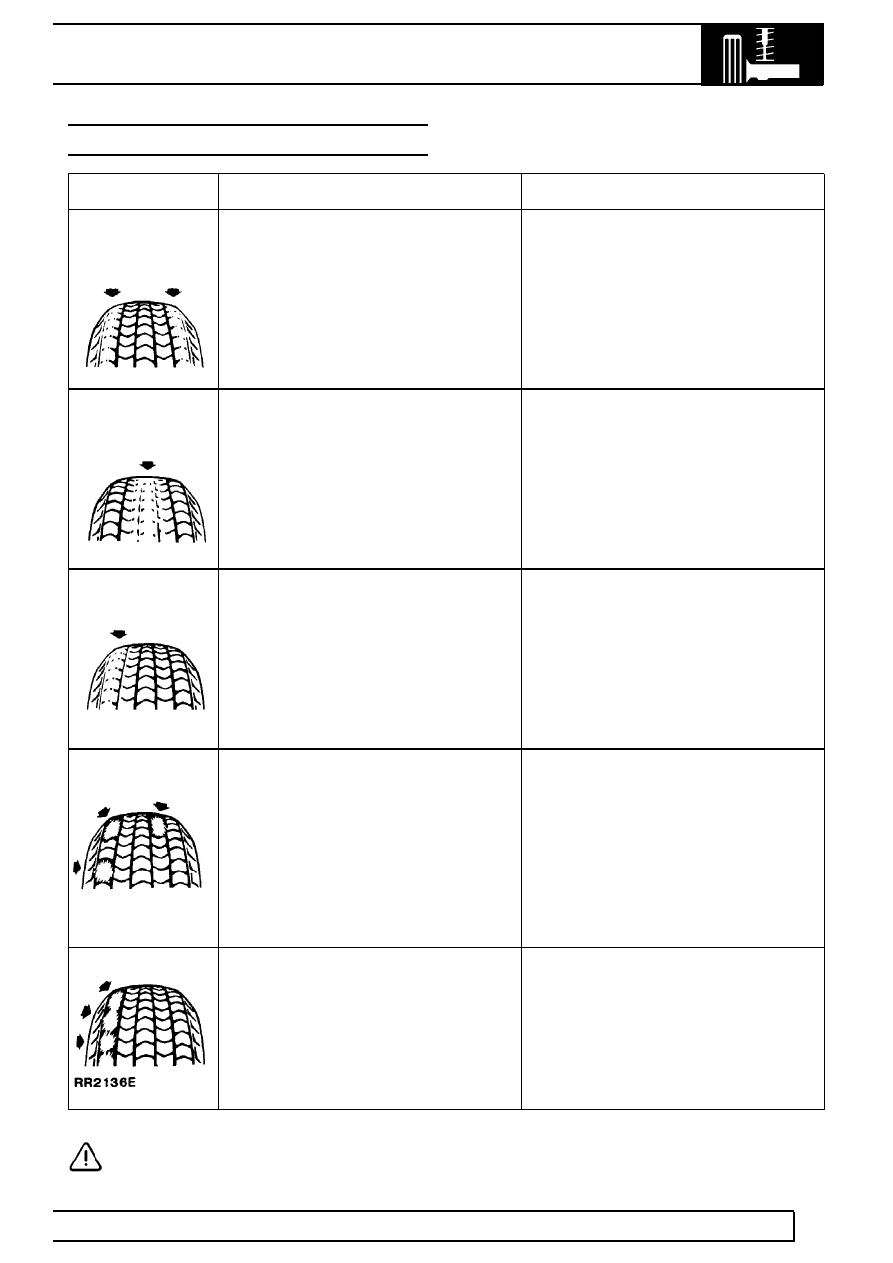
TYRE WEAR CHART
FAULT
CAUSE
REMEDY
Rapid wear at
Tyres under-inflated
Inflate to correct pressure
shoulders
Worn suspension components
Replace worn components
i.e. ball joints, panhard
rod bushes, steering damper
Excessive cornering speeds
Rapid wear at
centre
Tyres over-inflated
Inflate to correct pressure
of tread
Wear at one
shoulder
Track out of adjustment
Adjust track to correct figure
Bent panhard rod
Check and replace worn or damaged
components
Bald spots or tyre
Wheel out of balance
Balance wheel and tyre
cupping
assembly
Excessive radial runout
Check runout and replace tyre
if necessary
Shock absorber worn
Replace shock absorber
Excessive braking
Tyre scalloped
Track out of adjustment
Adjust toe to correct figure
Worn suspension components
Replace tyre as necessary
Excessive cornering speeds
CAUTION: This diagnosis chart is for general guidance only and does not necessarily include
every cause of abnormal tyre wear.