Defender. Manual - part 203


  Index      Land Rover     Land Rover Defender - service manual 2007 year


Search            


Content   ..  201  202  203  204   ..


Defender. Manual - part 203


WARNING: Wear eye and hand protection when disconnecting components containing refrigerant. Plug all exposed

connections immediately.

When disconnecting any hose or pipe connection the system must be discharged of all pressure. Proceed

cautiously, regardless of gauge readings. Open connections slowly, keeping hands and face well clear, so that no

injury occurs if there is liquid in the line. If pressure is noticed, allow it to bleed off slowly.

Lines, flexible end connections and components must be capped immediately they are opened to prevent the

entrance of moisture and dirt.

Any dirt or grease on fittings must be wiped off with a clean alcohol dampened cloth. Do not use chlorinated

solvents such as trichloroethylene. If dirt, grease or moisture cannot be removed from inside the hoses, they

must be replaced with new hoses.

All replacement components and flexible end connections must be sealed, and only opened immediately prior to

making the connection.

Ensure the components are at room temperature before uncapping, to prevent condensation of moisture from the

air that enters.

Components must not remain uncapped for longer than 15 minutes. In the event of delay, the caps must be

fitted.

Receiver/driers must never be left uncapped as they contain Silica Gel crystals which will absorb moisture from

the atmosphere. A receiver/ drier left uncapped must not be used, fit a new unit.

The compressor shaft must not be rotated until the system is entirely assembled and contains a charge of

refrigerant.

A new compressor contains an initial charge of refrigerant oil. The compressor also contains a holding charge of

gas when received which should be retained by leaving the seals in place until the pipes are re-connected.

The receiver/drier should be the last component connected to the system to ensure optimum dehydration and

maximum moisture protection of the system.

All precautions must be taken to prevent damage to fittings and connections. Slight damage could cause a leak

with the high pressures used in the system.

Always use two wrenches of the correct size, one on each fitting when releasing and tightening refrigeration

unions.

Joints and 'O' rings should be coated with refrigeration oil to aid correct seating. Fittings which are not lubricated

with refrigerant oil are almost certain to leak.

All lines must be free of kinks. The efficiency of the system is reduced by a single kink or restriction.

Flexible hoses should not be bent to a radius less than 90mm radius.

Flexible hoses should not be within 100mm of the exhaust manifold.

Completed assemblies must be checked for refrigeration lines touching metal panels. Any direct contact of lines

and panels transmits noise and must be eliminated.

PERFORMANCE TEST

WARNING: R134A is hazardous. 

REFER to: 

Health and Safety Precautions

 (100-00 General Information, Description and Operation).

Carry out this test with hood and doors or windows open, air conditioning switched on, temperature control set to cold

and blower at maximum speed. Set the air supply control to supply fresh air.

1.  1. Close low pressure valve on refrigerant station.

2.  2. Close high pressure valve on refrigerant station.

3.  3. Connect a Refrigerant Station to the high and low pressure servicing connections.

4.  4. Insert dry bulb thermometer into cold air outlet and position dry and wet bulb thermometer close to outside

air inlet. Do not spill water from the wet thermometer (psychrometer).

5.  5. Start engine and run it at 1500 rev/min for 10 minutes with air conditioning switched on.

6.  6. Read both pressure gauges and thermometers. Check readings against table below with humidity between

60% and 80%.

7.  7. Switch off air conditioning, stop engine, disconnect test equipment.
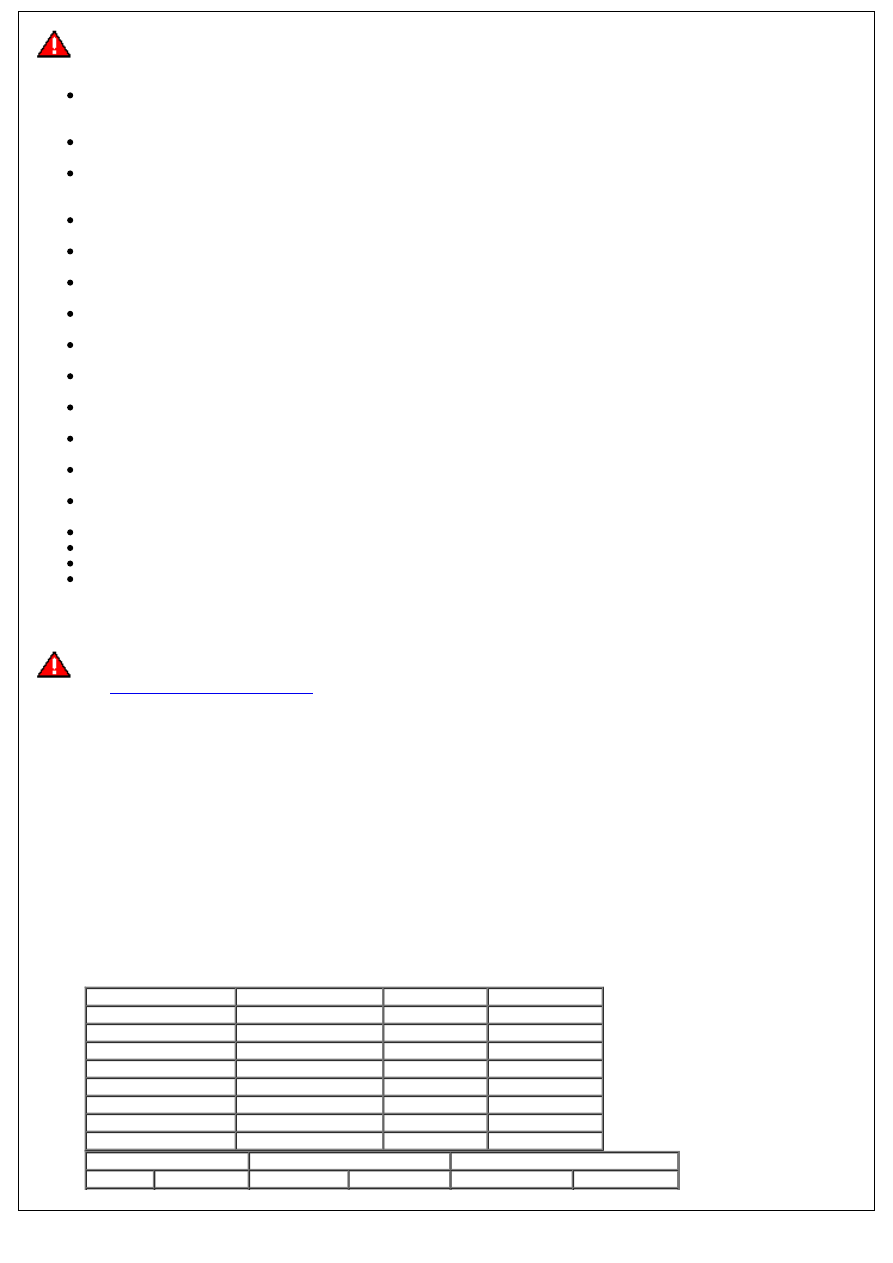
Performance range

Intake temperature Outlet temperature Low pressure High pressure
68°F

41 - 50°F

20 - 23 lbf/in! 116 - 190 lbf/in!

20°C

5 - 10°C

1.4 - 1.6 bar

8.0 - 13 bar

75°F

45 - 60°F

21 - 28 lbf/in! 130 - 200 lbf/in!

25°C

7 - 15°C

1.5 - 2.0 bar

9.0 - 14 bar

85°F

46 - 68°F

26 - 40 lbf/in! 190 - 230 lbf/in!

30°C

8 - 20°C

1.8 - 2.8 bar

13 - 16 bar

95°F

52 - 72°F

35°C

11 - 22°C

2.5 - 3.5 bar

16 - 19 bar

Ambient temperature Compound gauge readings High pressure gauge readings

°C

°F

bar

lbf/in!

bar

lbf/in!

16

60

1,3-1,4

15-20

6,9-10,3

100-150

27

80

1,4-1,7

20-25

9,7-13,1

140-190

38

100

1,7-2,1

25-30

12,4-15,5

180-225

43

110

2,1-2,4

30-35

14,8-17,2

215-250

Climate Control System - General Information - Air Conditioning (A/C)

System Recovery, Evacuation and Charging

General Procedures

• WARNINGS:

 The air conditioning system is charged with a high pressure, potentially toxic refrigerant. Repairs or servicing must

only be carried out by an operator familiar with both the vehicle system and the charging and testing equipment. All

operations must be carried out in a well-ventilated area away from open flame and heat sources. Always wear safety

goggles and gloves when opening refrigerant connections.

 Wear eye and hand safety protection. Open connections slowly in case liquid or pressure is present. Allow to bleed

off slowly.

CAUTION: Overcharging air conditioning system will cause excessive head pressure.

1. Remove dust caps from high and low pressure connectors.
2. Connect high and low pressure hoses to appropriate

connections.

3. Open valves on connectors.
4. Turn valves on refrigerant station to correct positions.
5. Turn Process switch to correct position.
6. Turn Main switch to 'ON'.
7. Allow refrigerant station to recover refrigerant from system.
8. Close valves on refrigerant station.
9. Turn Main switch to 'OFF'.
10. Close valves on connectors.
11. Disconnect high and low pressure hoses from connectors.
12. Fit dust caps to connectors.
13. Open tap at rear of station to drain refrigerant oil recovered

from system.

14. Measure and record quantity of refrigerant oil recovered

from system.

15. Close tap at rear of station.

16. 

WARNING: Refrigerant must always be recycled before

reuse, to ensure that the purity of the refrigerant is high

enough for safe use in the air conditioning system. Recycling

should always be carried out with equipment which is design

certified by Underwriter Laboratory Inc. for compliance with

SAE-J1991. Other equipment may not recycle refrigerant to the

required level of purity. A R134a Refrigerant Recovery Recycling

Recharging Station must not be used with any other type of

refrigerant. Refrigerant R134a from domestic and commercial

sources must not be used in motor vehicle air conditioning

systems.

Measure the quantity of oil discharged from the system. Add

an equal amount of new refrigerant oil to compressor before

evacuation sequence.

17. CAUTIONS:

 When a major repair has been carried out, a leak test

should be carried out using inert gas.

 Whenever the refrigerant system is opened, the

receiver/drier must be renewed immediately before evacuating

and recharging the system.

Renew the receiver/drier.

18. Remove dust caps from high and low pressure connectors.

19. Connect high and low pressure hoses to appropriate

connections.

20. Open valves on connectors.
21. Turn valves on refrigerant station to correct positions.
22. Turn Process switch to correct position.
23. Turn Main switch to 'ON'.
24. Allow refrigerant station to evacuate system.

CAUTION: The system must be Evacuated immediately before recharging commences. Delay between Evacuation

and Recharging is not permitted.

25. If the vacuum reading is below 700 mm Hg, 28 in Hg after

15 minutes, suspect a leak in the system. Partially recharge

the system and check for leaks using an electronic leak

tester. Check suction lines first, then run the compressor for

5 minutes and then check the high pressure lines.

26. WARNINGS:

 A R134a Refrigerant Recovery Recycling Recharging

station must not be used with any other type of refrigerant.

 R134a refrigerant from domestic and commercial sources

must not be used in motor vehicle air conditioning systems.

CAUTION: When a major repair has been carried out, a

leak test should be carried out using inert gas.

Close valves on refrigerant station.

27. Close valve on oil charger.
28. Disconnect yellow hose from refrigerant station.
29. Remove lid from oil charger.
30. Pour correct quantity of refrigerant oil into oil charger.
31. Fit lid to oil charger.
32. Connect yellow hose to refrigerant station.
33. Open valve on oil charger.
34. Move pointer on refrigerant gauge to mark position of

refrigerant drop.

35. Slowly open correct valve on refrigerant station and allow

vacuum to pull refrigerant into system.

36. Close valve on refrigerant station when correct amount of

refrigerant has been drawn into air conditioning system.

37. If the full charge is not accepted by the system, start the

engine and run it at 1,500 rev/min for a minimum of 2

minutes. Switch on the air conditioning system, open the

vehicle windows, set the temperature control to cold and the

blower switch to maximum.

38. Consult Refrigerant station instruction manual for correct

procedure to complete the charge.

39. Turn Main switch to 'OFF'.
40. Close valves on connectors.
41. Disconnect high and low pressure hoses from connectors.
42. Fit dust caps to connectors.
43. Carry out performance test on air conditioning system.


Content   ..  201  202  203  204   ..