Isuzu N-Series. Manual - part 611
6C-14 ENGINE FUEL
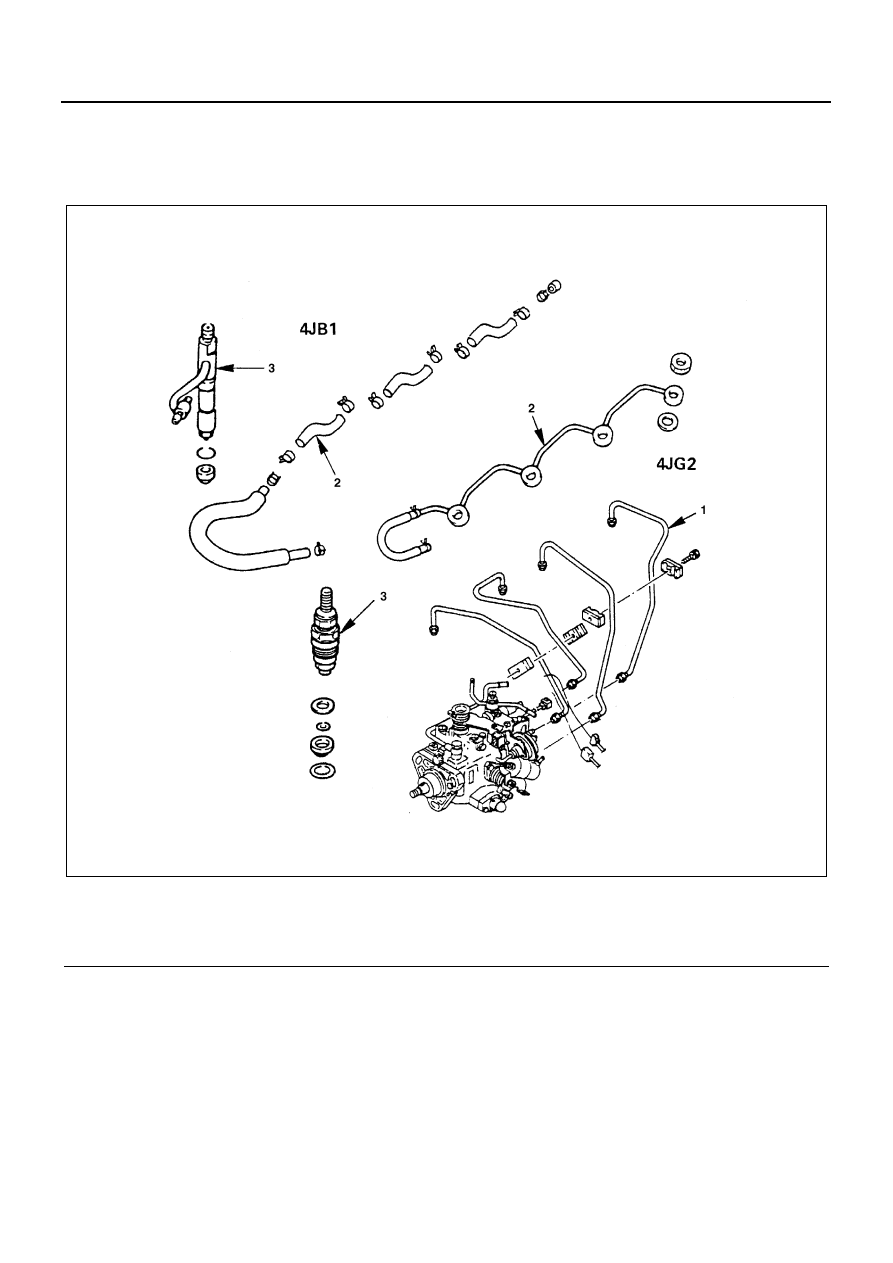
INJECTION NOZZLE
Component
4JB1 / 4JG2
Legend
1. Injection pipe
3. Injection nozzle
2. Leak off pipe or hose
N6A3401E
|
|
|
6C-14 ENGINE FUEL INJECTION NOZZLE Component 4JB1 / 4JG2 Legend 1. Injection pipe 3. Injection nozzle 2. Leak off pipe or hose N6A3401E |