Isuzu N-Series. Manual - part 379
6B-10 ENGINE COOLING
4. Check the valve lift full opening temperature.
Installation
1. Thermostat
Install the gaskets to the thermostats and the ther-
mostats to the cylinder head as shown in the illus-
tration.
2. Water Outlet Pipe
Install the water outlet pipe with thermostat to the
cylinder head.
Tighten the water outlet pipe bolts to the specified
torque.
Tighten:
Water outlet pipe bolt to 24 N
⋅m (2.4 kg⋅m / 17 lb⋅ft)
3. Radiator Upper
• Connect battery ground cable.
• Pour coolant
• Start the engine and check coolant leakage.
Valve Initial Opening Temperature
°C (°F)
Standard
without jiggle
valve
Primary valve
80 — 84 (176 —
183)
Secondary valve
83 — 87 (181 —
189)
with jiggle valve
83.5 — 86.5
(182 — 188)
Valve Lift Full Opening Temperature
°C (°F)
Standard
without jiggle valve
95 (203)
with jiggle valve
100 (212)
Legend
1. Thermometer
2. Agitating rod
3. Wooden piece
4. Thermostat
5. Heat
N6A0806E
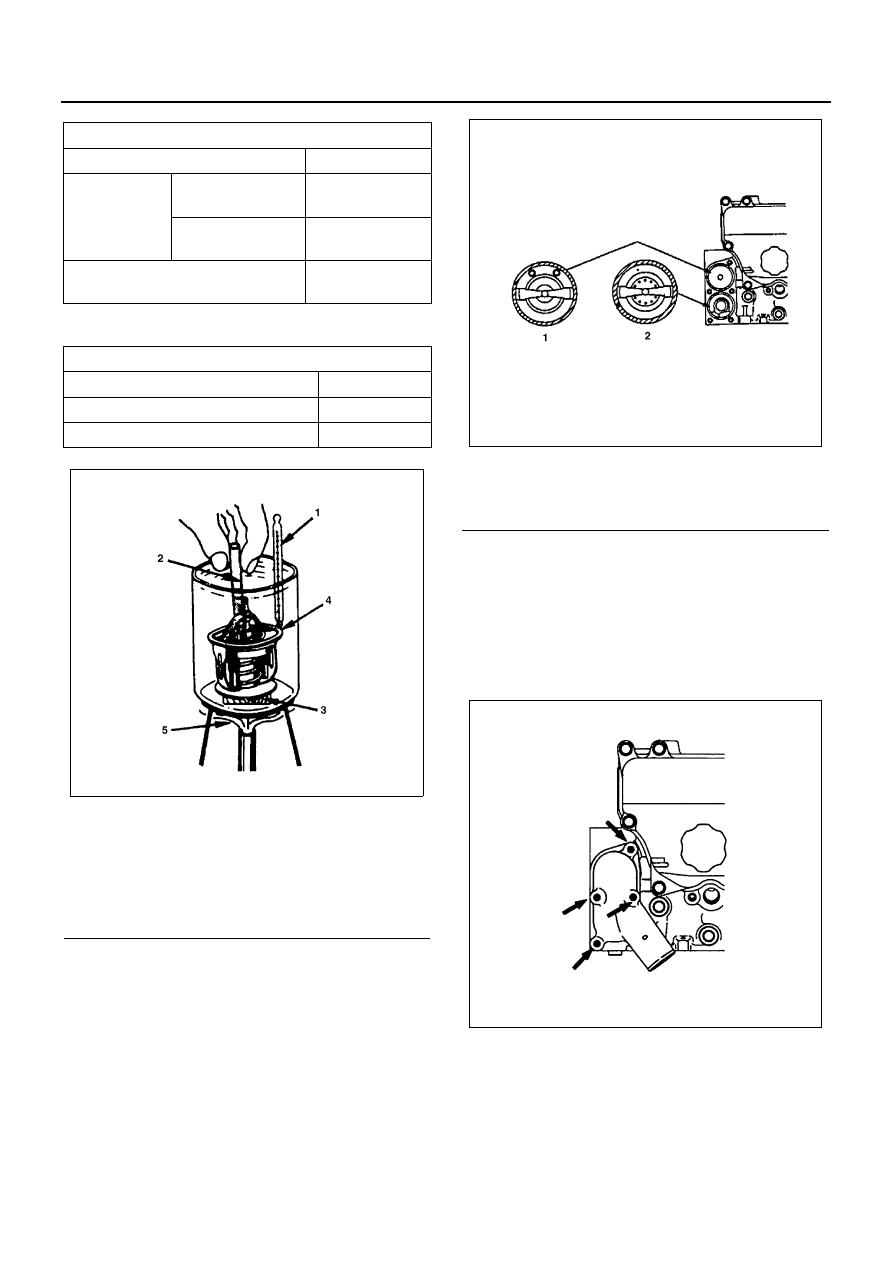
Legend
1. With jiggle valve
2. Without jiggle valve
N6A0807E
N6A1635E