Hummer H2. Manual - part 1791


  Index      Hummer     Hummer H2 - service repair manual 2004 year


Search            


Content   ..  1789  1790  1791  1792   ..


Hummer H2. Manual - part 1791


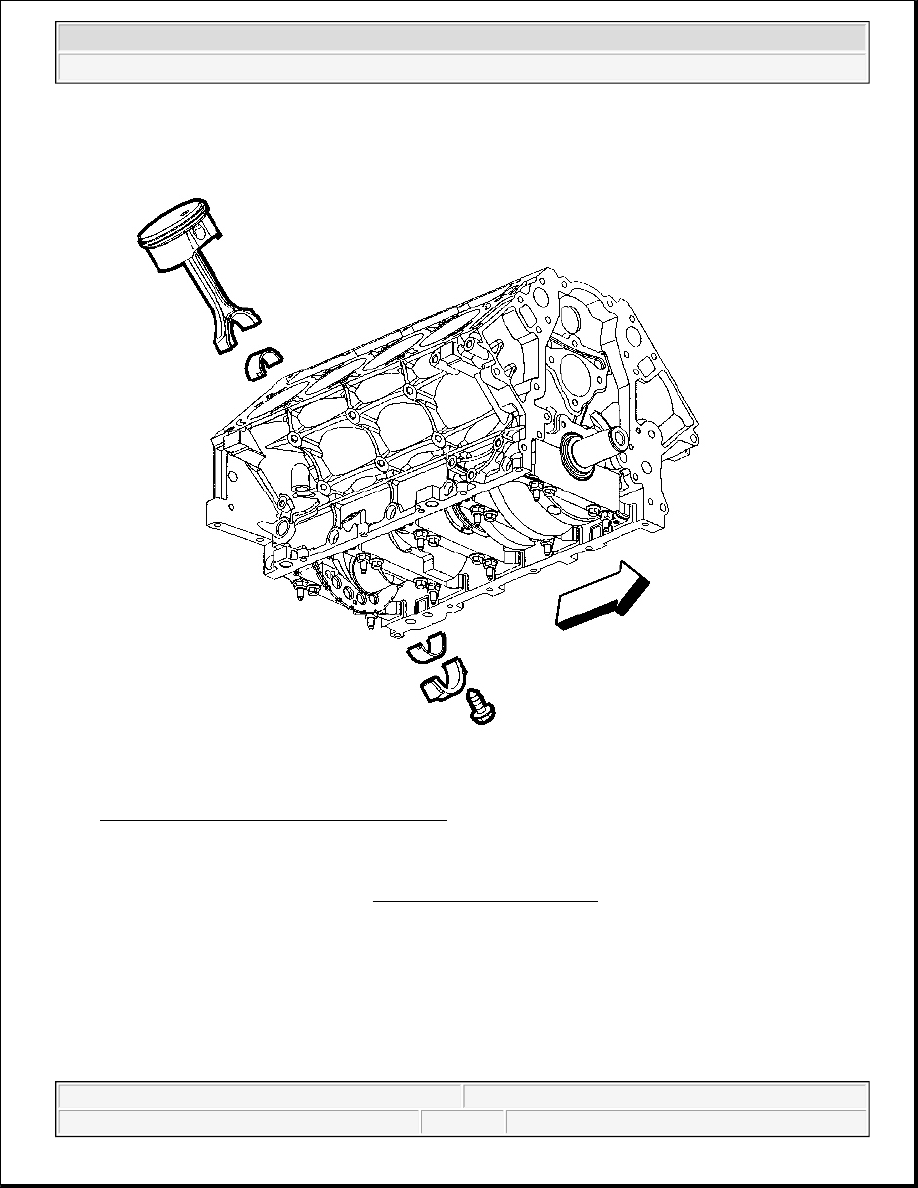
Fig. 351: Piston & Connecting Rod Assembly 
Courtesy of GENERAL MOTORS CORP. 

5. Use a hammer and tap lightly on the end of the J 41556 in order to remove the piston and connecting rod 

assembly from the cylinder bore. See Special Tools and Equipment 


2004 Hummer H2 

2004 ENGINE Engine Mechanical - 4.8L, 5.3L, and 6.0L - Hummer H2


Fig. 352: Connecting Rod & Bolts 
Courtesy of GENERAL MOTORS CORP. 

6. Upon removal of the piston and connecting rod assembly, assemble the connecting rod cap and bolts onto 

the matching connecting rod.  

CRANKSHAFT AND BEARINGS REMOVAL 


2004 Hummer H2 

2004 ENGINE Engine Mechanical - 4.8L, 5.3L, and 6.0L - Hummer H2


Tools Required 

z

J 6125-1B Slide Hammer. See Special Tools and Equipment .  

z

J 41818 Crankshaft Bearing Cap Remover  

Fig. 353: CKP Sensor & Bolt 
Courtesy of GENERAL MOTORS CORP. 

IMPORTANT:

z

The crankshaft bearing caps are machined with the engine block, for 
the proper clearances. Mark or identify each crankshaft bearing cap 
location and direction before removal. The crankshaft bearing caps 
MUST be installed to their original position and direction.  

z

Do not use the bearing cap M8 side bolts again.  

z

Remove the bearing cap M8 side bolts prior to cap removal.  


2004 Hummer H2 

2004 ENGINE Engine Mechanical - 4.8L, 5.3L, and 6.0L - Hummer H2


1. Remove the crankshaft position (CKP) sensor bolt.  

2. Remove the CKP sensor. 

Fig. 354: Bearing Cap Bolts & Studs 
Courtesy of GENERAL MOTORS CORP. 

3. Remove the bearing cap M8 bolts.  

4. Remove the bearing cap M10 bolts and studs. 

Note the M10 bolt/stud locations. 


2004 Hummer H2 

2004 ENGINE Engine Mechanical - 4.8L, 5.3L, and 6.0L - Hummer H2


Content   ..  1789  1790  1791  1792   ..