Ford Galaxy / Ford S-MAX. Manual - part 925
 

  Index      Ford     Ford Galaxy / Ford S-MAX - service repair manual 2006 year


Search            


Content   ..  923  924  925  926   ..


Ford Galaxy / Ford S-MAX. Manual - part 925


All vehicles 

Installation 

6.  

7.   

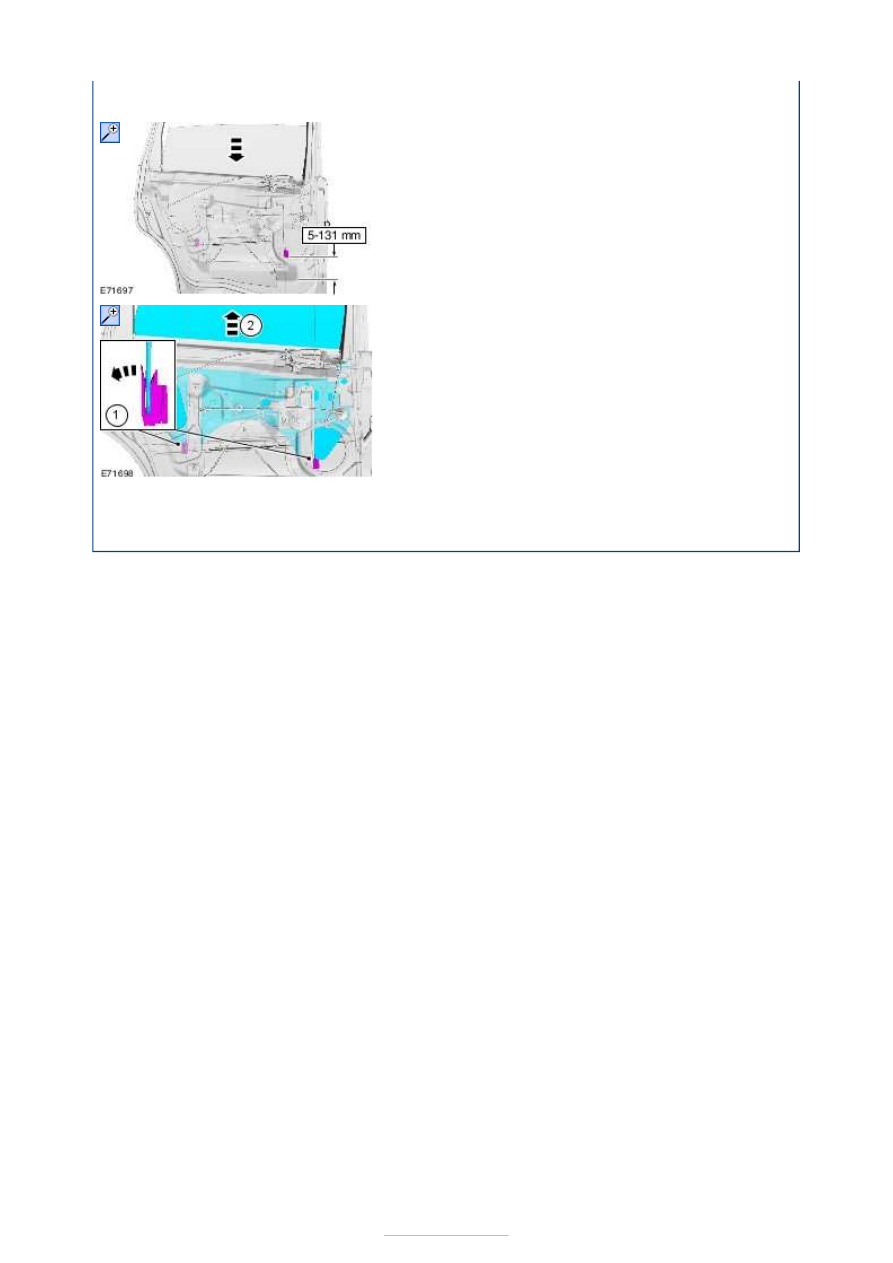
2. Remove the rear door window glass 

towards the outside of the window 
opening. 

1. To install, reverse the removal procedure. 


Glass, Frames and Mechanisms - Rear 
Quarter Window Glass—VIN Plate Body 
Style Code: S

S-MAX/Galaxy 2006.5 (02/2006-)


Print


Removal and Installation 

Materials 

General Equipment 

Removal 

Name

Specification

Windshield Adhesive Kit WSS-M11P57-A5

Direct glazing removal/replacement equipment
Hot air gun
Knife
Laminated card

1. Refer to: 

Window Glass Health and Safety 

Precautions

 (100-00 General Information, 

Description and Operation). 

2. Remove the polyurethane (PU) adhesive cap and 

heat the PU adhesive for a minimum of 30 
minutes. 

General Equipment: 

Direct glazing 

removal/replacement equipment


Material: 

Windshield Adhesive Kit (WSS-M11P57-

A5)


3. Remove the C-pillar trim panel. 

Refer to: 

C-Pillar Trim Panel - VIN Plate Body 

Style Code: S

 (501-05 Interior Trim and 

Ornamentation, Removal and Installation). 

4.  

5.

CAUTION: If the original window glass is 

to be installed, take care not to damage the 
electrical connectors and the weatherstrip. 
NOTE: This step requires the aid of another 
technician. 

1. From outside the vehicle, cut the PU 

adhesive. 

General Equipment: 

Direct glazing 

removal/replacement equipment


Installation 

General Equipment: 

Laminated card


2.

NOTE: Some resistance may be 
encountered when cutting through the 
glass locating spacers. 

From inside the vehicle, cut the PU 
adhesive to a maximum depth of 50 mm. 

General Equipment: 

Direct glazing 

removal/replacement equipment


1.

NOTE: Minimum 1 mm bead thickness. 
NOTE: Make sure that the mating faces are 
clean and free of foreign material. 

Carefully trim the remaining PU adhesive from 
the rear quarter window glass flange. 

General Equipment: 

Knife


2. Prepare the rear quarter window glass, rear 

quarter window glass flange and trimmed PU 
adhesive in accordance with the instructions 
supplied with the PU adhesive kit. 

General Equipment: 

Hot air gun


Material: 

Windshield Adhesive Kit (WSS-M11P57-

A5)


3.

NOTE: Make sure that the mating faces are 
clean and free of foreign material. 

4.

NOTE: Discard the first 100 mm of adhesive 
as this may have a reduced working time. 
NOTE: Make sure that any breakage in the 
continuous bead of adhesive is overlapped 
by 20 mm. 

Apply the PU adhesive in a continuous bead of 
between 8 and 10 mm in height to the rear 
quarter window glass flange along the bond line. 

General Equipment: 

Direct glazing 

removal/replacement equipment


Material: 

Windshield Adhesive Kit (WSS-M11P57-

A5)


5.

NOTE: This step requires the aid of another 
technician. 


Press firmly and evenly into position. 

General Equipment: 

Direct glazing 

removal/replacement equipment


Using tape, secure the rear quarter window 
glass in the correct position until the PU 
adhesive has cured.  

6. If the ambient temperature falls below 10°C, 

apply warm air (25°C) continuously for 15 
minutes. 

General Equipment: 

Hot air gun


7.  

8. Install the C-pillar trim panel. 

Refer to: 

C-Pillar Trim Panel - VIN Plate Body 

Style Code: S

 (501-05 Interior Trim and 

Ornamentation, Removal and Installation). 


Content   ..  923  924  925  926   ..