Dodge Ram 2500 (2016 year). Manual - part 48
NOTE:
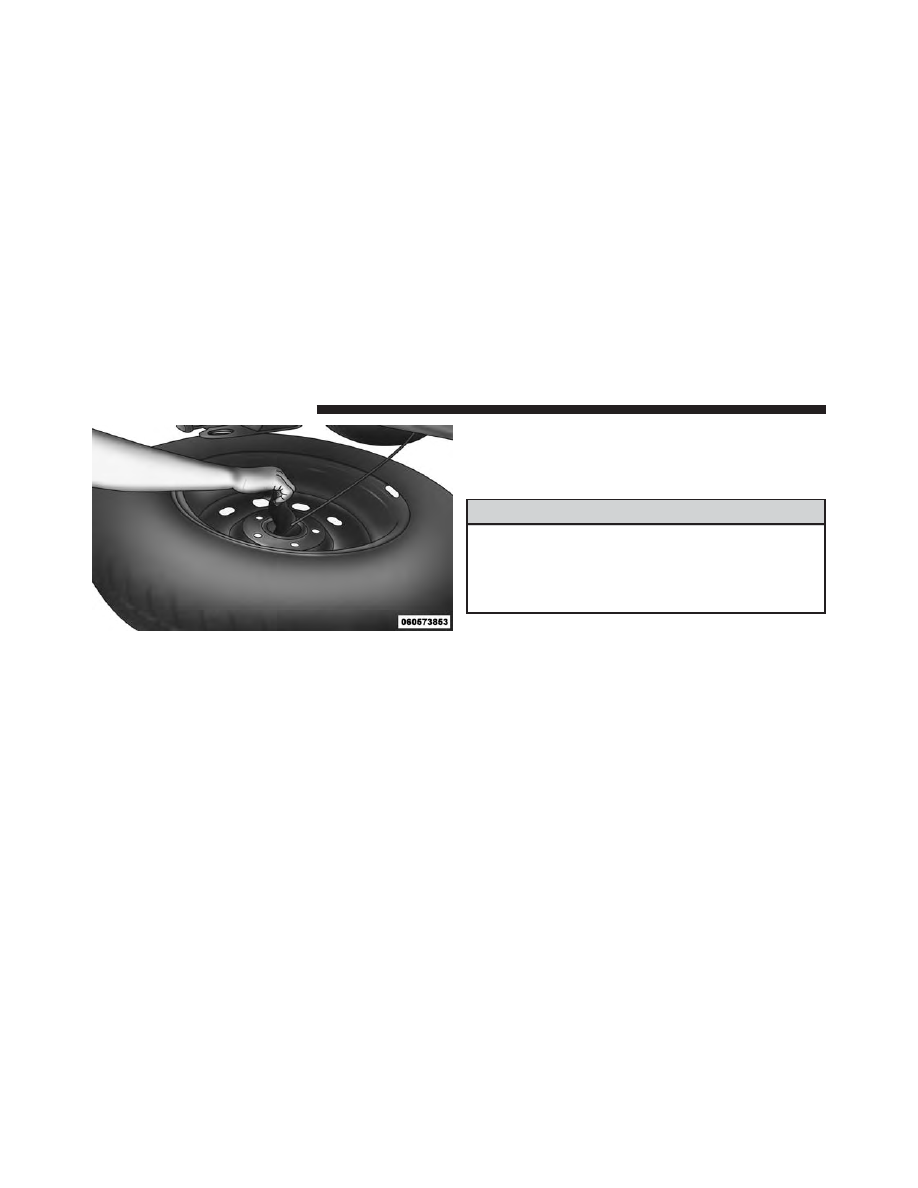
The winch mechanism is designed for use with
the jack extension tube only. Use of an air wrench or other
power tools is not recommended and can damage the
winch.
Preparations
1. Park the vehicle on a firm, level surface. Avoid ice or
slippery areas.
WARNING!
Do not attempt to change a tire on the side of the
vehicle close to moving traffic, pull far enough off
the road to avoid the danger of being hit when
operating the jack or changing the wheel.
2. Turn on the Hazard Warning flasher.
3. Set the parking brake.
4. Place the gear selector into PARK. On four-wheel drive
vehicles, shift the transfer case to the 4L position.
5. Turn the ignition OFF.
Pulling The Retainer Through The Center Of The Wheel
764
WHAT TO DO IN EMERGENCIES