Content .. 1397 1398 1399 1400 ..
Dodge Ram Truck 1500-2500-3500. Manual - part 1399
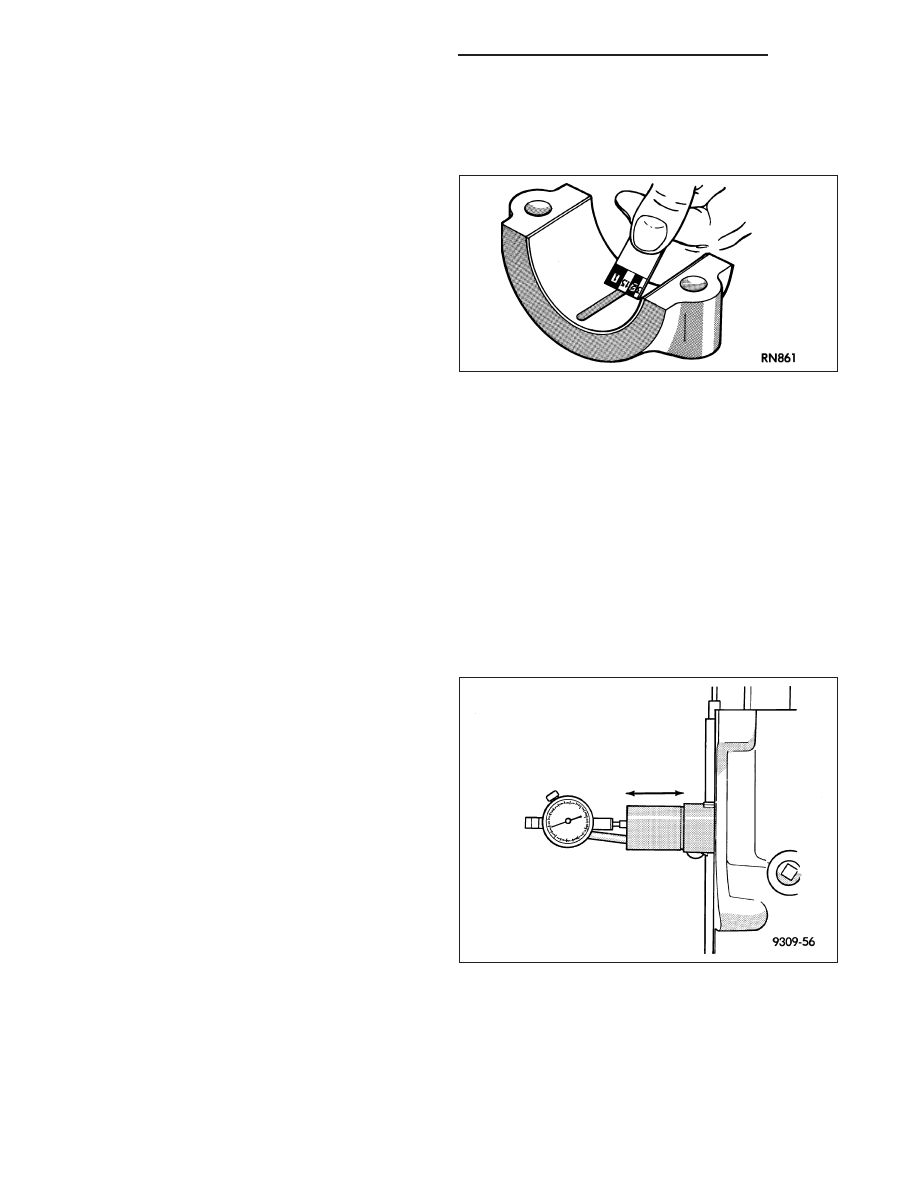
NOTE: REMOVE ALL SHIMS BEFORE REASSEMBLING ENGINE
ALTERNATIVE METHOD
1. With the weight of the crankshaft being supported
by a jack under the counterweight adjacent to the
bearing being checked.
2. Place a piece of Plastigage across the entire width
of the bearing shell in the cap approximately 6.35
mm (1/4 inch) off center and away from the oil
holes. (In addition, suspect areas can be checked
by placing the Plastigage in the suspect area).
Torque the bearing cap bolts of the bearing being
checked to the proper specifications.
3. Remove the bearing cap and compare the width of
the flattened Plastigage with the metric scale pro-
vided on the package. Locate the band closest to the same width. This band shows the amount of clearance in
thousandths of a millimeter. Differences in readings between the ends indicate the amount of taper present.
Record all readings taken. Refer to Engine Specifications. Plastigage generally is accompanied by two
scales. One scale is in inches, the other is a metric scale.
4. Plastigage is available in a variety of clearance ranges. The 0.025-0.076 mm (.001-.003 inch) is usually the most
appropriate for checking engine bearing proper specifications.
CRANKSHAFT
STANDARD PROCEDURE
MEASURING CRANKSHAFT END PLAY
1. Mount a dial indicator to front of engine, locating
probe on nose of crankshaft.
2. Move crankshaft all the way to the rear of its travel.
3. Zero the dial indicator.
4. Move crankshaft all the way to the front and read
the dial indicator. (Refer to 9 - ENGINE - SPECIFI-
CATIONS) for crankshaft end-play specifications.
CRANKSHAFT END PLAY CHECK - OPTIONAL
1. Move crankshaft all the way to the rear of its travel using a lever inserted between a main bearing cap and a
crankshaft cheek using care not to damage any bearing surface. Do not loosen main bearing cap.
2. Use a feeler gauge between number 3 thrust bearing and machined crankshaft surface to determine end play.
(Refer to 9 - ENGINE - SPECIFICATIONS) for crankshaft end-play specifications.
9 - 2518
ENGINE - 8.3L - SERVICE INFORMATION
DR/DH