Content .. 1396 1397 1398 1399 ..
Dodge Ram Truck 1500-2500-3500. Manual - part 1398
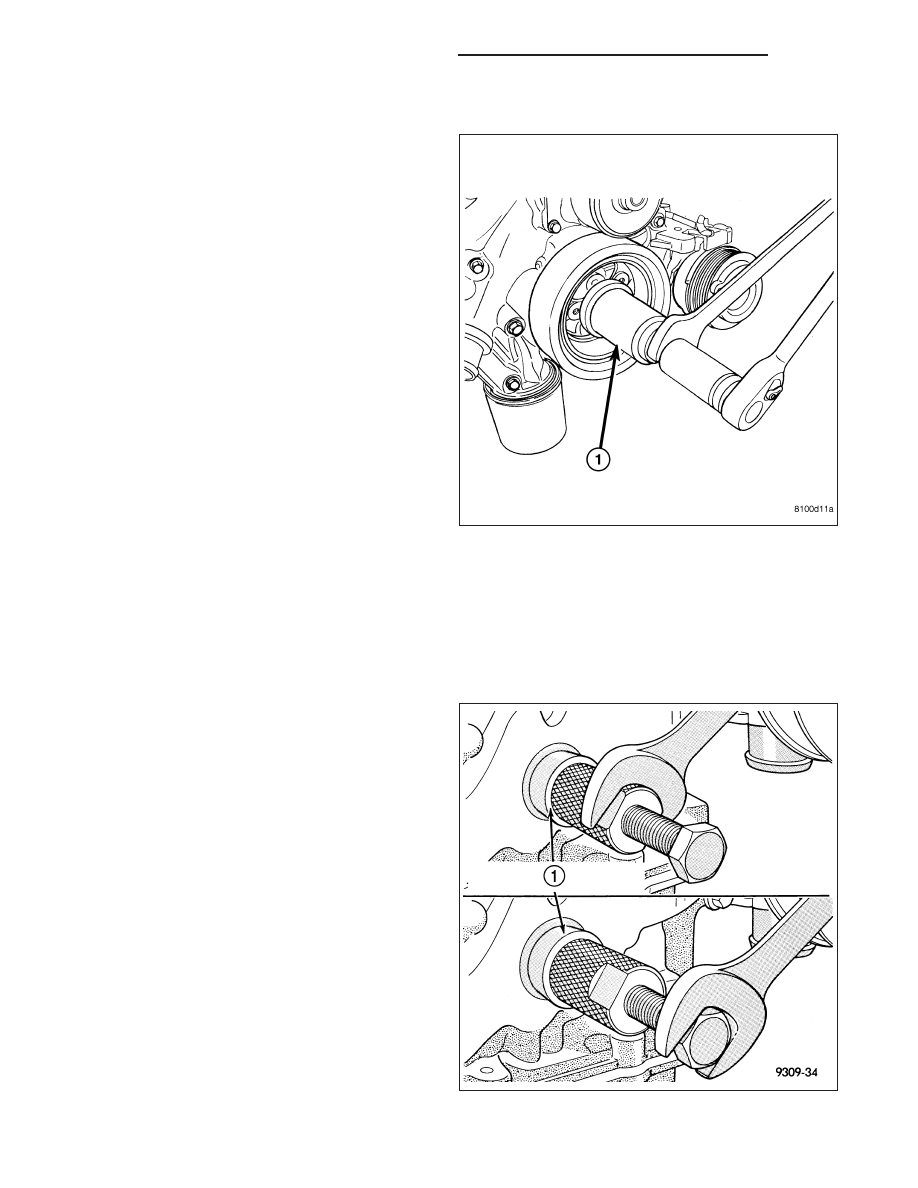
INSTALLATION
NOTE: Lubricate the threads of Special Tool 9055
(1) using Mopar
T
Nickel Anti-seize Compound or
equivalent, before beginning crankshaft damper
installation.
1. Raise and support the vehicle.
2. Install crankshaft damper using Special Tool 9055
(1).
3. Install and tighten damper bolt to 176 N·m (130 ft.
lbs.).
4. Install the crankshaft pulley. Tighten crankshaft pul-
ley bolts to 23 N·m (200 in. lbs.).
5. Install the front engine shield.
6. Lower the vehicle.
7. Install accessory drive belt (Refer to 7 - COOLING/
ACCESSORY DRIVE/DRIVE BELTS - INSTALLA-
TION).
8. Install the radiator fan (Refer to 7 - COOLING/EN-
GINE/RADIATOR FAN - INSTALLATION).
9. Install air cleaner cover connecting the CVV hose,
IAT, and air duct to the throttle body housing.
10. Lower vehicle.
SEAL-CRANKSHAFT OIL- FRONT
REMOVAL
1. Disconnect the air inlet duct, IAT sensor, CCV hose
at the throttle body, and remove the air cleaner
housing cover.
2. Remove accessory drive belt (Refer to 7 - COOL-
ING/ACCESSORY
DRIVE/DRIVE
BELTS
-
REMOVAL).
3. Remove crankshaft damper (Refer to 9 - ENGINE/
ENGINE
BLOCK/CRANKSHAFT
DAMPER
-
REMOVAL).
4. Use Special Tool C-4679A (1) to remove crankshaft
oil seal. Be careful not to damage the crankshaft
seal surface of cover.
9 - 2514
ENGINE - 8.3L - SERVICE INFORMATION
DR/DH