Citroen C3 Dag (2010 year). Instruction - part 9
9
DRIVING
On a steep descent or in the
event of sharp acceleration, the
speed limiter will not be able to
prevent the vehicle from exceed-
ing the programmed speed.
To avoid any risk of jamming of
the pedals:
-
ensure that the mat is posi-
tioned correctly,
- do not fi t one mat on top of
another.
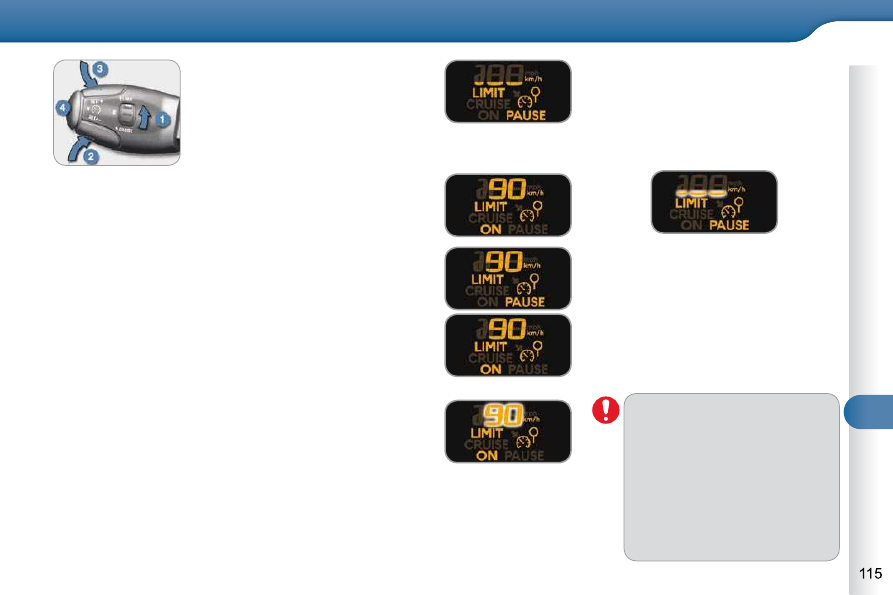
Programming
Turn thumb wheel 1 to the "LIMIT"
position: the speed limiter mode
is selected but is not switched on
(PAUSE).
You do not have to switch the speed
limiter on in order to set the speed.
Set the speed value by pressing button 2 or 3
(e.g.: 55 mph (90 km/h)).
You can then change the programmed speed using buttons 2
and 3 :
- by + or - 1 mph (km/h) = short press,
- by + or - 5 mph (km/h) = long press,
- in steps of + or - 5 mph (km/h) = maintained press.
Switch the speed limiter on by pressing button 4 .
Switch the speed limiter off by pressing button 4 : the
display confi rms that it has been switched off (PAUSE).
Switch the speed limiter back on by pressing button 4
again.
Exceeding the programmed speed
Pressing the accelerator pedal to exceed the programmed
speed will not have any effect unless you press the pedal
fi rmly past the point of resistance .
The speed limiter is deactivated temporarily and the pro-
grammed speed, which is still displayed, fl ashes.
Returning to the programmed speed, by means of inten-
tional or unintentional deceleration of the vehicle, automati-
cally cancels the fl ashing of the programmed speed.
Leaving limiter mode
Turn thumb wheel 1 to the "0" position: the speed limiter
mode is deselected. The display returns to the distance
recorder.
Operating fault
In the event of a speed limiter fault, the
speed is cleared resulting in fl ashing of
the dashes.
Have it checked by a CITROËN dealer
or a qualifi ed workshop.