Citroen Jumpy Dag (2009 year). Instruction - part 7
DIESEL
1
0
4
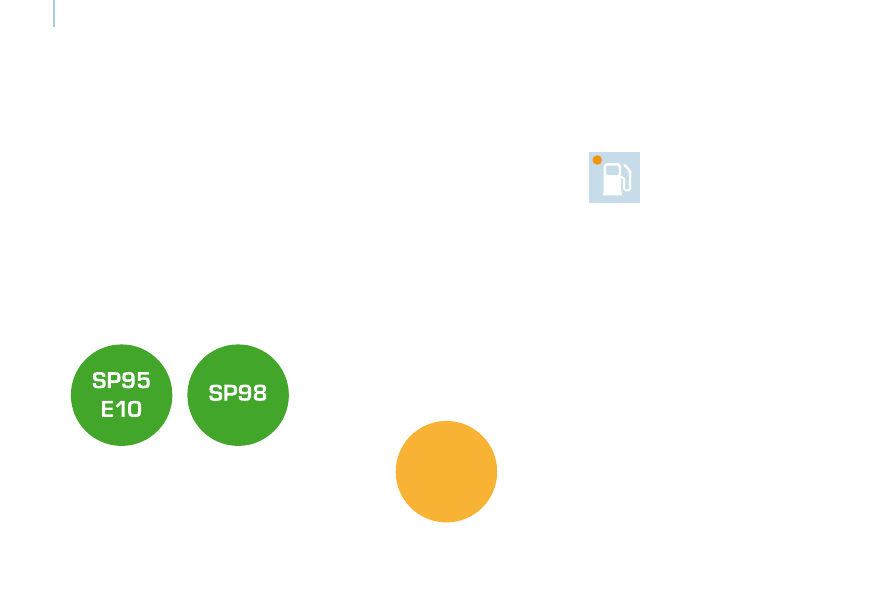
Fuel
FUEL CIRCUIT DISARMED
DIESEL REPRIMING PUMP
If you should run out of fuel, it is necessary
to re-prime the circuit:
-
fill the fuel tank with at least five litres of
diesel,
-
squeeze and release the manual re-
priming pump, under the bonnet under
the protective cover, until fuel appears in
the transparent pipe,
-
operate the starter until the engine
starts.
In a serious collision, a mechanism
automatically prevents fuel from reaching
the engine.
The flashing of this warning light
is accompanied by a message on
the display.
Check that there is no odour or leakage of
fuel outside the vehicle and re-establish the
fuel supply:
-
switch off the ignition (STOP position).
-
remove the key.
-
put the key back in the ignition.
-
switch on the ignition and start.
Quality of the fuel used for petrol engines
The petrol engines are perfectly compatible
with E10 type petrol biofuels (containing
10 % ethanol), conforming to European
standards EN 228 and EN 15376.
E85 type fuels (containing up to 85 %
ethanol) are reserved exclusively for
vehicles marketed for the use of this type
of fuel (BioFlex vehicles). The quality of
the ethanol must comply with European
standard EN 15376.
For Brazil only, special vehicles are
marketed to run on fuels containing up to
100 % ethanol (type E100).
Quality of the fuel used for Diesel
engines
The Diesel engines are perfectly compatible
with biofuels which conform to current and
future European standards (diesel fuel which
complies with standard EN 590 mixed with a
biofuel which complies with standard
EN 14214) available at the pumps
(containing up to 7 % Fatty Acid Methyl
Ester).
The B30 biofuel can be used in certain
Diesel engines; however, this use is subject
to strict application of the special servicing
conditions. Consult a CITROËN dealer.
The use of any other type of (bio)fuel
(vegetable or animal oils, pure or diluted,
domestic fuel...) is strictly prohibited (risk of
damage to the engine and fuel circuit).