Citroen Berlingo First Dag (2010 year). Instruction - part 2
21
MONITORING and DISPLAY SCREENS -
Seat belt not fastened
warning light *
When the ignition is switched
on, this indicator light comes
on if the driver has not fastened his
seat belt.
Above 12 mph (20 km/h), the warn-
ing light fl ashes for two minutes.
Once the two minutes have elapsed,
the warning light remains on until the
driver fastens his seat belt.
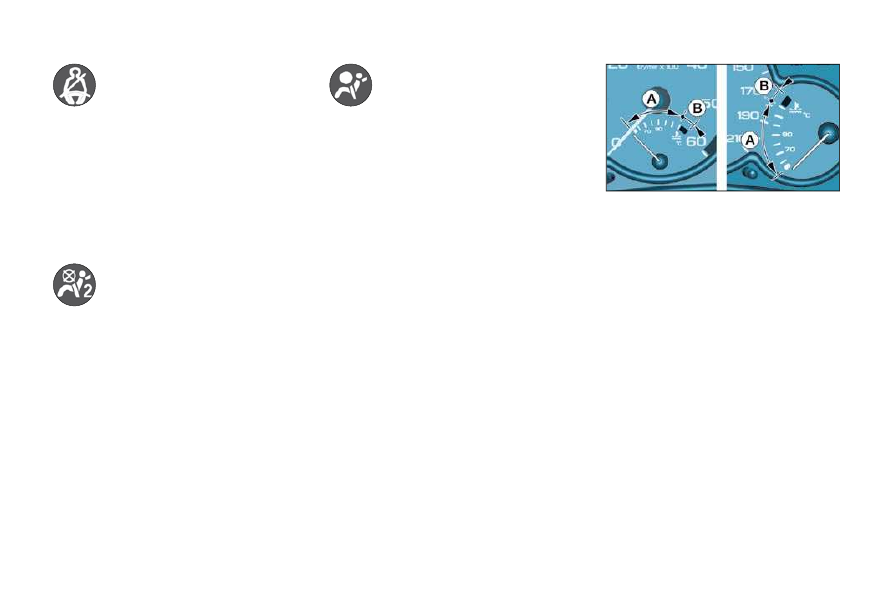
Coolant temperature indicator
-
needle in zone (A) , the tempera-
ture is correct,
-
needle in zone
(B) , the tempera-
ture is too high. The central STOP
warning light fl ashes, accompa-
nied by an audible signal and the
message
"Engine coolant temp.
too high"
on the display.
You must stop.
Consult a CITROËN dealer.
* According to country.
Passenger air bag
disarmed warning
light *
Lighting of this warning light is accom-
panied by the message
"Passenger
air bag deactivated" on the display.
If the passenger air bag is disarmed,
the warning light comes on when
the ignition is switched on and it re-
mains on.
Always consult a CITROËN dealer if
the warning light fl ashes.
Front and side air bags
warning light
This comes on for a few
seconds when the ignition is
switched on.
With the engine running, illumination
of this warning light accompanied by
an audible signal and the message
"Air bag fault" on the multifunction
display, indicates a fault in the air
bags.
Consult a CITROËN dealer.